Tankless water heater are one manner for house owners can save electricity. Depending on what number of gallons of warm water your house makes use of in line with day, a tankless water heater may be 24% to 34% greater efficient than a everyday warm water heater.
Like every other new piece of device for your household, it`s essential which you recognize a way to best care of it. Neglecting fundamental tankless water heater upkeep may not permit your tankless water heater to perform at its complete potential. Learn a way to keep a tankless water heater to gain the electricity financial savings you in all likelihood have been searching ahead to while you selected it.
How To clean A Tankless Water Heater
Your tankless water heater need to be flushed as a minimum annually. This is to eliminate mineral deposits, which include calcium. If you`ve had tough water troubles in your house, you may don’t forget tankless water heater cleansing greater than as soon as consistent with 12 months to counter mineral deposits. Here are the steps to observe for a tankless water heater cleaning so that you can experience all of the advantages of a tankless warm water heater:
Step 1: Check Your Owner`s Manual
To flush your heater, first, you need to test your owner’s guide to look in case your unit wishes to have the strength close off.
- If your heater is electric, flip off the strength from the breaker panel.
- If it is gas, rotate the fueloline cutoff till gasoline is now not going to the heater.
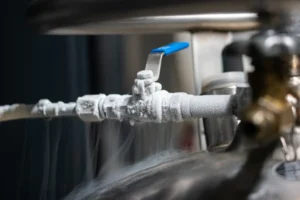
Step 2: Turn Off the Water Supply
Next, you’ll need to turn off the water deliver bringing cold water to the heater, in addition to the valve sending warm water out.
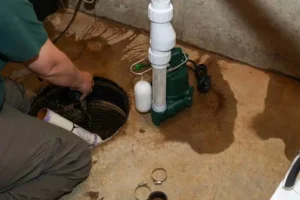
Step 3: Connect the Hoses
Fasten a six-foot lawn hose to a sump pump, and the alternative stop to the bloodless-water valve. A 2nd lawn hose will should be linked to the warm-water valve, with the other stop submerged in a five-gallon bucket of distilled white vinegar. Place the pump line withinside the bucket as well.
Step 4: Run the Pump
Use the pump to flow into the vinegar via the heater. The vinegar will smash down mineral deposits and buildup. Let the pump run for approximately 1.5 hours. Then update the vinegar with bloodless water. Use this to rinse out your heater.
Step 5: Clean the Filter
Once the heater is smooth, you will should smooth the inlet clear out display screen. To do this, actually rinse it and get rid of any sediment caught to it.
Step 6: Put It All Back Together
Once the display screen is smooth and the heater is all flushed out and rinsed, you could update the entirety lower back to operating order. Test the taps for the duration of your house to ensure there is not any air trapped in them. Let the water run for a couple of minutes to eliminate any air pockets.
You can read about: How Much Does a Hot Water Heater Cost?
Why You Need to Clean Your Tankless Water Heater
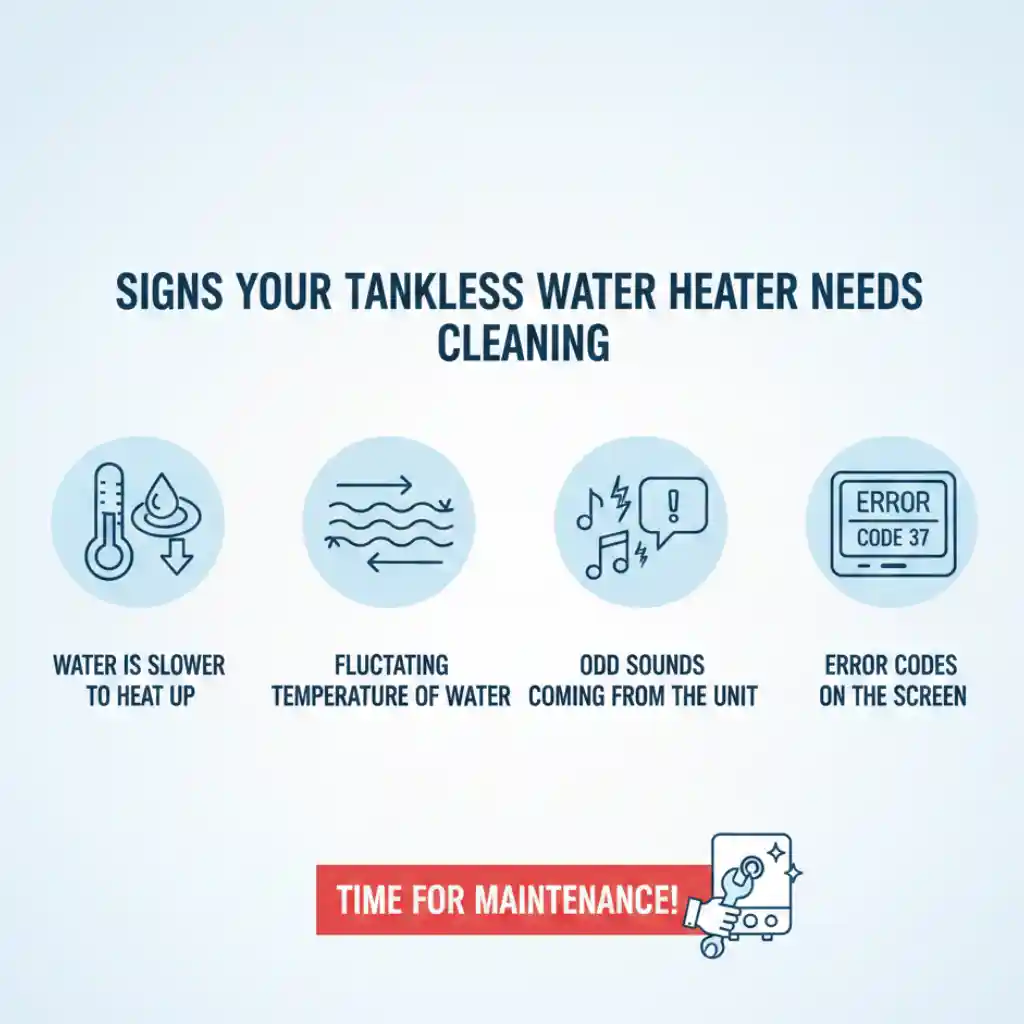
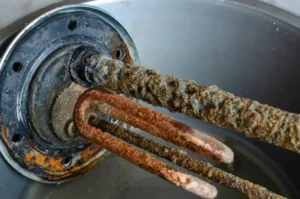
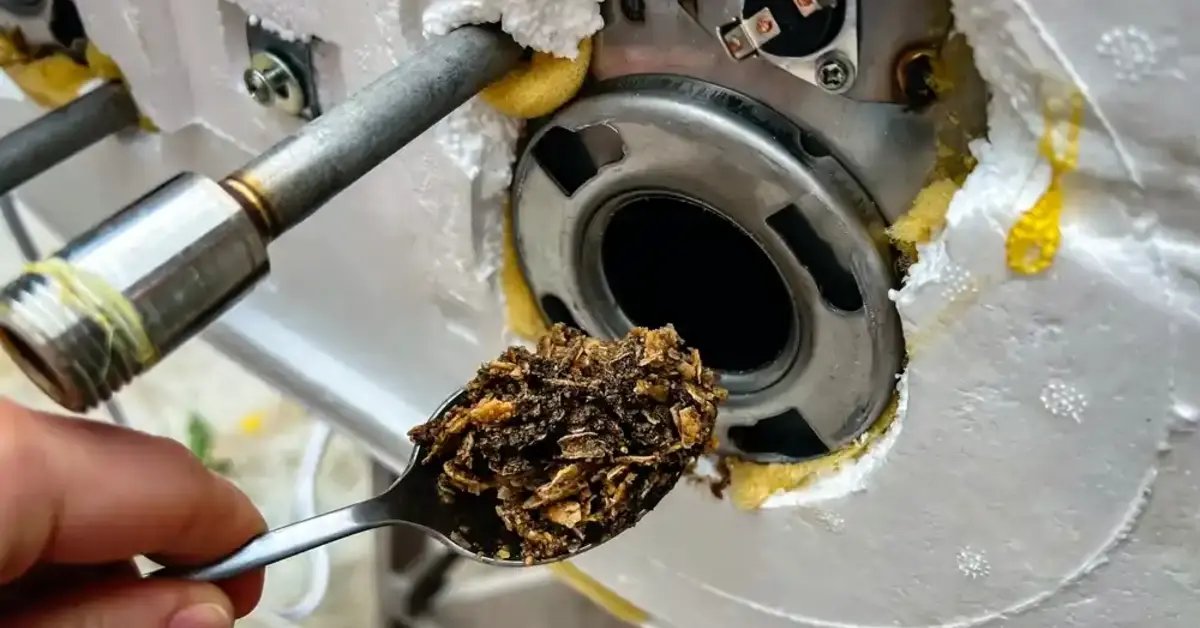
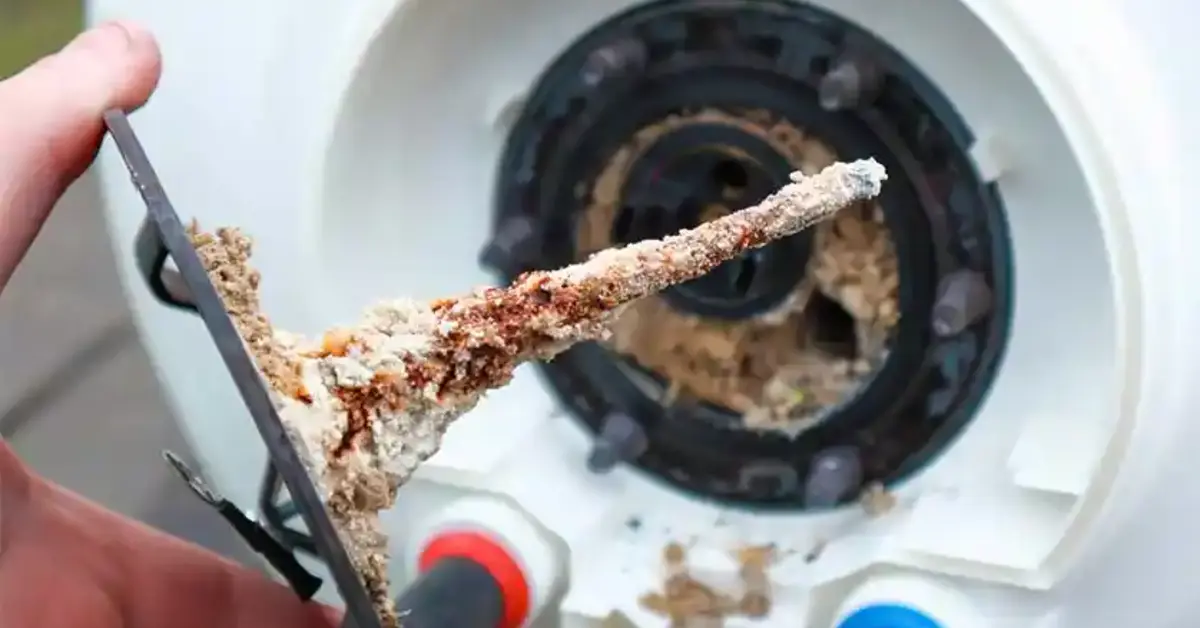
Mineral sediment made of calcium and magnesium can build internally your water heater through the years and disrupt performance in addition to lessen its lifespan. Mineral buildup also can purpose loud, ugly noises to return back from the water heater. When you flush a water heater, the cleansing agent used enables do away with this buildup withinside the technique and restores the machine.
Water heaters aren`t reasonably-priced through any means, so through appearing habitual protection like flushing them, you`ll assist boom your machine`s longevity.
How Often Should You Clean Your Heater?
To preserve your water heater working efficiently, you must smooth it as a minimum as soon as a 12 months. If you’ve got hard/rough water, you can need to smooth it two times a 12 months instead.
Before cleansing, flip off the electricity or fueloline supply. Follow producer commands earlier than dealing with cleansing answers and put on gloves whilst necessary. If you`re uncertain approximately DIY cleansing, hire a professional.
Benefits of Cleaning Your Water Heater
Regular cleansing presents several benefits, consisting of strength savings, an extended lifespan for the unit, a decrease invoice cost, and constant warm water.
If your heater isn`t operating successfully after cleansing, test for blocked pipes, confirm that the electricity or gas is restored, and make sure the unit is reassembled successfully. If it nonetheless isn`t running, are trying to find assist from an professional to get your machine working easily again.
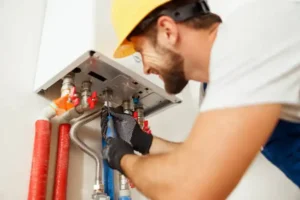
Call to Action
Need expert tankless water heater Installation or plumbing services? Contact Derks Plumbing these days for professional inspections, dependable repairs, and complete plumbing solution that hold your warm water heater working at peak performance.

Conclusion
Learning How to Clean Tankless Water Heater structures is an crucial a part of responsible home renovation. Regular tankless water heater cleansing eliminates mineral buildup, improves efficiency, keeps steady warm water performance, and facilitates enlarge the lifespan of the unit. Whether completed with the aid of using a house owner or an authorized expert, recurring renovation protects your funding and guarantees dependable operation for years to come.
Frequently Asked Questions
How regularly must I smooth a tankless water heater?
Most producers advocate cleansing as soon as in keeping with year, despite the fact that houses with difficult water can also additionally require greater common renovation.
What is the excellent answer for cleansing tankless water heater structures?
Many house owners use white vinegar, at the same time as others select business descaling answers particularly designed for tankless water heaters.
Can mineral buildup harm a tankless water heater?
Yes. Excessive scale accumulation can lessen efficiency, limition water flow, boom power consumption, and shorten gadget lifespan.
Is tankless water heater renovation necessary?
Absolutely. Regular renovation facilitates keep performance, enhance efficiency, and save you highly-priced repairs.
Can I smooth a tankless water heater myself?
Many house owners can carry out simple flushing procedures, however expert provider is usually recommended for complicated troubles or while producer recommendations require specialised renovation.