A leaking, cracked, or outdated sink can ruin your whole kitchen experience. The good news? You don’t always need to call a plumber. Most homeowners can handle a basic sink replacement with the right tools and a free Saturday morning.
If you want to know how to replace and install a kitchen sink without making a mess or flooding your cabinets, you are in the right place. This guide walks you through every step, from picking the right sink to turning the water back on.
Why Replace Your Kitchen Sink?
Your kitchen sink works hard every single day. Over time, wear and damage are unavoidable.
Here are the most common reasons homeowners choose sink replacement:
- Cracks or chips in the basin that trap bacteria and look terrible
- Persistent leaks under the sink that never fully go away
- Rust or stains that won’t scrub clean
- Upgrading the kitchen during a renovation
- Poor drainage that causes standing water
- Outdated style that clashes with new countertops or cabinets
A new sink is not just cosmetic. It improves hygiene, water flow, and daily function. It also adds real value when you plan to sell your home.
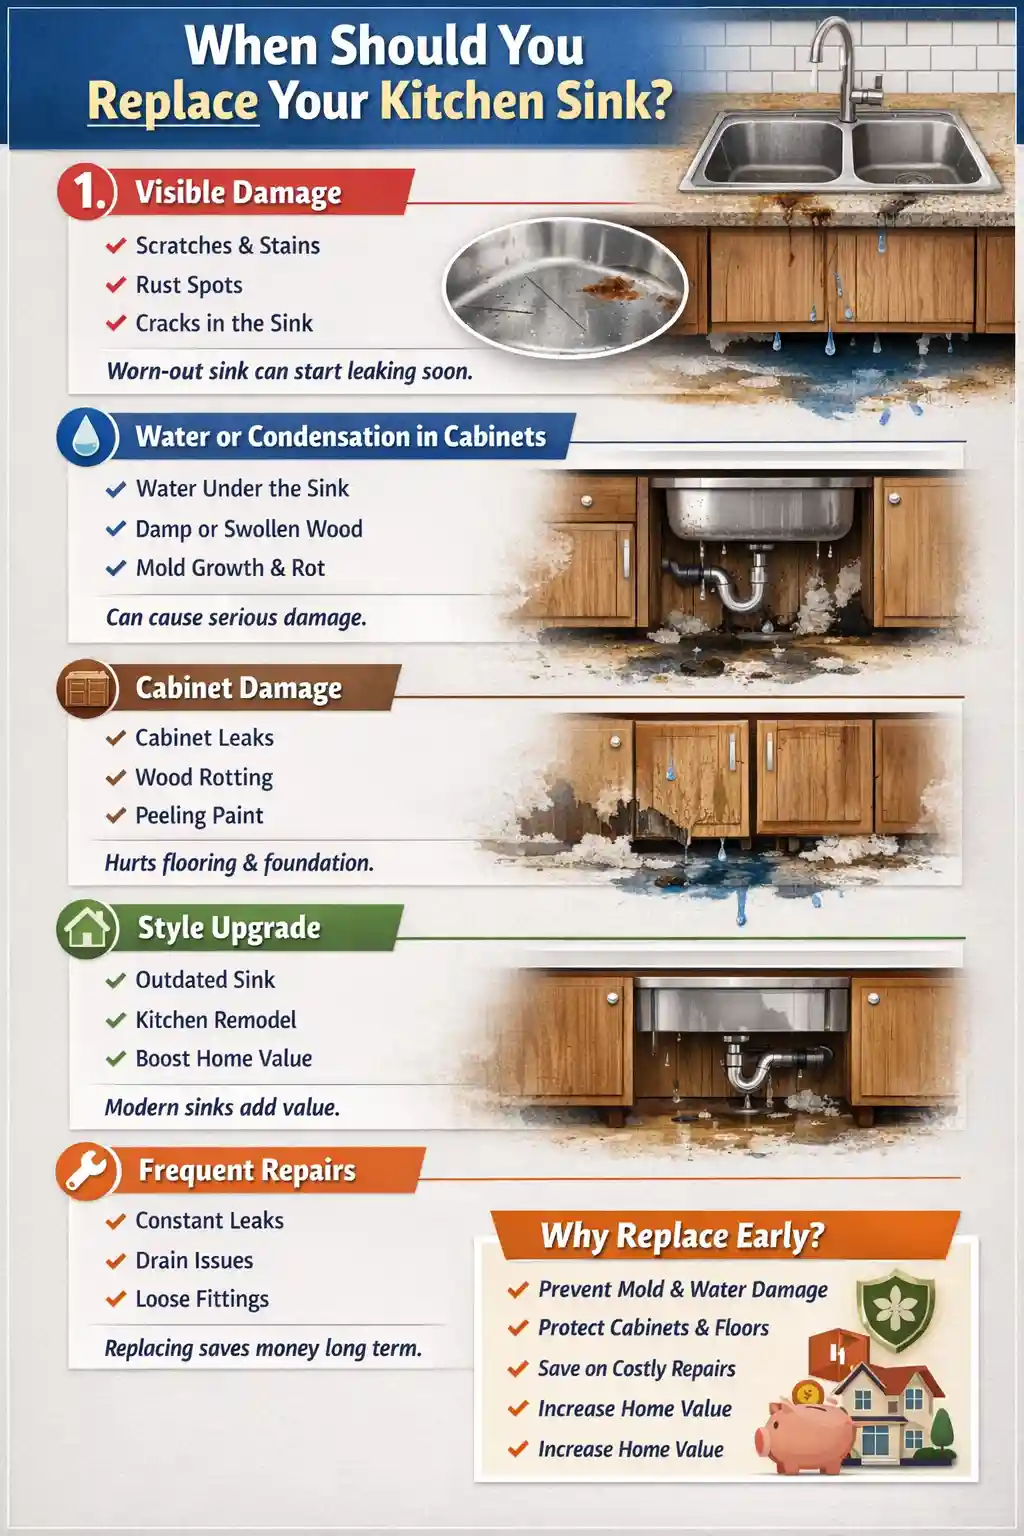
When Should You Consider Replacing a Kitchen Sink?
Not every sink issue needs a full replacement. Sometimes a simple fix works.
But here are clear signs it is time for a full kitchen sink replacement:
- The basin has a visible crack that runs along the bottom
- Water pools under your sink cabinet regularly with no clear source
- The sink is more than 15 to 20 years old and shows major wear
- You’re replacing your countertops and the cutout size will change
- The porcelain coating is flaking and exposing raw cast iron beneath
- You’ve had the same clog three times in one month despite proper cleaning
If two or more of these apply, it is smarter to replace the sink than keep patching it.
How to choose the perfect sink for your kitchen?

Choosing the wrong sink is one of the biggest mistakes DIYers make. Before you buy, think through these factors carefully.
Sink Mounting Style
There are three main types:
- Drop-in (top-mount): Easiest to install. Sits in a cut hole and rests on the counter.
- Undermount: Mounted below the countertop for a clean look. Harder to install but looks great.
- Farmhouse (apron-front): Large, deep basin. Requires cabinet modification.
For a first-time DIY sink installation, a drop-in sink is the most beginner-friendly choice.
Material Options
| Material | Pros | Cons |
| Stainless Steel | Durable, affordable, easy to clean | Can scratch, shows water spots |
| Cast Iron | Very durable, classic look | Very heavy, needs strong support |
| Composite Granite | Scratch and heat resistant | More expensive |
| Fireclay | Beautiful, durable | Heavy and pricier |
Size and Basin Configuration
Measure your existing cutout before buying anything. Standard kitchen sinks range from 24 to 36 inches wide. Single basins give you more room for large pots. Double basins let you multitask, like washing and rinsing at the same time.
Faucet Hole Count
Check how many faucet holes your new sink has. Most have one to four holes. Your existing faucet setup needs to match, or you will need to buy a new faucet too.
Tools and Materials You’ll Need
Before you start, gather everything. Stopping mid-job to run to the hardware store wastes time and creates risk.
Tools:
- Adjustable wrench
- Basin wrench (essential for tight spaces)
- Plumber’s putty or silicone caulk
- Pipe wrench
- Utility knife
- Pliers
- Bucket and towels
- Flashlight or headlamp
- Screwdriver (flathead and Phillips)
- Tape measure
Materials:
- New kitchen sink
- New drain assembly (usually comes with the sink)
- P-trap and drain pipe (replace if they look old)
- Plumber’s tape (Teflon tape)
- Garbage disposal mounting kit (if applicable)
- Water supply lines (replace old braided lines while you’re at it)
Pro tip: Buy supply lines even if you think you don’t need them. Old lines crack when you loosen them. New ones cost under $10 and give you peace of mind.
Step-by-Step Guide: How to Replace and Install a Kitchen Sink

This is the full process. Take your time with each step. Rushing causes leaks.
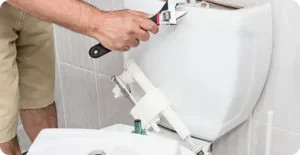
Step 1: Turn Off the Water Supply
Find the shut-off valves under the sink. Turn them clockwise until they stop. Then turn on the faucet to release any pressure still in the lines.
Place a bucket under the pipes. Water will drip when you start disconnecting.
Step 2: Disconnect the Water Supply Lines
Use an adjustable wrench to loosen the nuts connecting the supply lines to the shut-off valves and the faucet. Keep your bucket ready. Some water will still flow out even after shutting off the valves.
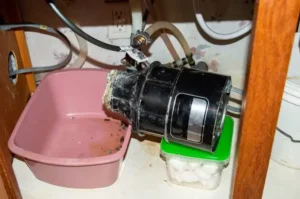
Step 3: Disconnect the Drain and P-Trap
The P-trap is the curved pipe under your sink. Loosen the slip nuts by hand or with pliers. Pull the trap away and empty any water into your bucket.
If you have a garbage disposal, disconnect the drain hose and the electrical connection. Never skip unplugging it first.
Step 4: Remove the Old Sink
For a drop-in sink, look under the counter for mounting clips. Use a screwdriver to loosen each one until the sink lifts free from above.
Run a utility knife along the old caulk seal around the sink edge. This breaks the bond. Then push the sink up from below or lift it from above.
Old sinks can be heavy. Get someone to help you lift cast iron or farmhouse styles.
Step 5: Clean the Countertop Opening
Scrape off all the old caulk and putty from around the opening. Use a putty knife. The surface needs to be clean and flat for your new sink to seal properly.
Wipe the area with a damp cloth and let it dry completely.
Step 6: Prepare the New Sink
Before lowering it in, attach as much as possible from above. This includes:
- Faucet installation
- Drain strainer or basket
- Garbage disposal flange (if applicable)
- Any clips that mount from below
It’s much easier to attach these components when the sink is on a flat surface than when it’s already installed.
Apply plumber’s putty or silicone caulk around the drain opening before inserting the strainer. Silicone is better for stainless steel. Putty works well for cast iron.
Step 7: Lower the Sink Into the Opening
Apply a thin, even bead of silicone caulk around the rim of the sink or the countertop opening, depending on your sink type.
Carefully lower the new sink into the cutout. Press it down firmly so the seal makes full contact.
Step 8: Secure the Sink
From underneath, hand-tighten the mounting clips. Space them evenly around the sink perimeter. Then tighten them fully with a screwdriver. Don’t overtighten. You can crack the caulk seal or warp the sink.
Wipe away any excess caulk that squeezes out from the edge. Use a damp cloth for a clean finish.
Step 9: Reconnect the Drain and P-Trap
Attach the drain basket to the drain pipe. Connect the P-trap back in place. Tighten the slip nuts firmly by hand, then give them a quarter turn with pliers.
Don’t overtighten plastic fittings. They strip easily.
Step 10: Reconnect the Water Supply Lines
Thread the supply lines onto the shut-off valves and the faucet connections. Use Teflon tape on the threads before tightening. Hand-tighten first, then snug them up with a wrench. One quarter turn past hand-tight is usually enough.
Step 11: Turn the Water Back On and Test
Slowly open the shut-off valves. Turn on the faucet and let water run for two full minutes. Watch underneath with a flashlight.
Check every connection point for drips. Check the drain basket seal. Check the P-trap. If you see any dripping, tighten that connection slightly and test again.
Run water in both basins if you have a double sink. Check the full path from faucet to drain.
You can read about: How to Install a Garbage Disposal Unit
Common Mistakes to Avoid During Sink Installation
This section alone can save you a second trip to the hardware store.
- Not measuring the cutout first: A sink that’s slightly too big won’t fit. A sink that’s too small leaves an ugly gap. Always measure the opening, not just the old sink.
- Skipping the faucet install before placement: Once the sink is set, accessing the mounting nuts is a nightmare. Install the faucet first.
- Using too little sealant: A thin bead of silicone leads to leaks in 6 to 12 months. Apply a full, continuous bead with no gaps.
- Overtightening drain connections: Plastic slip nuts and drain locknuts crack under too much force. Firm hand-tight plus a quarter turn is enough.
- Ignoring the P-trap angle: A flat or upward-sloping P-trap causes slow drains. It must slope downward toward the wall.
- Not replacing old supply lines: Old braided lines can fail at the worst time. New stainless steel lines cost $10 and are worth it.
Tips for a Successful Kitchen Sink Replacement
These tips come from real plumbing experience, not from guessing.
- Replace your supply lines every time. Old braided lines fail without warning.
- Take photos before disconnecting anything. You will thank yourself when reconnecting.
- Don’t mix metal and plastic fittings without a transition fitting. Different materials expand and contract differently.
- Let silicone cure fully before using the sink. Most products need 24 hours.
- Check local building codes. Some areas require a permit for sink replacement that changes drain location.
- Label your shut-off valves after the job. Write “HOT” and “COLD” with a marker. In the future you will appreciate it.
- Use a drop cloth in your cabinet. Drips and silicone are hard to clean from cabinet wood.
Best Kitchen Sinks for Easy Installation: Top Picks for DIYers
If you want a sink that makes the installation process easier, these styles consistently get high marks from DIY homeowners.
Best Drop-In Sink for Beginners: Look for stainless steel drop-in sinks with pre-drilled faucet holes and included mounting clips. Brands like Elkay, Kraus, and Kohler all make reliable options in this category. They fit standard 33-inch cutouts and come with everything you need.
Best for Kitchen Renovation: If you are also replacing countertops, an undermount sink gives you a cleaner look. Pair it with granite or quartz countertops for a high-end finish.
Best for Deep Cleaning: Single basin sinks are better for washing large pots and sheet pans. A 9 to 10 inch depth is ideal for most households.
Best Budget-Friendly Option: 16-gauge stainless steel sinks from brands like Moen or American Standard offer durability without the high price tag. Look for brushed finishes to hide scratches better.
Cost of a Kitchen Sink Replacement
Understanding the cost helps you plan before you start.
| Item | DIY Cost | With Contractor |
| Basic drop-in sink | $80 – $250 | $80 – $250 |
| Mid-range stainless sink | $200 – $500 | $200 – $500 |
| High-end farmhouse sink | $500 – $1,500 | $500 – $1,500 |
| Labor (plumber) | $0 if DIY | $150 – $400 |
| Faucet (if replacing) | $50 – $300 | $50 – $300 |
| P-trap and supply lines | $20 – $50 | $20 – $50 |
Doing the job yourself saves $150 to $400 in labor costs on average. Most homeowners who follow a clear guide complete the job in two to four hours.
When to Hire a Professional Installer
DIY sink installation works for most standard setups. But some situations genuinely need a pro.
Call a licensed plumber if:
- Your main shut-off valve is stuck or corroded and won’t close
- You discover water damage or mold inside the sink cabinet during removal
- The drain location needs to move to fit your new sink
- You’re installing a gas line near the new sink area (this always needs a pro)
- The countertop needs cutting to fit a larger sink
- You find active leaks in the main drain stack
If you are in Southern California, Derks Plumbing offers expert Plumbing Services In Los Angeles
for kitchen sink installation and replacement. Their licensed plumbers handle everything from simple drop-in replacements to full under-sink drain rerouting. Getting a professional assessment first can save you from a costly mistake.
A professional kitchen sink installation typically takes one to two hours for a straightforward job. If issues arise behind the wall or under the floor, that timeline extends. A licensed plumber is also required for permitted work in most California counties.
Conclusion
Replacing a kitchen sink is one of the most rewarding home improvement projects you can do yourself. It’s a manageable job when you have the right tools, a clear plan, and patience during every step.
Follow the steps in this guide from start to finish. Shut off the water first, take your time with connections, test everything before closing up the cabinet, and let your silicone cure before heavy use.
Whether you are doing a full kitchen renovation or simply upgrading an aging sink, knowing how to replace and install a kitchen sink gives you confidence and saves real money.
And if the job turns out to be more than expected, don’t hesitate to call a licensed professional. There’s no shame in knowing your limits.

FAQs
Q: How long does it take to replace a kitchen sink?
A: Most DIY sink replacements take two to four hours. If you are replacing the faucet and drain at the same time, add another hour.
Q: Do I need a permit to replace a kitchen sink?
A: In most cases, no. Replacing a sink in the same location with the same drain connection usually does not require a permit. But if the drain location changes, check with your local building department.
Q: Can I replace a kitchen sink without turning off the main water supply?
A: Yes, if your under-sink shut-off valves work properly. Turn them off first. Only shut off the main supply if the local valves are stuck or broken.
Q: What is the hardest part of kitchen sink installation?
A: Working in a tight cabinet space with a basin wrench is usually the toughest part. Getting the mounting clips tight from below takes patience.
Q: Do I need to hire a plumber for sink replacement?
A: Not always. A standard drop-in sink replacement is beginner-friendly. You need a plumber when drain relocation, permits, or structural work is involved.