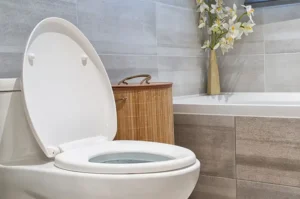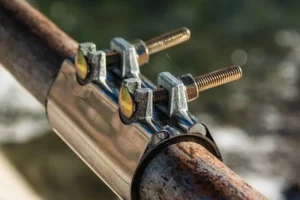
Your toilet keeps running and the water bill is climbing. Nine times out of ten, the fill valve is the problem. The good news is that replacing it takes less than 30 minutes and costs under $20 in parts. No plumber required for most homeowners.
Knowing how to install toilet fill valve correctly means no leaks, no wasted water, and a quiet tank after every flush. This guide walks you through every step, every tool, and every mistake to avoid.
What Is a Toilet Fill Valve?
The fill valve is the part inside your toilet tank that refills it with water after every flush.
When you flush, the flapper opens and water drains from the tank into the bowl. Once the tank empties, the fill valve turns on and sends water back in. When the water reaches the right level, the valve shuts off automatically.
It is also called a ballcock in older toilets. Modern fill valves are float-cup style or floatless. They are more reliable, quieter, and easier to adjust than the old ballcock design.
Without a working fill valve, your toilet either will not refill at all or it will run constantly. Both waste water and money.
Signs You Need to Replace a Toilet Fill Valve
Do not wait for a flood to act. Watch for these warning signs.
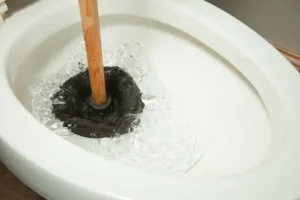
The toilet runs non-stop. If you hear water trickling in the tank after the flush cycle should be done, the fill valve is failing. It may not be shutting off at the right water level.
The tank takes too long to fill. A healthy fill valve refills the tank in 30 to 60 seconds. If yours takes 3 to 5 minutes, the valve is clogged or worn out.
You hear a hissing or whistling sound. That noise is water forcing through a damaged or partially blocked valve.
The water level is too high or too low. If water sits above the overflow tube or the tank never fills fully, the valve is not regulating correctly.
The toilet randomly flushes on its own. This is called ghost flushing. It often means water is trickling from the tank into the bowl, but a bad fill valve can trigger it too.
Any one of these signs is reason enough to install fill valve toilet parts right away.
You can read about: Why Do Toilet Valves Go Bad
Tools and Materials Needed
You do not need a toolbox full of equipment. Here is the short list.
Tools:
- Adjustable wrench or channel-lock pliers
- Sponge or small towel
- Bucket
- Flathead screwdriver (sometimes)
Materials:
- New toilet fill valve (Fluidmaster 400A or equivalent)
- New supply line (optional but recommended if yours is old)
The Fluidmaster 400A is the most widely used fill valve in the US. It fits almost every toilet tank and costs around $10 to $15. You can find it at any hardware store or online.
Buy a new braided supply line while you are at it. If yours is plastic or more than 5 years old, replace it at the same time.
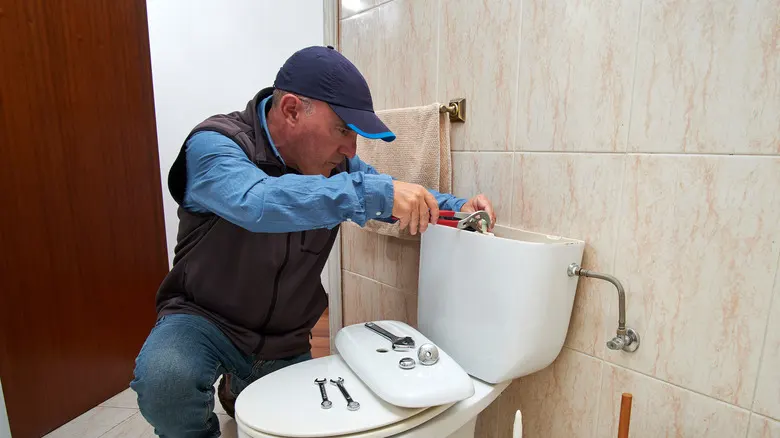
Step by Step: How to Install Toilet Fill Valve
Follow these steps in order. Do not skip steps to save time. Each one matters.
Step 1: Turn Off the Water Supply
Find the shut-off valve on the wall behind or below the toilet. Turn it clockwise until it stops. Flush the toilet once to drain most of the water from the tank.
If the shut-off valve is stuck or does not work, turn off the main water supply to your home. A stuck shut-off valve should be replaced, but that is a separate job.
Step 2: Remove Remaining Water from the Tank
Even after flushing, 1 to 2 inches of water stays in the bottom of the tank. Use a sponge to soak it up. Wring the sponge into a bucket. Get the tank as dry as possible. This prevents water from spilling on the floor when you remove the old valve.
Step 3: Disconnect the Water Supply Line
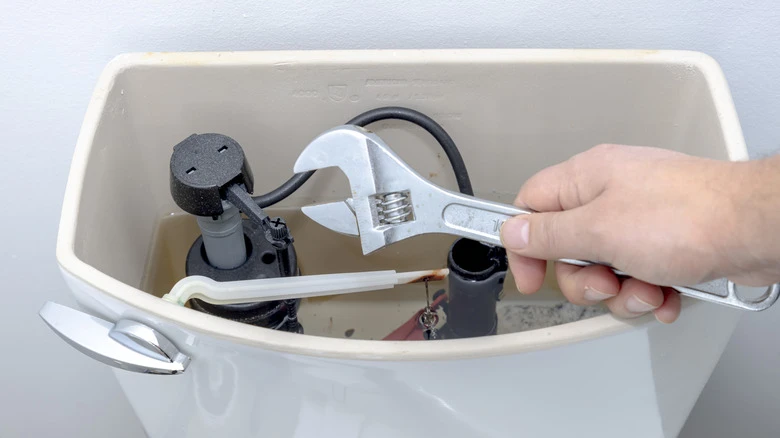
Under the tank, you will see a supply line connecting the shut-off valve to the bottom of the tank. Use your wrench to unscrew the nut connecting it to the fill valve shank at the bottom of the tank. Have a towel ready. A little water will drip out.
Step 4: Remove the Old Fill Valve
Look under the tank. You will see the fill valve shank sticking through a hole in the tank bottom. There is a large plastic locknut holding it in place. Turn it counterclockwise to loosen. Hand-tight is usually enough to remove it.
Once the locknut is off, lift the old fill valve straight up and out of the tank. Discard it.
Step 5: Prepare the New Fill Valve
Take your new fill valve out of the box. Most modern valves like the Fluidmaster 400A have an adjustable shank height. This is important.
Hold the new valve next to the overflow tube inside the tank. The critical fill line on the valve should sit about 1 inch below the top of the overflow tube. Twist the shank to adjust the height until it lines up.
This adjustment prevents overfilling the tank, which wastes water and can cause the valve to run constantly.
Step 6: Install the New Fill Valve
Drop the new valve into the hole in the bottom of the tank. Make sure the shank goes straight through the hole. Press down firmly so the rubber gasket on the underside of the tank seals against the tank bottom.
Go underneath the tank. Thread the plastic locknut onto the shank by hand. Turn it clockwise. Tighten it with your hand until it is snug, then give it one more quarter turn with your wrench. Do not overtighten. The plastic threads can crack.
Step 7: Attach the Refill Tube
Inside the tank, you will see a small flexible tube clipped onto the fill valve. This is the refill tube. It should direct water into the overflow tube, not just hang loosely.
Clip the refill tube to the top of the overflow tube using the plastic clip included with your new valve. Make sure it sits inside the tube, not resting on the rim. If the tube is submerged below the waterline, it can cause siphoning and make the toilet run. Trim the tube if needed.
Step 8: Reconnect the Water Supply Line
Thread the supply line back onto the fill valve shank under the tank. Hand-tighten first, then use your wrench for a quarter turn more. Do not overtighten the supply line either. Snug is enough.
Step 9: Turn the Water Back On and Adjust
Slowly turn the shut-off valve counterclockwise to restore water. Watch the tank fill. The water should stop about 1 inch below the top of the overflow tube.
Most Fluidmaster valves have an adjustment clip or screw on top. Turn it to raise or lower the fill level. Set it so the tank fills to the marked waterline, usually found on the inside of the tank wall.
Step 10: Check for Leaks
Let the tank fill completely. Flush once. Watch the full fill cycle. Check under the tank and around the supply line connection for any drips.
Dry the connections with a paper towel and watch for new moisture. If you see a drip, tighten the connection slightly and check again.
That is the complete process to install a toilet fill valve from start to finish.
You can read about: How to Install a Toilet
How to Adjust Water Level After Installing Fill Valve
Getting the water level right is just as important as the install itself.
The correct water level sits about 1 inch below the top of the overflow tube. Most tanks have a line printed or molded on the inside wall showing the ideal fill level.
For Fluidmaster 400A:
- Turn the adjustment screw on top of the valve clockwise to raise the water level.
- Turn counterclockwise to lower it.
- Flush and recheck until the level is correct.
Too high and water spills into the overflow tube, causing the toilet to run constantly. Too low and the flush power is weak.
Common Mistakes to Avoid
Even simple jobs go wrong. Here are the mistakes that cause the most problems.
Not turning off the water first. This sounds obvious. But in a rush, some people skip it. The result is water everywhere.
Overtightening the locknut. Plastic locknuts crack under too much force. Hand-tight plus one quarter turn is all you need.
Wrong refill tube position. If the refill tube sits below the water level in the overflow tube, it creates a siphon. This causes the toilet to run constantly even with a brand new valve.
Not adjusting the float height. Installing the valve at the wrong height means the tank overfills or underfills. Take the 60 seconds needed to set this correctly.
Skipping the leak check. Always test fully before calling the job done. A slow drip under the tank can cause floor damage over weeks.
Reusing an old supply line. Old plastic supply lines crack without warning. A $5 braided line is good insurance.
How Long Does a Toilet Fill Valve Last?
A quality fill valve lasts 5 to 7 years on average. Some last longer with good water quality and minimal mineral buildup.
Hard water shortens fill valve life. Calcium and mineral deposits clog the valve seat and float mechanism. If you live in a hard water area, descale your valve once a year by soaking the cap in white vinegar for an hour.
Signs your valve is near the end of its life: constant running, hissing sounds, slow fill, and water level that will not hold steady. When two or more of these appear together, replacement is the right call.
Benefits of Replacing a Toilet Fill Valve
A new fill valve does more than stop the running noise.
Lower water bills. A running toilet wastes 200 gallons of water per day. That adds up fast on your monthly bill.
Quieter bathroom. New valves are designed to fill quietly. No more hissing, whistling, or gurgling sounds.
Better flush performance. When the tank fills to the right level every time, each flush uses the correct amount of water. Flush power improves.
Fewer future repairs. A new valve gives you another 5 to 7 years of reliable operation with no attention needed.
Environmental benefit. Stopping a running toilet is one of the easiest ways to reduce household water waste.
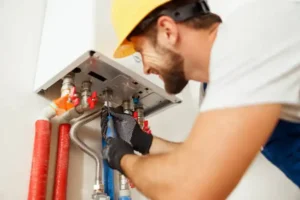
When to Call a Professional Plumber
Most homeowners handle a fill valve swap with no problem. But some situations call for a pro.
The shut-off valve is stuck or broken. A corroded shut-off valve that will not turn needs replacement. This is a plumbing job that requires turning off the home’s main water supply and soldering or pressing new fittings.
The tank is cracked. If you notice cracks in the porcelain tank while doing this job, stop. A cracked tank needs full toilet replacement.
The toilet is old and has multiple problems. Sometimes a fill valve is just one of several failing parts. A plumber can assess whether repair or replacement makes more sense.
Water keeps leaking after the new valve is installed. If you tightened everything correctly and still see drips, there may be a crack in the tank or a damaged tank-to-bowl gasket.
You are not comfortable with plumbing work. There is no shame in calling a professional. Water damage from a DIY mistake costs far more than a service call.
For Toilet Installation in Eagle Rock, the team at Derks Plumbing handles everything from fill valve swaps to full toilet replacements. Their licensed plumbers get the job done right the first time, with no mess and no call backs.

Final Thoughts
A toilet fill valve is a small part with a big job. When it fails, your toilet runs, your water bill rises, and the noise never stops. Replacing it is one of the most practical DIY plumbing jobs a homeowner can do.
Now that you know how to install toilet fill valve parts correctly, you have everything you need to get it done. Turn off the water, swap the valve, set the float height, and check for leaks. The whole job takes under 30 minutes and costs less than $20.
If anything goes wrong or the job feels beyond your comfort level, Derks Plumbing is always ready to help.
Frequently Asked Questions
How to install a toilet fill valve without any plumbing experience?
Yes, most homeowners can do this. You need basic tools, a new fill valve, and 30 minutes. Follow the step by step guide above carefully. The job does not require cutting pipes or soldering.
How long does it take to install fill valve toilet parts?
For most people, 20 to 30 minutes. Your first time may take 45 minutes. After that, it gets faster.
Do I need to replace the supply line when I install a new fill valve?
Not always, but it is a good idea. If your supply line is plastic or older than 5 years, replace it at the same time. Braided stainless lines are inexpensive and far more reliable.
How do I know what size fill valve to buy?
Most modern fill valves like the Fluidmaster 400A are universal and adjust to fit almost any toilet. Check the shank height range on the package and compare it to your tank depth.
Why does my toilet still run after I install a new fill valve?
Check the refill tube position first. If it sits below the waterline inside the overflow tube, it creates a siphon. Also check that the float is set to the correct water level. If neither fixes it, the flapper may also need replacement.
Can I install fill valve toilet parts in a wall-mounted toilet?
Wall-mounted or concealed cistern toilets are more complex. The tank is hidden inside the wall. These require a professional for fill valve replacement in most cases.
How to change the toilet fill valve if the locknut is stuck?
Use channel-lock pliers for extra leverage. If it still will not budge, spray a penetrating lubricant like WD-40 around the nut and wait 10 minutes before trying again. Do not use excessive force or you may crack the tank.