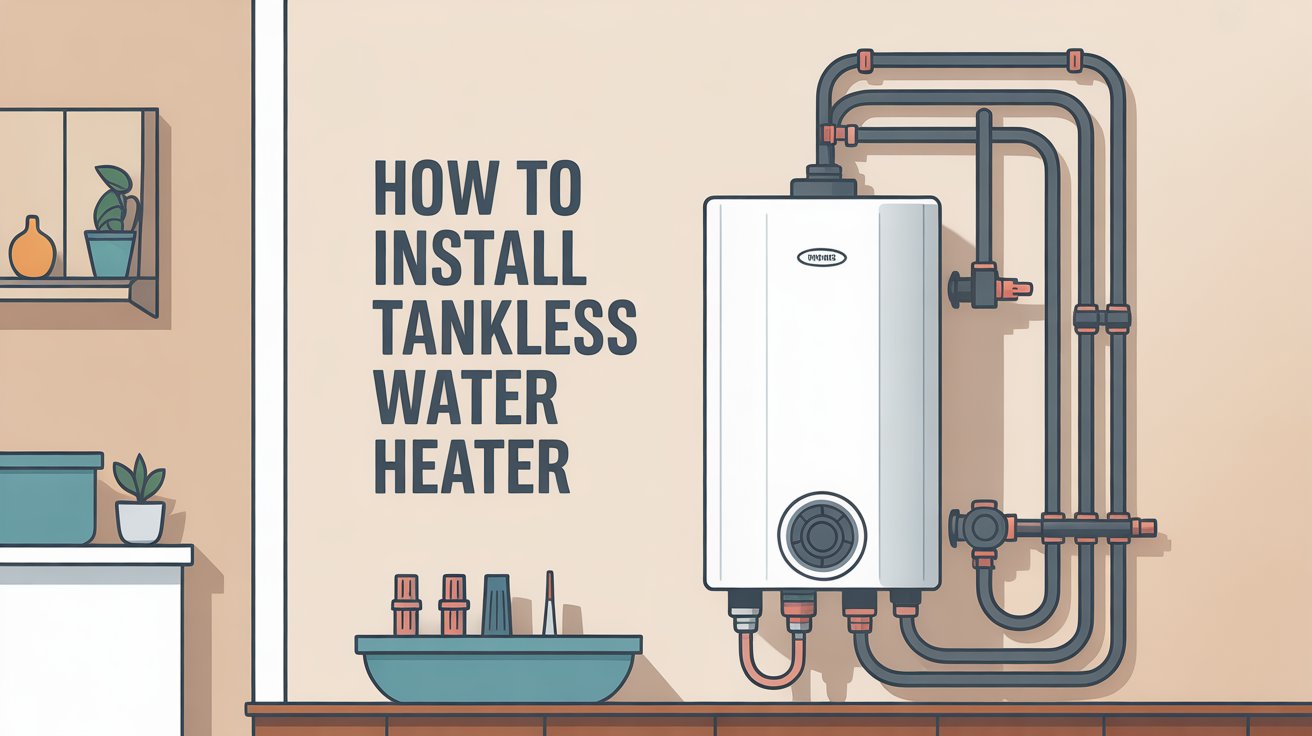
Installing a tankless water heater requires disconnecting your old tank, mounting the new unit, connecting gas or electric lines, plumbing the water pipes, and running proper exhaust venting. While a skilled homeowner with advanced plumbing and electrical skills can handle it, professional installation ensures compliance with local building codes, safety rules, and manufacturer warranties.
Many homeowners switch to on-demand systems to eliminate bulky storage tanks and save money on monthly utility bills. Learning how to install tankless water heater systems requires precise layout planning, proper venting tools, and exact fuel pipe sizing. Once up and running, these energy-saving units provide a continuous supply of hot water for your entire family.
What Is a Tankless Water Heater and How Does It Work?
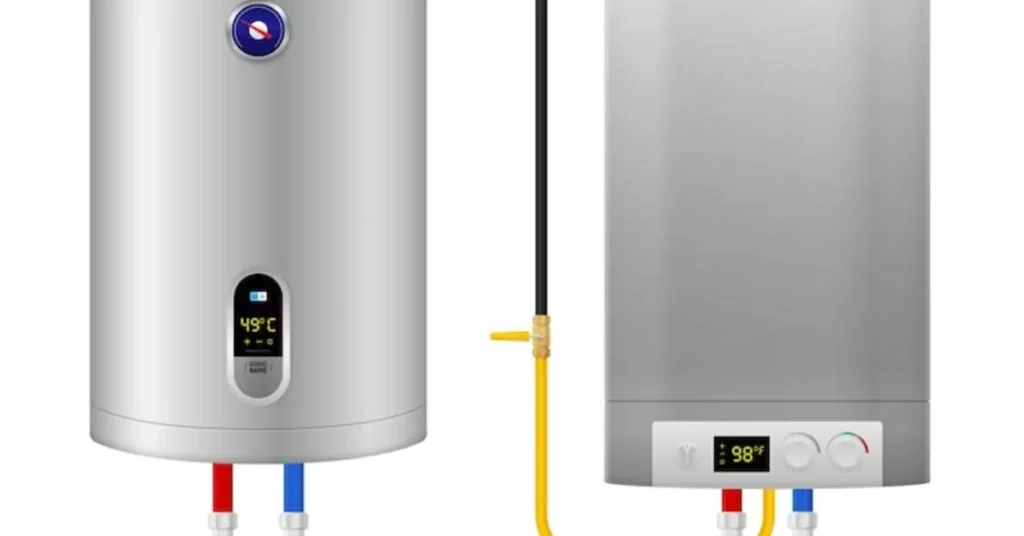
A tankless water heater heats water instantly as it flows through the unit. Unlike standard water heaters, it does not keep 40 to 50 gallons of water hot all day inside a large storage tank.
When you turn on a hot water faucet, cold water travels into the unit through a pipe. A sensor detects the water flow and fires up either a gas burner or an electric heating element. The water passes through a small copper pipe network called a heat exchanger. The heat exchanger warms the water up to your set temperature in seconds. Once you turn off the faucet, the water flow stops, and the heating element shuts down immediately.
Benefits of Installing a Tankless Water Heater
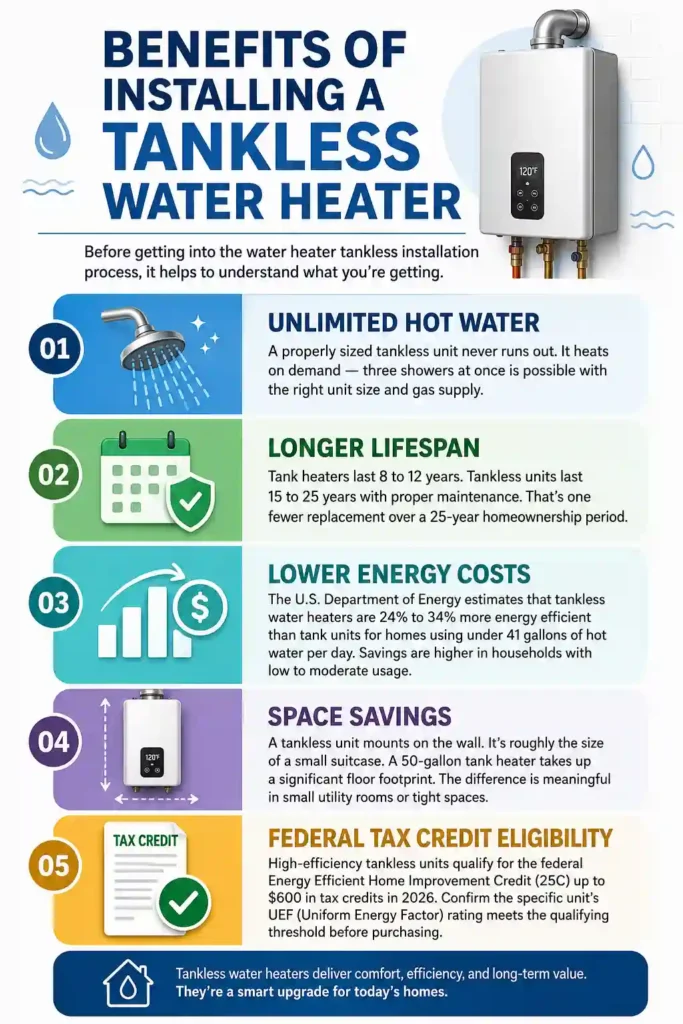
Before getting into the water heater tankless installation process, it helps to understand what you’re getting.
Unlimited hot water. A properly sized tankless unit never runs out. It heats on demand three showers at once is possible with the right unit size and gas supply.
Longer lifespan. Tank heaters last 8 to 12 years. Tankless units last 15 to 25 years with proper maintenance. That’s one fewer replacement over a 25-year homeownership period.
Lower energy costs. The U.S. Department of Energy estimates that tankless water heaters are 24% to 34% more energy efficient than tank units for homes using under 41 gallons of hot water per day. Savings are higher in households with low to moderate usage.
Space savings. A tankless unit mounts on the wall. It’s roughly the size of a small suitcase. A 50-gallon tank heater takes up a significant floor footprint. The difference is meaningful in small utility rooms or tight spaces.
Federal tax credit eligibility. High-efficiency tankless units qualify for the federal Energy Efficient Home Improvement Credit (25C) up to $600 in tax credits in 2026. Confirm the specific unit’s UEF (Uniform Energy Factor) rating meets the qualifying threshold before purchasing.
Types of Tankless Water Heaters
You must choose between three main types of tankless water heaters based on your fuel source and household layout:
Gas Tankless Water Heaters: These units use natural gas or propane. They have high flow rates and easily supply enough hot water for large homes with multiple bathrooms.
Electric Tankless Water Heaters: These units use high-voltage electrical heating elements. They are cheaper to buy and do not need exhaust pipes, but they require heavy electrical panel capacity.
Point-of-Use Systems: These are small units installed right under a single sink or next to a washing machine. They supply hot water to one single fixture.
How to Choose the Right Size Tankless Water Heater
Sizing depends on flow rate and temperature rise. Flow rate is how many gallons per minute (GPM) you need at once. Add up the GPM for every fixture you might run at the same time, like a shower and a washing machine.
Temperature rise is the difference between your incoming water temperature and the hot water temperature you want. Colder climates need a unit with a higher temperature rise capacity. Undersizing is one of the most common mistakes homeowners make, so check the manufacturer’s sizing chart against your home’s actual water use before you buy.
Tools and Materials Needed
Gather these items before you start working on your water heater tankless installation:
Required Tools
- Pipe wrenches and adjustable wrenches
- Copper pipe cutter or PEX cutter
- Propane torch and lead-free solder (for copper pipes)
- Screwdrivers and cordless drill
- Non-contact voltage tester
- Gas leak detector solution or soapy water
Required Materials
- Tankless water heater unit
- Isolation valves (service valves)
- Gas supply line flex connector (for gas units)
- Approved venting pipes (PVC, CPVC, or stainless steel)
- Copper or PEX piping and fittings
- Pressure relief valve
- Wall mounting brackets and heavy-duty screws
Tankless Water Heater Installation Requirements
Every install must meet local building codes and the manufacturer’s instructions. This usually means proper clearance around the unit, correct venting material, a dedicated gas or electric supply line, and isolation valves for future maintenance.
Skipping isolation valves now means a bigger headache during your first maintenance visit.
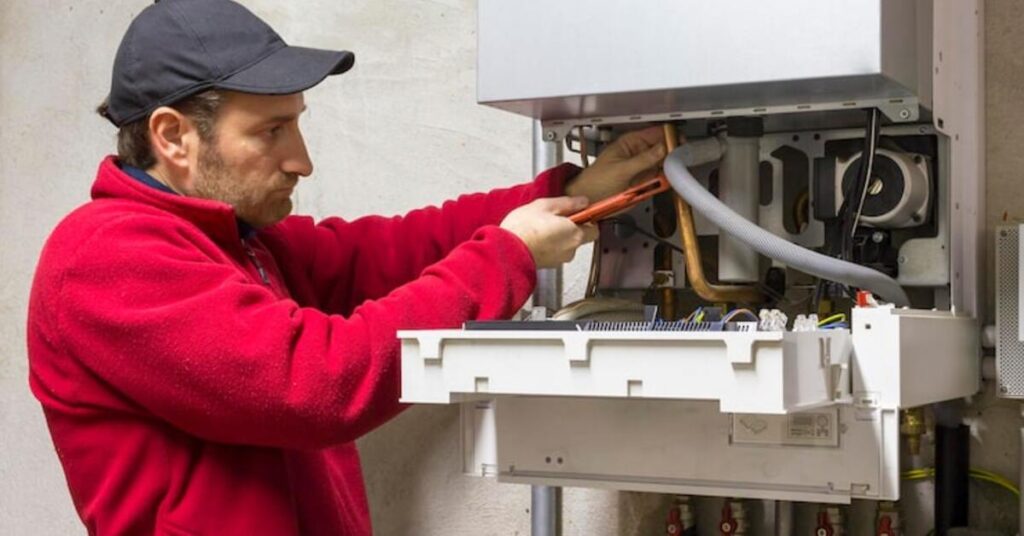
Can You Install a Tankless Water Heater Yourself?
You can install tankless water heater systems yourself if you have advanced DIY skills in plumbing, electrical work, and gas piping. However, it is a highly technical task.
Working with natural gas or high-voltage electricity carries serious safety risks. Messing up the exhaust venting can cause dangerous carbon monoxide leaks in your home. Additionally, many manufacturers will void your product warranty if a licensed professional does not perform the installation. If you feel unsure about any step, it is best to hire a licensed plumber.
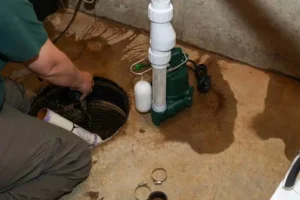
How to Remove the Old Water Heater Before Installation
Before you can work on your water heater installation tankless upgrade, you must safely remove the old tank:
Turn Off Utilities: Shut off the gas valve on the supply line, or flip the dedicated circuit breaker to “off” if you have an electric tank.
Close Water Supply: Turn off the main cold water inlet valve leading into the top of the water tank.
Drain the Tank: Hook a garden hose to the drain valve at the bottom of the tank. Run the other end of the hose to a floor drain or outside. Open a hot water faucet upstairs to break the vacuum, then open the drain valve to let the water empty out.
Disconnect Pipes: Use pipe wrenches to disconnect the hot and cold water lines. Disconnect the gas line or electrical wiring, and unhook the old exhaust flue pipe.
Remove the Tank: Carefully haul the heavy old tank out of the work area.
Step-by-Step Guide: How to Install Tankless Water Heater
Follow these step-by-step instructions carefully to ensure a safe and long-lasting installation:
Step 1: Mount the Unit to the Wall
Locate the wall studs using a stud finder. Mark the position for your new unit. Secure the steel mounting bracket firmly to the wood studs using heavy lag screws. Hang the tankless water heater onto the bracket and ensure it sits perfectly level.
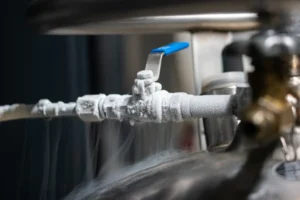
Step 2: Install the Isolation Valves
Attach the specialized hot and cold isolation valves directly to the bottom water inlets of the tankless unit. These valves allow you to shut off water to the unit and flush out mineral scale during yearly maintenance. Install the included pressure relief valve onto the hot water isolation valve to prevent dangerous pressure buildup.
Step 3: Connect the Water Lines
Run new copper or PEX pipes from your home’s main lines to the isolation valves. Connect your cold water supply line to the cold inlet (marked in blue). Connect your home’s hot water distribution line to the hot outlet (marked in red). Clean, flux, and solder copper joints before connecting them to the unit so you do not damage the internal rubber seals with heat.
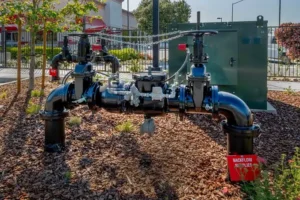
Step 4: Connect the Gas or Electric Supply
For gas units, connect a certified sediment trap and a flexible gas line from the gas shutoff valve to the unit’s gas inlet. For electric units, feed the correct gauge wire from your electrical panel through an approved conduit box and attach the wires to the internal terminal block.
Step 5: Install the Venting System
Connect the approved vent piping to the top exhaust collar of the unit. Run the pipe through an exterior wall or out through the roof according to the exact instructions in your manual.
Step 6: Test for Leaks and Start Up
Open the main water valve and check all pipe joints for wet spots. Turn on the gas supply and spray soapy water on the gas connections; if bubbles form, tighten the fittings. Open a hot water faucet in your home to bleed air out of the pipes. Plug the unit into a grounded outlet or turn on the circuit breaker, set the temperature display to 120°F, and check for warm water.
You can read about: How Much to Install Tankless Water Heater
Tankless Water Heater Venting Requirements
Proper venting is critical for gas units to exhaust carbon monoxide outside safely:
Direct Venting: This system uses two pipes. One pipe draws fresh air from outside into the sealed combustion chamber, while the second pipe pushes exhaust gases out.
Material Selection: Category III stainless steel pipes are required for traditional gas units because the exhaust is highly corrosive. Modern condensing units can use cheap PVC or CPVC pipes because they cool the exhaust down before venting it.
Termination Clearance: The outdoor vent cap must sit at least 12 inches above the maximum snow line and must stay away from windows, doors, and fresh air intakes.
Gas vs. Electric Tankless Water Heater Installation
The installation process changes significantly depending on your power source:
Gas Units
Gas models require a steady supply of fuel to feed the burners. You often must upgrade your home’s gas line from a standard 1/2-inch pipe to a larger 3/4-inch pipe to deliver enough fuel volume. They also require complex venting out through an exterior wall.
Electric Units
Electric models do not need any exhaust venting or gas lines. However, they draw huge amounts of electricity. A whole-house electric unit often requires two, three, or four separate 40-amp circuit breakers and a 200-amp main home electrical panel to function safely.
Do You Need a Permit to Install a Tankless Water Heater?
Yes, almost every city and county requires a building permit to installing tankless water heater upgrades.
Local building departments require permits because the job involves critical safety systems, including high-pressure gas connections, structural electrical wiring, and direct exhaust venting. After finishing the installation, a city inspector will visit your home to check the work. They make sure the unit complies with local plumbing and safety codes to protect your family and your property value.
Tankless Water Heater Installation Cost
Upgrading to a tankless system carries a higher upfront cost than dropping in a traditional tank:
Expense Category | Average Cost Range |
Tankless Unit Cost | $600 – $2,500 |
Professional Labor | $1,500 – $3,500 |
Venting and Piping Supplies | $300 – $800 |
Total Estimated Cost | $2,400 – $6,800 |
The final price depends on how much work is needed to run new gas lines, upgrade your electrical panel, or install proper exterior venting through your home’s walls.
Common Mistakes During Tankless Water Heater Installation
Avoid these typical installation mistakes to ensure your system runs smoothly:
Undersizing the Gas Supply Line: Using a small 1/2-inch gas line causes the unit to starve for fuel, which triggers error codes and sudden temperature drops.
Using Improper Vent Materials: Using standard plastic plumbing pipe on a non-condensing gas unit can cause the exhaust pipes to melt and leak toxic gases.
Omitting Isolation Valves: Skipping these valves means you cannot attach a pump kit to flush out hard water mineral crusts, which shortens the system’s life.
Mixing Dissimilar Metals: Connecting copper pipes directly to galvanized steel fittings causes fast galvanic corrosion, leading to plumbing leaks.
Tankless Water Heater Maintenance Tips After Installation
Keep your new tankless system running efficiently with these straightforward maintenance tasks:
Flush the System Yearly: Connect a utility pump to your isolation valves. Pump 4 gallons of food-grade white vinegar through the heat exchanger for 60 minutes to dissolve mineral scale buildup.
Clean the Cold Water Inlet Filter: Shut off the water supply, remove the small screen filter from the cold water inlet, rinse off trapped sediment, and screw it back in.
Inspect the Vent Terminal: Check the outdoor exhaust cap monthly to clear away leaves, bird nests, or ice blockage.
Conclusion
Upgrading to a tankless system is an excellent way to get an endless supply of hot water and reduce your home energy costs. While the step-by-step process is clear, managing gas connections, high-voltage wiring, and specific structural venting requires precision and close attention to detail.
If you want a safe and stress-free upgrade, contact Derks Plumbing. Our licensed technicians specialize in professional Tankless Water Heater Installation in Eagle Rock, ensuring your new system meets all local building codes and operates at peak efficiency for decades.
FAQs
Can I convert from a tank water heater to tankless?
Yes, but the switch often needs new venting or panel upgrades, so a professional assessment helps first.
Do tankless water heaters need a special outlet?
Electric models often need a dedicated circuit sized for their amperage draw, so check your panel capacity first.
How long does it take to install a tankless water heater?
A straightforward replacement takes a professional plumber 4 to 6 hours. If your home needs extensive upgrades to the gas lines, water pipes, or electrical panel, the project can take 1 to 2 days.
Can I use the existing vent from my old water tank?
No. Standard water tanks use atmospheric B-vent pipes. Tankless gas systems use powerful internal fans to blast hot exhaust out, which requires sealed Category III stainless steel or specialized PVC pipes.
Do tankless water heaters provide hot water instantly?
They heat the water instantly, but you still have to wait for that hot water to travel through the pipes from the heater to your open faucet.