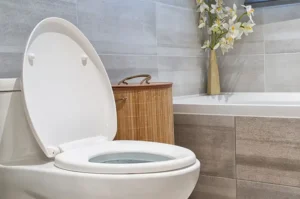
Installing a toilet shut off valve is a vital skill for any homeowner. You can finish this project in under an hour by turning off the main water, cutting the old pipe, and securing a new compression or push-fit valve. This simple fix prevents leaks and makes future bathroom repairs much easier to handle.
Learning how to install a shut off valve for toilet protects your home from sudden water damage. At Derks Plumbing, we believe every homeowner should know the basics of their water system. This guide will help you choose the right part and install it like a pro using basic tools you likely already own.
What Is a Toilet Shut Off Valve?
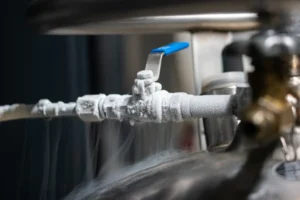
A toilet shut off valve is a small valve located on the water supply line behind or beneath your toilet. It controls the water flow into the toilet tank. When you need to make repairs or stop a leak, this valve lets you cut the water supply without turning off water to your whole house.
Most homes have one of two types: a compression valve or a ball valve. The valve connects the supply line from the wall to the bottom of the toilet tank.
Quick Fact: Shut off valves are also called “stop valves” or “supply valves.” They all do the same job.
Signs You Need to Replace or Install a New Valve
Not sure if your valve needs attention? Look for these warning signs:
- Water pooling around the base of your toilet
- The valve handle is stuck and won’t turn
- Slow or weak water refill after flushing
- Visible corrosion, rust, or mineral buildup on the valve body
- Dripping water from the valve connection point
- You’re doing a full toilet replacement and the old valve is worn
If you spot any of these issues, it’s time to replace the toilet water supply valve. Waiting too long can lead to bigger water damage and higher repair costs.
Tools and Materials You’ll Need
Before you start, gather everything you need. Running back to the hardware store mid-job is frustrating.
Tools
- Adjustable wrench or channel-lock pliers
- Pipe cutter or hacksaw (if cutting copper pipe)
- Bucket and old towels
- Teflon tape (also called plumber’s tape)
- Flashlight or headlamp
- Screwdriver (flathead)
Materials
- New shut off valve (match the type to your pipe)
- New supply line (flexible braided stainless is best)
- Compression ring and nut (if not included with valve)
Pro Tip: Bring your old valve to the hardware store. This helps you match the size and thread type exactly.
Types of Toilet Shut Off Valves Explained
Choosing the right valve matters. The wrong type won’t fit your pipe or may leak. Here are the main options:
1. Compression Valve
This is the most common type in older homes. It uses a brass ring that compresses around the pipe when you tighten the nut. No soldering needed. Works on copper and plastic pipe.
2. Ball Valve
Ball valves use a rotating ball mechanism inside. They’re very reliable and tend to last longer. They open and close with a quarter-turn handle. Great for new installs.
3. Angle Stop Valve
This is the standard shape for most toilets. The inlet comes from the wall and the outlet angles up to the supply line. Most toilet installations use this style.
4. Straight Stop Valve
Used when the water supply pipe comes up through the floor instead of the wall. Less common but still widely available.
5. Push-Fit (SharkBite) Valve
Push-fit valves don’t need tools or soldering. You just push them onto the pipe. They’re fast and work on copper, PEX, and CPVC. Great for beginners.
How to Install a Shut Off Valve for Toilet (Step-by-Step)
Here’s how to install a shut off valve for toilet the right way. Follow each step carefully and take your time.
Step 1: Turn Off the Main Water Supply
Find your home’s main water shut off valve. It’s usually near the water meter, in the basement, or in a utility closet. Turn it clockwise until it stops. Open a nearby faucet to release pressure and confirm the water is off.
Safety Note: Never skip this step. Even a small flow of water can make the job messy and difficult.
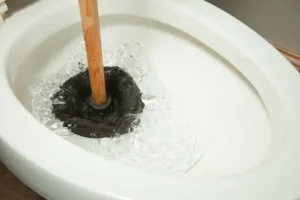
Step 2: Flush and Empty the Toilet Tank
Flush the toilet to remove as much water as possible from the tank. Then use a sponge or towels to soak up any remaining water inside the tank and the supply line. Place your bucket under the valve connection point.
Step 3: Disconnect the Old Supply Line
Use your adjustable wrench to unscrew the supply line from the bottom of the toilet tank. Turn counterclockwise. Have your bucket ready, as some water will drip out. Set the old supply line aside.
Step 4: Remove the Old Shut Off Valve
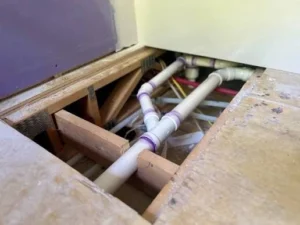
Now unscrew the old valve from the water supply pipe. If it’s a compression valve, you’ll need to remove the compression nut and ring too. If the old valve is soldered (common in older homes), you may need a pipe cutter to remove it. Cut the pipe just behind the valve and leave enough pipe length for the new valve to attach.
Heads Up: If your pipe is soldered, this step is trickier. Push-fit or compression valves are the easiest replacement options.
Step 5: Clean and Prep the Pipe
Wipe the pipe clean with a dry cloth. If it’s copper, use emery cloth to lightly sand the outside of the pipe end. This helps the new valve seat properly and prevents leaks. Check for any corrosion and cut it off if needed.
Step 6: Install the New Shut Off Valve
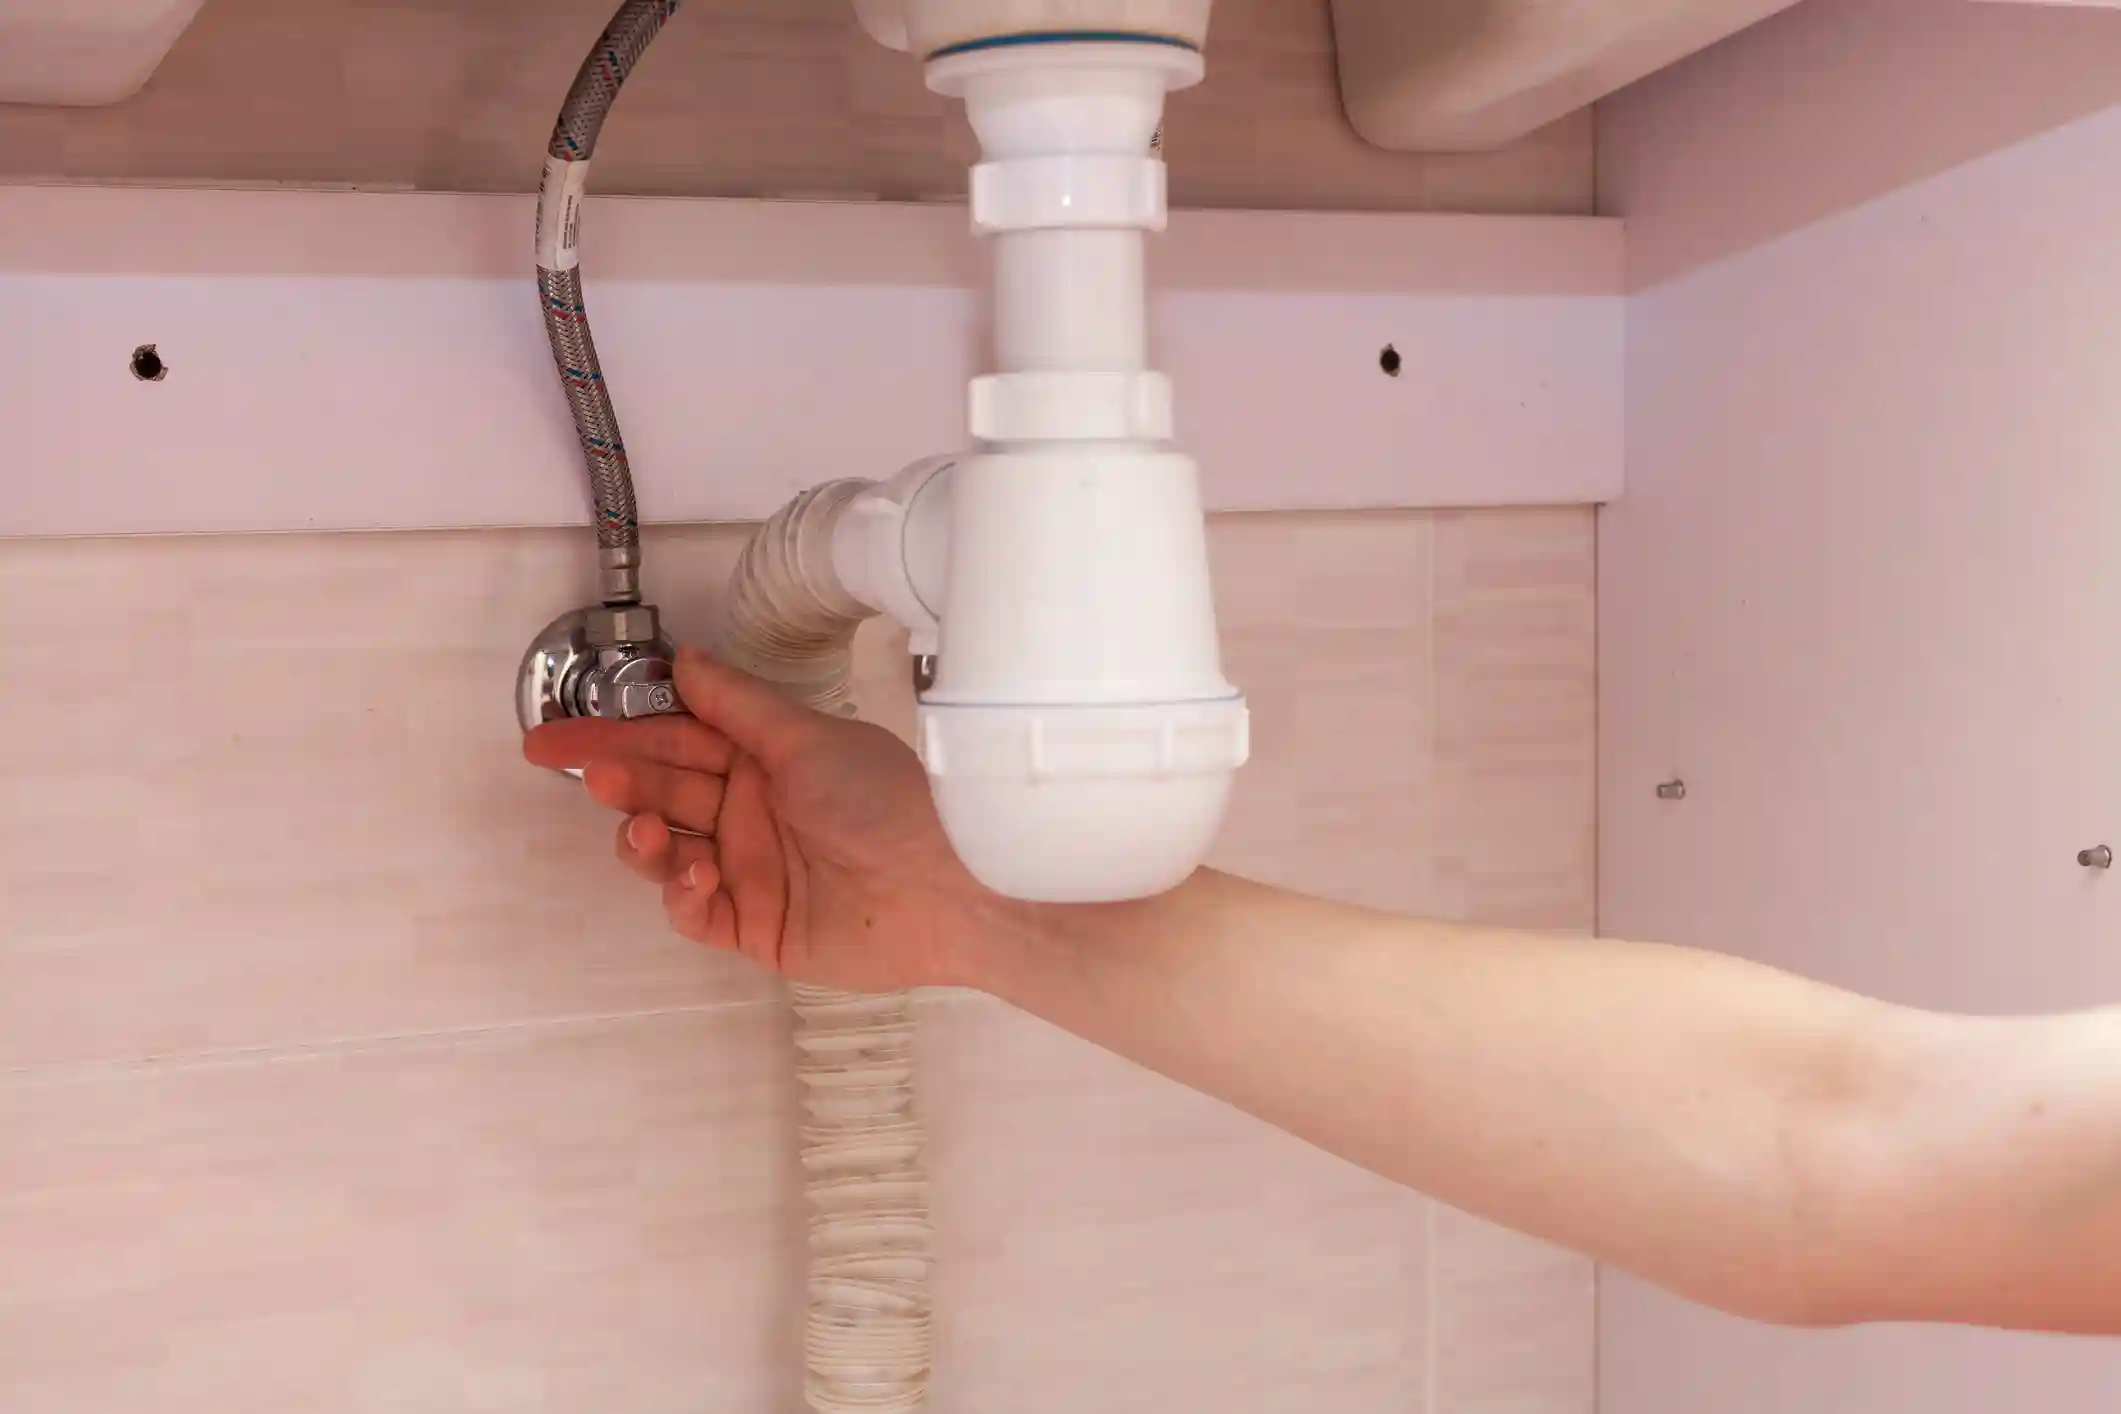
Slide the compression nut onto the pipe first (threads facing out), then the compression ring. Push the new valve onto the pipe and hand-tighten the compression nut. Then use your wrench to tighten it about a half-turn more. Do not overtighten. Overtightening can crack the nut or damage the valve.
If you’re using a push-fit valve, simply push it firmly onto the pipe until it clicks into place. No tools needed.
Step 7: Wrap Threads with Teflon Tape
Wrap Teflon tape clockwise around the outlet threads of the new valve. Apply 2 to 3 layers. This creates a watertight seal when you connect the supply line.
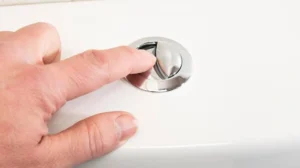
Step 8: Attach the New Supply Line
Hand-tighten the supply line onto the valve outlet. Then use your wrench to snug it up. Again, about a half-turn past hand-tight is enough. Connect the other end of the supply line to the bottom of the toilet tank the same way.
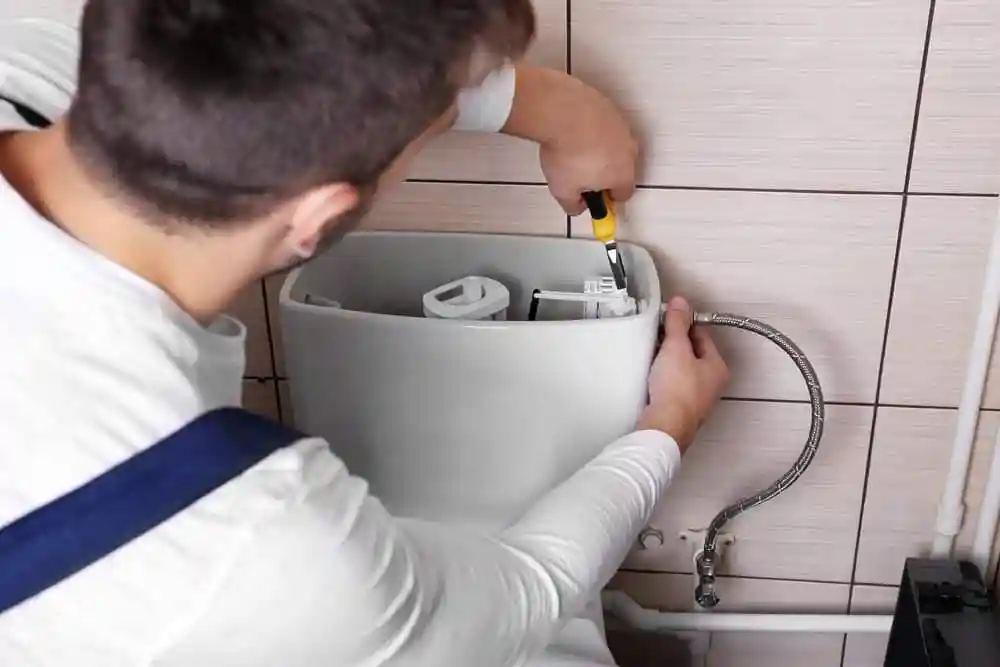
Step 9: Turn the Water Back On Slowly
Go back to the main water supply and turn it on slowly. Then turn your new toilet shut off valve counterclockwise to the open position. Watch closely for any leaks at both connections. Let the toilet tank fill up completely.
Step 10: Check for Leaks and Test
Dry the connections with a paper towel. Wait a few minutes. Check again for any moisture. Flush the toilet two or three times and inspect the valve and supply line after each flush. If everything looks dry, the job is done.
You can read about: How to Install a Toilet
How to Replace Toilet Shut Off Valve vs. Fresh Install: Key Differences
If you’re doing a fresh install on a new toilet, the process is nearly the same as above. The main difference is you don’t have to remove an old valve.
When you replace toilet water supply valve on an existing toilet, you’re working with an existing pipe that may have mineral buildup, corrosion, or an old compression ring stuck on it. If the ring won’t come off, use a compression ring puller tool or carefully cut it off.
Knowing how to change toilet shut off valve on an older home is mostly about patience and preparation. Old valves can be stubborn, but with the right tools, it’s manageable.
Common Mistakes to Avoid
These are the errors that trip up most DIYers:
- Skipping the main water shut off. Always turn off the main supply first.
- Overtightening the compression nut. This cracks fittings and causes leaks.
- Forgetting Teflon tape. Even one missed thread can drip.
- Using the wrong valve size. Measure your pipe diameter before buying.
- Not checking for leaks after turning the water back on. Always do a full inspection.
- Ignoring a stuck old valve handle. Don’t force it with a wrench. That can snap the pipe.
- Using the wrong valve type for your pipe material. Always confirm compatibility.
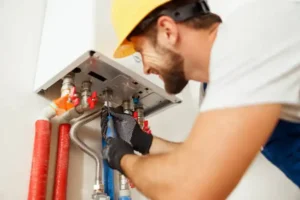
When to Call a Professional Plumber
DIY plumbing is great for simple jobs. But some situations need a licensed plumber. Here’s when to put down the wrench and pick up the phone:
- Your pipe is soldered and you’re not comfortable with pipe cutting
- The supply pipe is corroded or damaged beyond a valve swap
- You turn the water back on and find a leak inside the wall
- The main water shut off valve is also broken or stuck
- You’re unsure about pipe material compatibility with the new valve
- Multiple valves in your home are failing at the same time
If you’re in the Eagle Rock area, our team at Derks Plumbing handles full Toilet Installation in Eagle Rock and all related valve work. We offer fast, honest service for both simple repairs and full replacements. No guesswork, no upselling.
A professional can also inspect your full supply line system and catch issues before they become expensive problems.
How Long Does a Toilet Shut Off Valve Last?
Most shut off valves last between 10 and 25 years. The lifespan depends on your water quality, how often the valve is used, and the valve type. Ball valves tend to last longer than compression valves.
If you haven’t turned your valve in years, it may seize up when you try to move it. It’s a good habit to slowly turn the valve off and on once a year. This keeps the internal parts from corroding in place.
Final Thoughts
Replacing or installing a toilet valve is one of the more manageable plumbing jobs you can do yourself. It saves you money and gives you confidence for future repairs. The key is preparation. Get the right valve, have your tools ready, and take it step by step.
If you follow this guide on how to install a shut off valve for toilet, you should have a leak-free result in under an hour. If anything looks wrong or feels uncertain mid-job, don’t hesitate to call a professional.

FAQs
How long does it take to replace a toilet shut off valve?
Most people can do it in 30 to 60 minutes. If the old valve is corroded or stuck, it may take a bit longer.
Do I need to turn off water to the whole house?
Yes. Unless you have a working shut off valve already in place to isolate just the toilet. If the existing valve is broken, turn off the main supply.
What size shut off valve do I need for a toilet?
Most toilets use a 3/8-inch outlet valve. The inlet size depends on your pipe: usually 1/2-inch for copper or plastic. Always confirm before buying.
Can I use a push-fit valve on copper pipe?
Yes. Push-fit (SharkBite) valves work on copper, PEX, and CPVC pipe. They’re a great option for DIY installs because they need no tools or solder.
How do I know if my shut off valve is bad?
Common signs include water dripping from the valve, a handle that won’t turn, or the toilet refilling slowly. If the valve leaks when closed, it needs to be replaced.
Is it hard to replace a toilet shut off valve?
Not really. If you follow the steps on how to replace toilet shut off valve in this guide, most homeowners can do it without any special skills. The trickiest part is removing old, corroded valves.
How much does it cost to replace a toilet shut off valve?
The valve itself costs between $10 and $30. A new supply line is another $5 to $15. If you hire a plumber, expect to pay between $75 and $200 for labor depending on your location and the condition of the pipe.