Is your shower pressure low? Does your shower spout leak when you’re showering? If so, you may need to fix a dirty or broken diverter. Luckily, this is a simple DIY job that only requires some plumber’s tape and a little elbow grease. In this article, we’ll walk you through everything you need to fix your shower diverter.
What Is a Shower Diverter?
The important part that switches the water from showerhead and bathtub faucet, a shower faucet. And very obviously, this system has to face damage issues as well. No worries if there is a problem you are facing, we are with you to guide step-by-step.
Common Types of Shower Diverters
There are three main types of shower diverters you might find in your bathroom:
-
Three-valve diverter: Found in systems with separate hot and cold water knobs, plus a third that serves as the diverter.
-
Tub spout diverter: This is common in bathtub/shower combos and older homes. A lever on the tub spout controls water flow.
-
Two-valve diverter: This setup has one knob for water temperature and another that acts as the shower diverter.
Tools Required to Fix the Shower Diverter
If you are going to repair your shower diverter, then note the following tools you need:
-
Screwdriver
-
Adjustable wrench
-
Replacement diverter valve (if needed)
-
Pipe thread tape
-
Towels or rags
-
Plumber’s putty (optional)
Signs Your Shower Diverter Needs Repair
Some signs are there if your shower diverter needs replacement or small repairing.
Difficulty in Operation
There is an issue that can be caused by wear and tear of the shower diverter. When it is hard and requires more energy, maybe there is an issue with its internal parts.
Leaks and Drips
When the shower diverter shows you a leakage point, respond quickly to control the loss of water and other mechanisms.
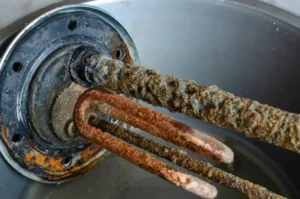
Water Flow Issues
These issues often mean there’s a problem with the diverter mechanism or mineral buildup within the system. In the case of water pressure issues or flow, it is often going to repair.
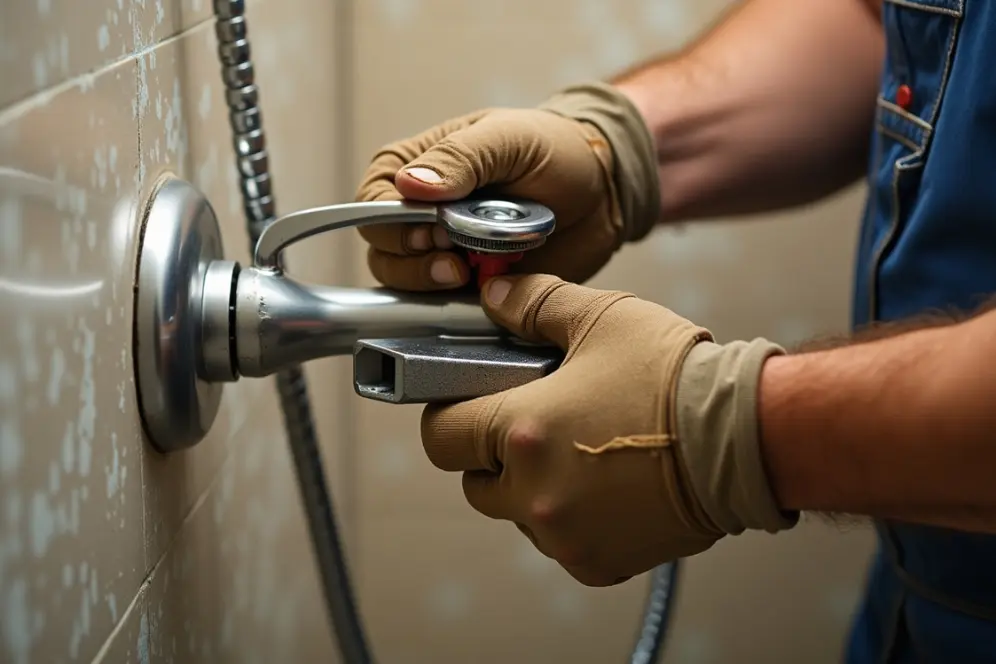
How to Fix a Shower Diverter
Repairing a Leaking Shower Diverter
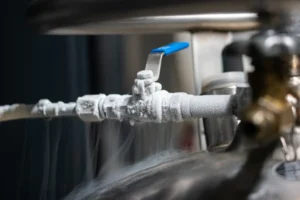
Shut off Water Supply
To shut off the water supply, find the main and branch shower valves. Use your wrench to turn the handle clockwise.
Unscrew the Faucet
First, the tub faucet handle and decor plate must be unscrewed. They are located on the front side of the tub faucet.
Now, insert a screwdriver into the hole located on the end of the handle. Then turn the screwdriver counterclockwise until the set screw is loose. Simply lift the handle down and twist the decor plate off.
Clean the Insides of the Faucet
Mineral build-up around and inside the faucet might be causing it to leak. After unscrewing it, look for debris lodged inside it. Use a file or screwdriver to scrape off the grime. If you can’t clean it, soak the faucet in vinegar overnight and clean it easily the next day.
Check the Flapper
Check the condition of the rubber flapper. With time, it can begin to rot, causing water leakage. If the flapper is rotten, replace it with a new one.
Reinstall the Items
Reinstall the bathroom decor plate and faucet handle. Then, reconnect the hose and briefly test the shower diverter.
You can read about: How To Unclog Shower Drain
Preventive Maintenance for Shower Diverters
The life of shower diverters can be increased, but it demands your daily preventive measures and maintenance by cleaning and scrubbing with an equal proportion of vinegar and water. Clean with a soft brush.
Our Conclusion
Dealing with the shower diverter is not a much difficult task, so just by keeping some important things in mind you can find the problem and repair it. But its regular maintenance can help you control issues that could put you in serious trouble.
However, if you feel unsure about handling the repair yourself, it’s always a smart idea to call a professional. Derks Plumbing Company offers expert bathroom faucet diverter repair and complete plumbing services to get your shower back to perfect condition. Don’t hesitate contact Derks Plumbing today for reliable and affordable help!