Most homeowners don’t think about plumbing until something breaks. By then, a small drip has become water damaged, or a slow drain has turned into a full blockage. The truth is, a little attention each month saves you hundreds, sometimes thousands in repair bills.
The best plumbing maintenance for homes isn’t complicated. It’s a set of simple habits done consistently. This guide covers every step you need to keep your pipes, drains, and fixtures in good shape all year long.
Why Plumbing Maintenance Matters
Plumbing problems are the second most common home insurance claim in the United States. Water damage from burst pipes, slow leaks, and sewer backups costs homeowners an average of $11,000 per incident according to 2026 insurance industry data.
The good news: most of those problems are preventable.
Routine plumbing maintenance catches issues early before they become expensive. A $5 pipe fitting fixes a drip. Ignoring that drip for six months can rot a subfloor that costs $3,000 to replace.
Here’s what consistent home plumbing maintenance protects:
- Your walls, floors, and ceilings from water damage
- Your water heater from sediment buildup and early failure
- Your drains from slow buildup that leads to full blockages
- Your water bill from hidden leaks running 24/7
- Your home’s resale value buyers notice plumbing problems
Think of plumbing maintenance the same way you think of an oil change. You don’t wait until the engine fails.
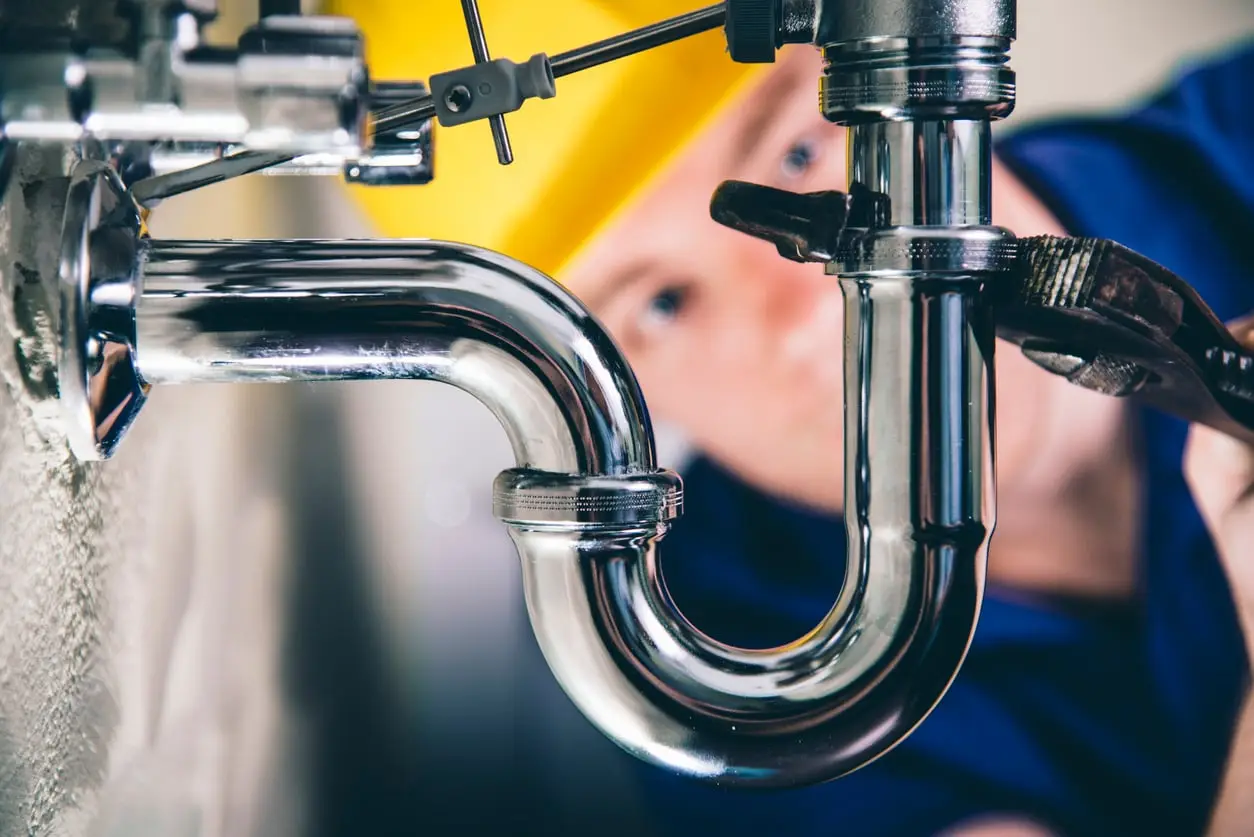
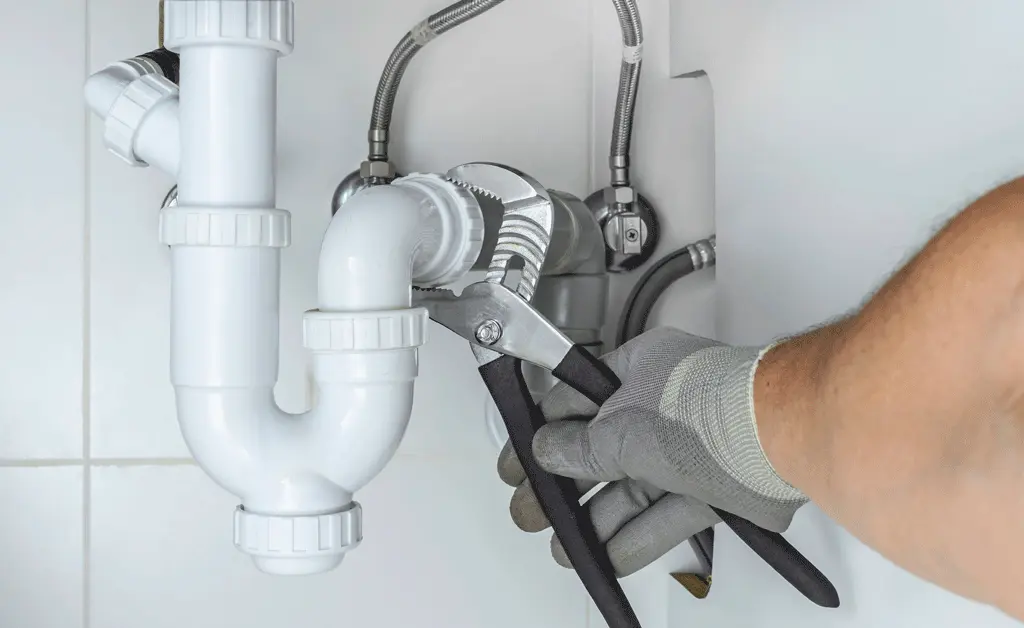
Inspect for Leaks Regularly
Leaks are sneaky. Most of them start small and stay hidden for months. By the time you notice a water stain on the ceiling or a soft spot on the floor, significant damage has already happened.
Where to check every month:
- Under every sink (kitchen and bathrooms)
- Around the base of toilets
- Behind the washing machine
- Around the water heater
- At exposed pipe joints in the basement or utility room
- Around the dishwasher connection
What to look for:
- Water stains or discoloration on walls and ceilings
- Soft or swollen wood under cabinets
- Mold or mildew smell near pipes
- Rust or mineral deposits on pipe joints
- A water meter that keeps moving when no water is in use
That last one is important. Turn off every water source in the house. Go check the water meter. If the dial is still moving, you have a leak somewhere. This test takes two minutes and costs nothing.
You can read about: What Is Considered a Plumbing Emergency
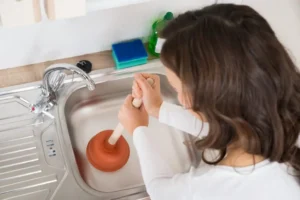
Keep Drains Clean
A clogged drain doesn’t happen overnight. It builds up over weeks and months from hair, grease, soap scum, and debris. Keeping drains clear is one of the easiest plumbing maintenance tips to follow.
Kitchen sink: Grease and food particles are the main culprits here. Never pour cooking oil or grease down the drain. Wipe pans with a paper towel before washing. Run hot water after every use to push residue through the line.
Bathroom drains: Hair is the number one cause of bathroom drain clogs. Install a simple drain strainer in every shower and tub. Clean it out after each use it takes five seconds.
Monthly drain cleaning routine: Pour half a cup of baking soda into each drain followed by one cup of white vinegar. Let it fizz for 15–20 minutes. Flush with hot water. This breaks down organic buildup before it becomes a blockage.
Avoid chemical drain cleaners like Drano for regular maintenance. They work short-term but corrode pipes over time, especially in older homes.
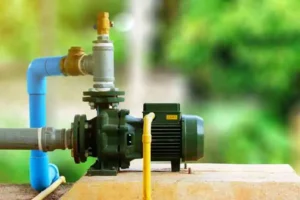
Test Water Pressure
High water pressure feels great in the shower. But it’s hard on your pipes, fittings, fixtures, and appliances. Pressure above 80 PSI accelerates wear on every connection in your home.
The ideal water pressure for a home is 40 to 60 PSI.
How to test it: Buy a water pressure gauge at any hardware store for $10–$15. Attach it to an outdoor hose bib or washing machine connection. Turn the water on and read the dial.
If pressure is above 80 PSI, install a pressure-reducing valve (PRV). A licensed plumber can install one in about an hour. It protects your entire plumbing system going forward.
If pressure is below 40 PSI, you may have a partially closed main valve, a failing pressure regulator, or buildup inside the pipes.
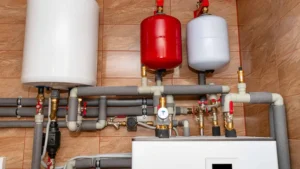
Maintain Your Water Heater
Your water heater works every single day. Without basic care, sediment builds up at the bottom of the tank, reducing efficiency and shortening its life.
Annual water heater maintenance checklist:
- Flush the tank. Sediment settles at the bottom of the tank and hardens over time. Once a year, attach a garden hose to the drain valve and flush out the tank until the water runs clear. This takes about 20–30 minutes.
- Test the pressure relief valve. This safety valve releases pressure if the tank gets too hot. Lift the lever briefly to make sure it releases water. If nothing comes out or it leaks constantly after testing, replace it. A faulty pressure relief valve is a serious safety risk.
- Check the anode rod. This rod attracts corrosive minerals inside the tank to protect the steel walls. It needs to be replaced every 3–5 years. When it’s depleted, the tank itself starts to corrode from the inside.
- Check the temperature setting. The recommended setting is 120°F. Higher temperatures waste energy and increase the risk of scalding. Lower than 120°F risks bacterial growth in the tank.
A water heater that’s well maintained lasts 10–15 years. One that’s ignored often fails in 6–8 years.
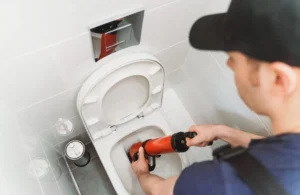
Check Toilets for Hidden Leaks
A toilet that runs quietly can waste 200 gallons of water per day. That’s $70–$100 added to your water bill every month and most homeowners never notice until they see the bill.
The food coloring test: Drop a few drops of food coloring into the toilet tank. Wait 10 minutes without flushing. If color appears in the bowl, the flapper valve is leaking and needs to be replaced. A new flapper costs $5–$10 at any hardware store.
Other things to check:
- Listen for a hissing sound after the tank fills that’s a sign of a fill valve leak
- Check the base of the toilet for moisture or discoloration
- Wiggle the toilet slightly if it moves, the wax seal at the base may be compromised
These are fast checks that take less than five minutes. Adding them to your monthly plumbing maintenance checklist prevents costly repairs.
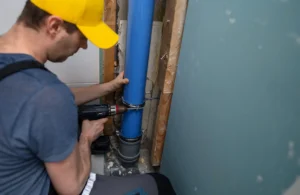
Protect Pipes During Cold Weather
Frozen pipes are one of the most destructive plumbing problems a homeowner can face. When water freezes inside a pipe, it expands and can split the pipe open. When it thaws, you have a flood.
Prevention steps before cold weather hits:
- Insulate exposed pipes in the garage, basement, crawl space, and attic with foam pipe insulation ($1–$2 per foot)
- Disconnect and drain outdoor hoses
- Shut off and drain outdoor faucets using the indoor shutoff valve
- Keep the thermostat at 55°F or above, even when you’re away
- Open cabinet doors under sinks on exterior walls to let warm air reach the pipes
If a pipe does freeze: Turn off the main water supply immediately. Use a hair dryer or heating pad on low heat to warm the pipe slowly. Never use an open flame. Call a plumber if you can’t locate the frozen section or if you suspect a pipe has already burst.
Inspect Sewer and Drain Lines
Most homeowners never think about their sewer line until it backs up. By then, sewage is coming up through floor drains and the repair bill is significant.
House plumbing maintenance for sewer lines is straightforward:
What causes sewer line problems:
- Tree roots growing into older clay or cast iron pipes
- Grease buildup over years of use
- Collapsed or cracked sections in older pipes
- Foreign objects flushed down toilets over time
Warning signs of a sewer line problem:
- Multiple drains backing up at the same time
- Gurgling sounds from toilets or drains
- Sewage smell inside the house
- Patches of unusually green or wet grass in the yard above the sewer line
What to do: Have your sewer line camera-inspected every 3–5 years, especially in homes older than 20 years. A plumber runs a small camera through the line to check for root intrusion, cracks, and buildup. Early detection saves thousands in emergency repair costs.
If tree roots are the issue, hydro-jetting clears them out. The line can also be lined internally without digging up the yard in many cases.
Know the Location of Shut-Off Valves
This one sounds basic. But in a plumbing emergency, not knowing where to turn off the water costs you critical minutes and serious water damage.
Every homeowner should know:
- Where the main shut-off valve is (usually near the water meter, in the basement, or outside near the foundation)
- How to operate it (turn clockwise to close)
- Where individual fixture shut-offs are under each sink, behind each toilet, and behind appliances like the dishwasher and washing machine
Walk through your home today and find each one. Make sure the valves actually turn. Old valves that haven’t been touched in years can seize. If you find one that won’t move, replace it before an emergency forces you to.
Avoid Common Plumbing Mistakes
Some of the most common plumbing issues come from everyday habits that seem harmless. Here’s what to stop doing:
Flushing the wrong things. Only toilet paper goes in the toilet. Wipes, cotton balls, paper towels, dental floss, and medication all damage pipes and sewer systems.
Ignoring small drips. A faucet dripping once per second wastes about 3,000 gallons of water per year. Fix drips when they start.
Using chemical drain cleaners regularly. They eat through clogs but also eat through pipes. Use them sparingly and choose enzyme-based cleaners for routine maintenance.
Overtightening connections. Hand-tight plus a quarter turn is usually enough for most fittings. Overtightening cracks the fitting or the fixture itself.
Pouring grease down the drain. Grease solidifies inside the pipe. Over time, it narrows the pipe opening until nothing can pass through. Dispose of cooking grease in a sealed container in the trash.
DIY repairs beyond your skill level. Small fixes like replacing a faucet washer are fine. But anything involving the main water line, gas, or sewer line needs a licensed plumber.
Schedule Professional Plumbing Inspections
No matter how diligent you are with DIY maintenance, a professional inspection catches things you can’t see or test on your own. Corrosion inside pipes, root intrusion in the sewer line, and early water heater failure are all easier and cheaper to fix when caught early.
What a professional inspection typically covers:
- Full leak inspection at all fixtures and connections
- Water pressure check and PRV inspection
- Water heater condition, anode rod, and safety valve
- Drain and sewer line camera inspection
- Pipe material assessment especially important in homes with older galvanized or lead pipes
- Identification of any code violations or safety risks
Most licensed plumbers recommend a full inspection every 1–2 years for homes over 10 years old, and annually for homes over 25 years old.
For homeowners in the Los Angeles area, Plumbing Services in Los Angeles is a trusted option for annual inspections and full routine plumbing maintenance. Derks Plumbing provides licensed, upfront-priced service with no surprise charges and gives you a clear picture of your home’s plumbing health after every visit.

Plumbing Maintenance Checklist: Month-by-Month
Here’s a practical plumbing maintenance checklist you can follow throughout the year:
Monthly:
- Check under all sinks for leaks or moisture
- Test toilets with the food coloring dye test
- Clean all drains with baking soda and vinegar
- Check water meter for movement when all water is off
Every 3 months:
- Test water pressure
- Flush water heater briefly to check for sediment
- Inspect exposed pipes for corrosion or moisture
Every 6 months:
- Clean all faucet aerators and showerheads (unscrew and soak in vinegar to remove mineral buildup)
- Check washing machine hoses for cracks or bulging
- Inspect outdoor hose bibs
Annually:
- Full water heater flush and anode rod check
- Professional plumbing inspection
- Sewer line inspection if the home is 15+ years old
- Check and operate all shut-off valves
Final Thoughts
The best plumbing maintenance for homes is simple: check things regularly, fix small problems early, and don’t wait for a crisis. Most major plumbing failures give warning signs for weeks or months before they become emergencies. Knowing what to look for makes all the difference.
A good routine monthly checks, annual water heater care, and periodic professional inspections keeps your home’s plumbing running reliably and saves you real money over the long term.
Start with one thing today. Check under your kitchen sink. Test a toilet. Find your main shut-off valve. Small steps done consistently add up to a home with far fewer plumbing problems.
FAQs
Q: What is the best plumbing maintenance for homes on a tight budget?
Focus on the free steps first: check for leaks monthly, test your toilet for the flapper leak, keep drains clear with baking soda and vinegar, and know where your shut-off valves are. These cost nothing and prevent the most expensive repairs.
Q: How often should I schedule professional plumbing maintenance?
Once a year for homes over 10 years old. Every 1–2 years for newer homes. Older homes with galvanized or cast iron pipes benefit from annual inspections.
Q: What are the most important plumbing maintenance tips for preventing water damage?
Check for leaks regularly, test your water pressure, maintain your water heater, and know how to shut off the water quickly. These four steps prevent the majority of home water damage claims.
Q: How do I know if I need a plumber or if I can fix it myself?
Dripping faucets, running toilets, and slow drains are usually DIY-friendly. Anything involving the main water line, water heater gas connection, sewer line, or significant leaks behind walls needs a licensed plumber.
Q: What’s included in a routine plumbing maintenance check?
A full check covers leak inspection, water pressure testing, drain flow, water heater condition, toilet function, and shut-off valve operation. A professional inspection also includes sewer camera inspection and pipe condition assessment.
Q: How do I reduce my water bill through home plumbing maintenance?
Fix leaks immediately, replace old toilet flappers, install low-flow showerheads, and set your water heater to 120°F. These changes combined can reduce water bills by 10–30%.