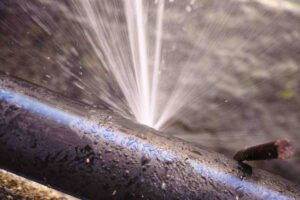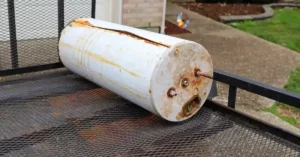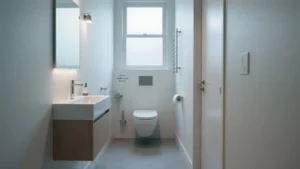
A broken water heater is a real problem. Cold showers, no hot water for dishes, and the clock ticking. The good news? Replacing a water heater is not as scary as it sounds. With the right tools, a little patience, and this guide, you can get it done safely.
This guide walks you through exactly how to install a water heater, from shutting off the water supply to lighting the pilot light. Whether you are going the DIY route or just want to understand the process before calling a pro, you are in the right place.
Understanding Water Heater Installation
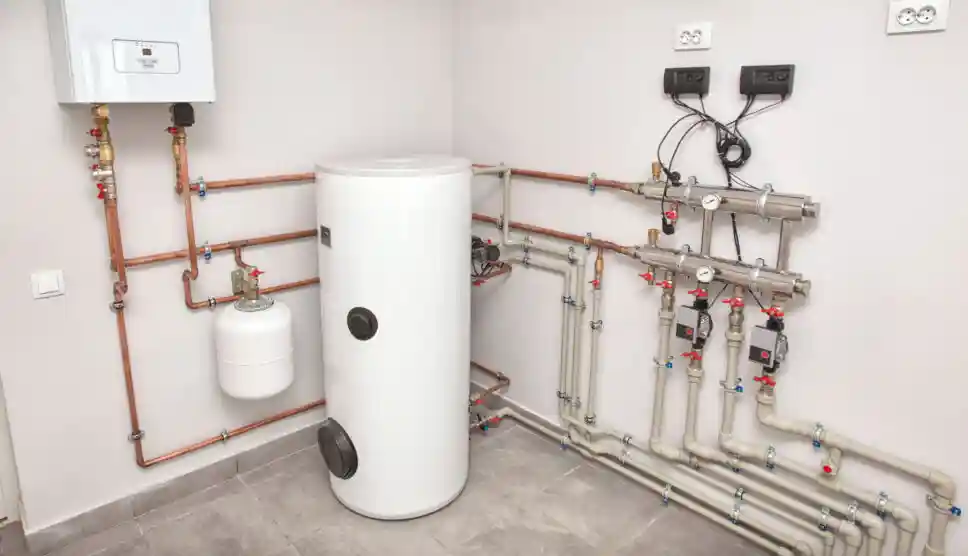
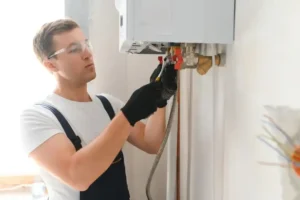
Before you pick up a wrench, it helps to know what you are dealing with. Water heater installation involves connecting a new unit to your home’s plumbing, gas or electrical system, and venting setup. It sounds like a lot, but each step is straightforward when you take it one at a time.
There are two main types of water heaters most homeowners deal with:
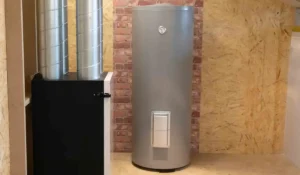
- Tank water heaters – These store and heat a set amount of water (usually 40 to 80 gallons). They are the most common type and are easier to install.
- Tankless water heaters – These heat water on demand. They are more energy-efficient but require more complex installation.
For this guide, we are focusing on a standard tank-style water heater, since that is what most homes have. The same general logic applies to a tankless heater installation, but you may need a licensed plumber for the gas or electrical side of things.
Important: Always check your local building codes before starting any heater installation. Many areas require a permit. Skipping this step can cause issues when you sell your home or make an insurance claim.
What You’ll Need Before You Start
Good preparation saves time and prevents mistakes. Here is what to gather before your water heater install day:
Tools
- Pipe wrench or channel-lock pliers
- Adjustable wrench
- Pipe cutter or hacksaw
- Teflon tape (also called plumber’s tape)
- Voltage tester (for electric water heaters)
- Gas leak detector or soapy water (for gas models)
- Screwdrivers (flathead and Phillips)
Materials
- New water heater (matched to your home’s fuel type and capacity)
- Flexible water supply connectors
- T&P (temperature and pressure) relief valve and discharge pipe
- Dielectric unions (if mixing copper and steel pipes)
- Gas flex connector (for gas units)
- Venting pipe or flue (for gas units)
Pro tip: Buy a new T&P valve even if the old one looks fine. They are cheap and a faulty one can be dangerous. Always replace it during a water heater installation.
Step-by-Step: How to Install a Water Heater
Follow these steps carefully. Take your time. Rushing is the number one cause of installation errors.
Step 1: Turn Off the Power and Water Supply
For gas heaters: Turn the gas valve to the ‘Pilot’ position.
For electric heaters: Flip the circuit breaker to OFF. Use a voltage tester to confirm the power is off.
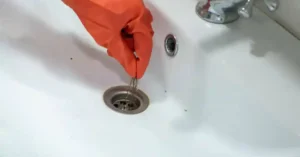
Shut off the cold water supply valve at the top of the old heater.
Turn on a hot water faucet in your home to release pressure and drain remaining hot water.
Step 2: Drain the Old Water Heater
Connect a garden hose to the drain valve at the bottom of the tank.
Run the hose to a floor drain, driveway, or bucket.
Open the drain valve and let the water flow out completely.
This can take 30 to 60 minutes depending on tank size. Be patient.
Step 3: Disconnect the Old Unit
Disconnect the gas line (gas heaters) or electrical wiring (electric heaters).
Use a pipe wrench to detach the water supply lines from the top of the tank.
Disconnect the vent pipe from the top of gas units.
Move the old unit out. Water heaters are heavy. Ask for help or use a hand truck.
Step 4: Prepare the New Water Heater
Place the new unit in the same spot as the old one.
Wrap Teflon tape around the threaded connections on the hot and cold water ports.
Install the T&P relief valve on the designated port. Use Teflon tape here too.
Attach the T&P discharge pipe. It should point downward and stop within 6 inches of the floor.
Step 5: Connect the Water Lines
Connect the cold water supply line to the ‘cold in’ port (usually marked in blue).
Connect the hot water outlet to the hot water line (usually marked in red).
Use flexible connectors for easier connection and to reduce vibration.
Hand-tighten first, then snug with a wrench. Do not overtighten.
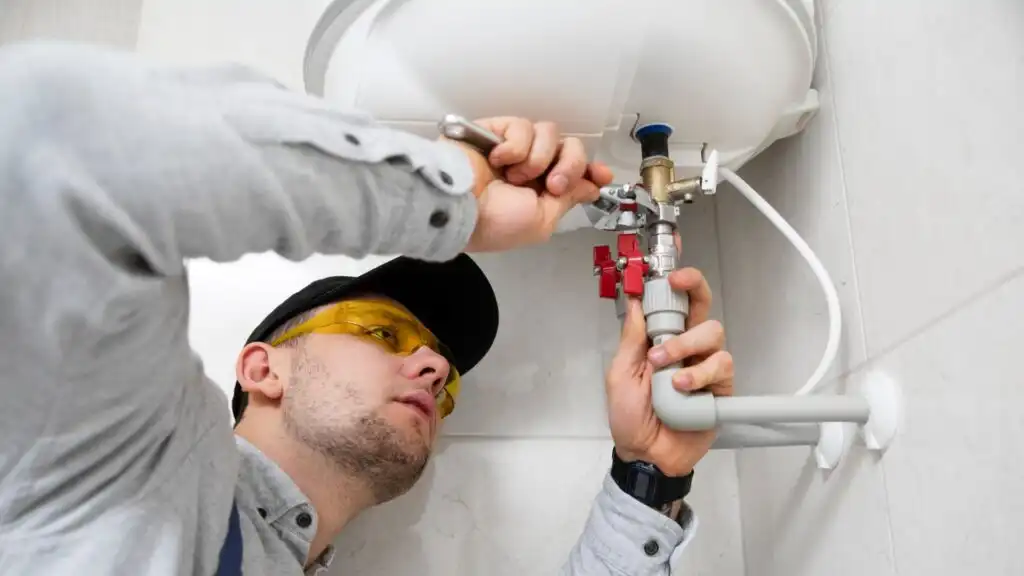
Step 6: Reconnect Gas or Electrical Supply
For gas water heaters:
Reconnect the gas flex connector to the gas inlet valve.
Open the gas valve slowly.
Test all connections with soapy water. Bubbles mean a leak. Stop and fix it before going further.
For electric water heaters:
Connect the wiring according to the manufacturer’s diagram (usually two hot wires and a ground).
Secure the junction box cover tightly.
Step 7: Fill the Tank and Check for Leaks
Open the cold water supply valve to fill the tank.
Keep a hot water faucet open inside to release trapped air. Close it once water flows steadily.
Check all connections at the top of the tank for drips.
Wait for the tank to fill completely before turning on the power or gas.
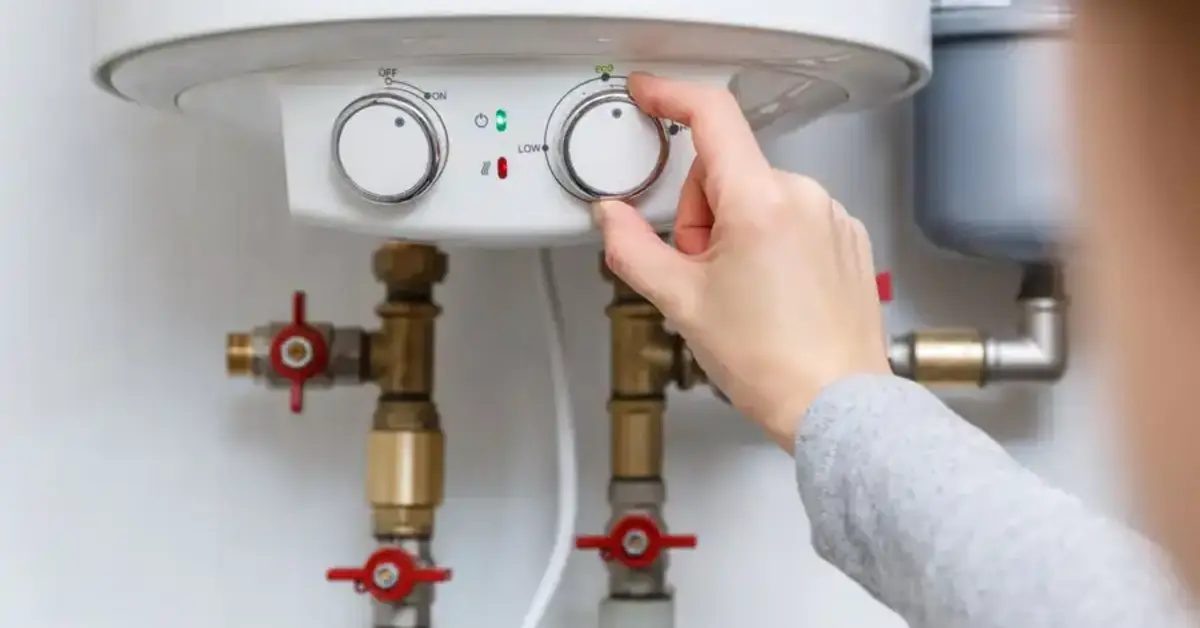
Step 8: Light the Pilot or Restore Power
Gas heaters: Follow the manufacturer’s instructions on the label to light the pilot. Most modern units have an electronic ignition button.
Electric heaters: Flip the circuit breaker back on. The unit will start heating water right away.
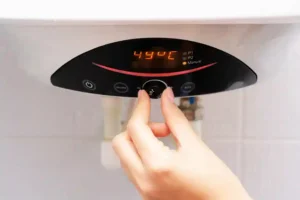
Set your thermostat to 120°F (49°C). This is the safe and recommended temperature for most households.
You can read about: How to Install Tankless Water Heater
How Long Does Water Heater Installation Take?
For an experienced DIYer, a standard tank water heater install takes 2 to 4 hours. First-timers should budget 4 to 6 hours. A licensed plumber can often complete the job in under 2 hours.
Tankless water heater installation takes longer. Expect 4 to 8 hours due to additional wiring or gas line work.
Common Water Heater Installation Mistakes
Even experienced DIYers make mistakes during a water heater installation. Here are the most common ones to avoid:
- Skipping the T&P valve replacement. This small part prevents dangerous pressure buildup. Always install a new one.
- Turning on power before the tank is full. This burns out the heating element in electric heaters. Wait until water flows from the open faucet.
- Using the wrong size unit. A 40-gallon tank for a family of five will run out of hot water fast. Match tank size to your household needs.
- Not checking for gas leaks. Always test gas connections with soapy water before lighting the pilot.
- Wrong venting direction. Gas water heaters need proper upward venting to push combustion gases out safely. Incorrect venting is a carbon monoxide risk.
- Skipping permits. Many cities require a permit for hot water heater installation. Check before you start.
You can read about: How to Adjust Water Heater Temperature
Water Heater Sizing Guide: What Size Do You Need?
Getting the right size is just as important as the hot water heater installation itself. Here is a quick guide:
- 1 to 2 people: 30 to 40-gallon tank
- 3 to 4 people: 40 to 50-gallon tank
- 5 or more people: 50 to 80-gallon tank or a tankless unit
Also consider the first-hour rating (FHR). This tells you how many gallons the heater delivers in the first hour of use. For busy mornings, a higher FHR matters more than tank size alone.
DIY vs Professional Water Heater Installation
DIY water heater installation can save you money. But it is not right for every situation. Here is a simple breakdown:
When DIY Makes Sense
- You are replacing a tank heater with the same type and size
- You are comfortable with basic plumbing and following safety steps
- You have the right tools and time to do it carefully
When to Call a Professional
- You are switching fuel types (gas to electric or vice versa)
- You are upgrading to a tankless system
- You smell gas and are unsure about the gas line
- The installation requires a permit and inspection
- You are not confident with plumbing or electrical work
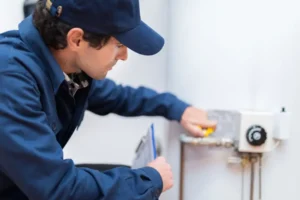
Water Heater Maintenance After Installation
Once your water heater install is done, keep it running well with regular maintenance. Here is what to do:
- Flush the tank once a year. Sediment builds up at the bottom and reduces efficiency.
- Test the T&P valve annually. Lift the lever briefly to make sure it works. Replace it every 3 to 5 years.
- Check the anode rod every 3 years. This rod prevents corrosion inside the tank. Replace it when it is mostly eaten away.
- Keep the area around the heater clear. Gas water heaters need proper airflow for safe combustion.
Why Choose Derks Plumbing Company?
Sometimes the smartest move is knowing when to call a pro. Derks Plumbing has been helping homeowners with water heater installation and everything plumbing-related for years. We know the work, we know the local codes, and we stand behind every job we do.
If you need Water Heater Installation in Eagle Rock, the team at Derks Plumbing is your local trusted team. We handle the full job from start to finish, including permits, installation, testing, and cleanup.
Here is what you get when you work with us:
- Upfront pricing with no hidden fees
- Licensed and insured plumbers
- Same-day and next-day appointments available
- All work backed by a satisfaction guarantee
- Expertise with gas, electric, and tankless water heaters

Final Thoughts
Knowing how to install a water heater gives you real confidence as a homeowner. Whether you tackle it yourself or bring in a professional, the steps in this guide give you a clear picture of the process from start to finish.
The key things to remember: always shut off the power and water first, check for leaks before turning anything back on, and never skip the T&P valve.
If at any point you feel unsure, stop and call a licensed plumber. A water heater installation done wrong can cause water damage, gas leaks, or even fires. Your safety is always worth more than the cost of a service call.
FAQs
Can I install a water heater myself?
Yes, if you are replacing a like-for-like unit and comfortable with basic plumbing. However, gas lines and electrical wiring may require a licensed contractor in your area. Always check local code first.
How much does water heater installation cost?
Professional water heater installation typically costs between $300 and $700 for a standard tank unit, including labor. Tankless heater installation can run $1,000 to $3,000 or more depending on complexity.
How long does a water heater last?
Most tank water heaters last 8 to 12 years. Tankless units can last 20 years or more with proper maintenance. If your heater is near or past that range, replacing it proactively is smarter than waiting for it to fail.
Do I need a permit for water heater installation?
In most cities, yes. A permit ensures the installation is inspected for safety. Check with your local building department before starting any hot water heater installation.
What is the best temperature setting for a water heater?
120°F (49°C) is the recommended setting. It is hot enough for everyday use and reduces the risk of scalding. It also saves energy compared to higher temperatures.
How do I know when my water heater needs to be replaced?
Watch for these signs: rusty or discolored water, rumbling or popping noises from the tank, water pooling around the base, or running out of hot water faster than usual. Any of these is a good sign it is time for a new heater installation.