When your old unit starts leaking, making loud noises, or simply stops grinding food, it is time for a garbage disposal replacement. Replacing an old, failing disposal with a new, efficient unit is a home improvement task that most homeowners can handle with careful preparation. This detailed guide provides the expert knowledge you need for a safe and successful replacing a garbage disposal unit.
The process of learning how to replace a garbage disposal involves safe electrical work and proper plumbing connections. By following our step-by-step instructions, you will gain the confidence to complete this essential kitchen repair yourself, ensuring your new food waste disposer works perfectly for years to come.
What Is a Garbage Disposal?
A garbage disposal, often called a food disposal, is an electric appliance installed under a kitchen sink between the drain and the trap. Its job is to shred food waste into tiny pieces. These small pieces then wash safely down the drain and into the sewer or septic system.
This appliance has made kitchen cleanup much easier for millions of households. Modern disposals use impellers small metal blades or lugs to smash and spin food waste against a shredder ring. This process breaks down food like vegetable scraps and soft leftovers. A reliable garbage disposal helps keep food out of landfills, which is good for the environment. Knowing how this appliance works is the first step when you need to replace disposal.
When to Replace Your Garbage Disposal
Not all disposal problems mean you need to replace garbage disposal. Some issues, like a jam, can be fixed easily with a hex wrench and the unit’s reset button. However, certain signs tell you it is time for a new unit entirely.
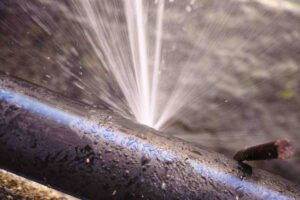
- Persistent Leaks: If the unit is leaking from the bottom or the main body, the internal seals or grinding chamber may be cracked. This kind of damage usually means you must how to change food disposal.
- Frequent Clogging: If the disposal clogs often, even with proper use, the grinding components may be dull or the motor may be too weak for your household’s needs.
- Loud, Unusual Noise: A disposal that makes a loud, grinding, or humming noise but does not turn is likely dealing with a dead or failing motor. Attempting to repair a severely worn motor often costs almost as much as installing a new one.
- Need for Constant Resetting: If you have to press the reset button on the bottom of the unit all the time, the motor is struggling and close to burnout.
- Age: Most disposals last between 8 to 15 years. If your unit is older and having any issues, it is smart to plan for a garbage disposal replacement.
You can read about: How Much is a Garbage Disposal
Tools Needed to Replace a Garbage Disposal
Gather these tools before you start. Having everything ready makes the job smoother and faster.
Basic Hand Tools:
- Screwdriver set (flathead and Phillips)
- Adjustable wrench
- Pliers (standard and needle-nose)
- Hacksaw (for cutting old pipes if needed)
- Hammer
- Putty knife
Plumbing Supplies:
- Plumber’s putty or silicone sealant
- Teflon tape
- Bucket (for catching water)
- Towels or rags
- Flashlight or work light
Optional but Helpful:
- Disposal wrench (often comes with new units)
- Wire nuts (if electrical connections need replacing)
- Pipe wrench
Safety Equipment:
- Safety glasses
- Work gloves
- Rubber gloves
Most homeowners already own these tools. If you’re missing something, borrow from a neighbor or make a quick hardware store run. The total cost for any missing items rarely exceeds $30.Check your new disposal before starting. Make sure it includes mounting hardware and an installation guide. Some units come with power cords attached. Others require separate electrical connections.
How to Replace a Garbage Disposal (Step-by-Step)
Step 1: Turn Off the Power
Safety comes first. Locate your circuit breaker box and flip the switch for the disposal. If you’re not sure which breaker controls it, turn off the main kitchen circuit.Test the disposal switch to confirm the power is off. Nothing should happen when you flip it. Some people tape over the switch to prevent accidental activation.For hardwired units, you’ll work with electrical wires later. If your disposal plugs into an outlet under the sink, unplug it now. This gives you one less thing to worry about during removal.
Step 2: Disconnect the Drain Lines
Place your bucket under the disposal. Loosen the slip nuts connecting the discharge tube to the disposal. Water will drain out, so keep that bucket positioned correctly.The dishwasher drain hose connects to the side of many disposals. Remove the clamp with pliers and pull the hose free. Cap the hose end with a small bag and rubber band to prevent leaks.Check for a second drain connection if you have a double sink. Disconnect this pipe the same way. Set all hardware aside in a container so you don’t lose small pieces.
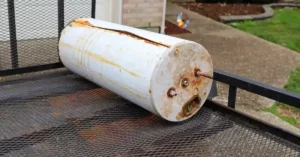
Step 3: Remove the Old Disposal
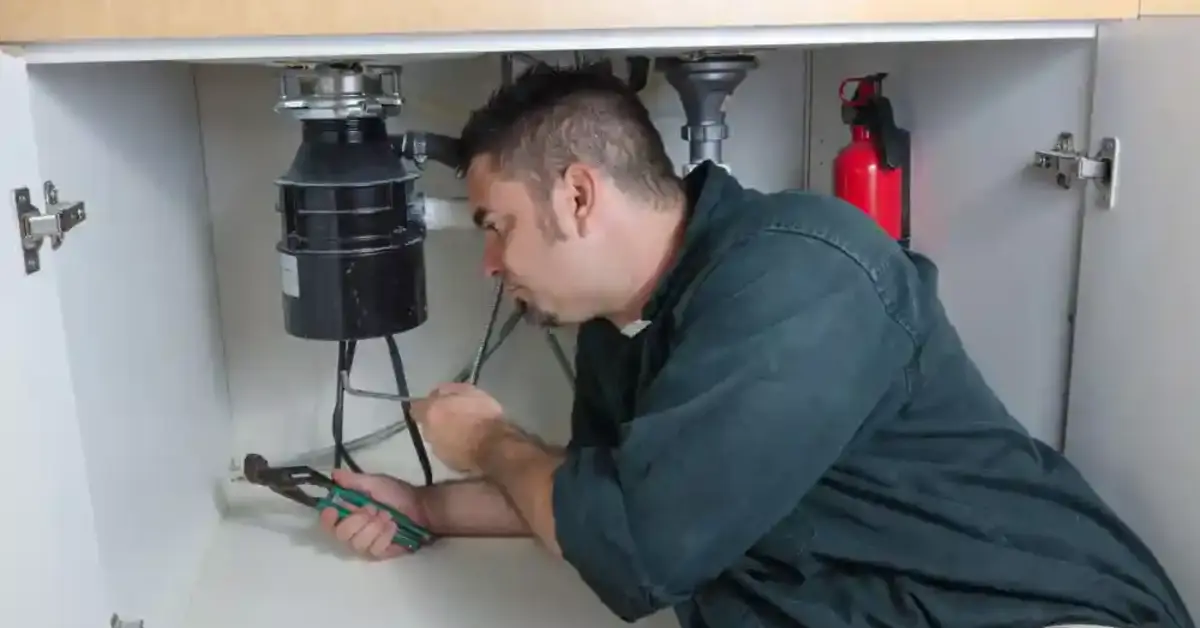
Look up at the mounting assembly. You’ll see a metal ring with tabs or a snap ring. Different brands use different systems, but most work similarly.For InSinkErator models, insert a screwdriver into the mounting ring and turn counterclockwise. The disposal should release and drop. Be ready to support its weight.Other brands use a snap ring. Push up on the disposal with one hand while someone else removes the snap ring with pliers. Some units have mounting ears that twist to release.The disposal is heavy, often 10 to 15 pounds. Lower it carefully into your bucket or have a helper support it. Once free, disconnect the electrical connection if you haven’t already.
Step 4: Remove the Mounting Assembly (If Needed)
Examine the mounting flange in your sink. If it’s corroded or leaking, replace it. If it looks good and matches your new disposal’s brand, you can reuse it.To remove it, work from under the sink. Loosen the mounting screws on the ring. Push up on the flange from below while someone removes old putty from above with a putty knife.Clean the sink opening thoroughly. Remove all old putty or sealant. A clean surface ensures a proper seal with your new installation.
Step 5: Install the New Mounting Assembly
Roll plumber’s putty into a rope about 1/2 inch thick. Press it around the sink opening in a complete circle. This creates a watertight seal.Insert the new sink flange from above. Press down firmly to spread the putty. Some people prefer silicone sealant instead of putty. Either works fine.From underneath, slide the mounting ring, gasket, and backup ring onto the flange. Tighten the mounting screws evenly. Work in a star pattern to ensure even pressure.Wipe away excess putty that squeezes out around the flange. You want a thin, even seal without gaps.
Step 6: Prepare the New Disposal
If your dishwasher connects to the disposal, you need to knock out the plug. Look inside the dishwasher inlet on the disposal side. You’ll see a plastic plug.Insert a screwdriver into the inlet from the outside. Tap it with a hammer to break the plug free. Reach inside with pliers and remove all pieces. This step is critical for proper drainage.For hardwired installations, remove the electrical plate on the disposal. For plug-in models, attach the power cord now if it didn’t come pre-installed.
Step 7: Mount the New Disposal
Lift the disposal up to the mounting assembly. This takes some muscle. Align the three mounting tabs with the slots in the mounting ring.While supporting the weight, turn the lower mounting ring clockwise. You’ll feel it locked into place. Some models have a snap ring that clicks when properly seated.The disposal should hang firmly without wobbling. Give it a gentle tug to test the connection. If it feels loose, remove it and try again.
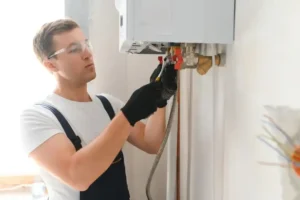
Step 8: Connect the Electrical
For hardwired disposals, connect the wires inside the electrical compartment. Match black to black, white to white, and green (ground) to the green screw.Secure connections with wire nuts. Tighten them firmly and give each wire a gentle tug to test. Replace the electrical cover plate.For plug-in models, simply plug the cord into the outlet under your sink. This is much easier and allows for quick disconnection later.
Step 9: Reconnect the Drain Lines
Attach the discharge tube to the disposal outlet. Hand-tighten the slip nut, then snug it with pliers. Don’t overtighten or you’ll crack the plastic.Reconnect your dishwasher drain hose to the inlet. Secure it with the hose clamp. Make sure the connection is tight to prevent leaks.If pipes don’t line up perfectly, you may need a tailpiece extension or angle adapter. Most hardware stores carry these parts. Wrap threads with Teflon tape before connecting for better seals.
Step 10: Test Your Installation
Turn the water on and let it run. Check all connections for leaks. Look at the sink flange, discharge tube, and dishwasher connection.Tighten any connections that drip. Sometimes you need to make small adjustments to get everything sealed properly.Restore power at the circuit breaker. Turn on the disposal and listen. It should run smoothly without grinding or rattling sounds. Let it run for 30 seconds with water flowing.Drop a few ice cubes down the drain while running. This helps clean the blades and confirms everything works correctly. Your garbage disposal replacement is complete.
You can read about: How To Reset a Garbage Disposal?
How Long Does It Take to Replace a Garbage Disposal?
A typical garbage disposal replacement takes 2 to 3 hours for most homeowners. This includes removing the old unit, installing the new one, and testing everything.Experience makes a big difference. If you’ve done it before, you might finish in an hour. First-timers often need the full 3 hours, especially if they encounter unexpected issues.Several factors affect timing. Corroded mounting hardware takes longer to remove. Rusted bolts sometimes need to be cut with a hacksaw. Tight spaces under the sink slow you down.Hardwired electrical connections add 30 minutes compared to plug-in models. If you need to adjust drain pipes or install adapters, add another 20 to 30 minutes.
Professional plumbers complete the job in 30 to 45 minutes. They have the right tools and experience. But hiring a pro costs $150 to $400 depending on your location and the disposal model.Doing it yourself saves significant money. Even if it takes you all afternoon, you’ll only pay for the disposal unit itself. Most quality disposals cost $80 to $200.
Maintenance Tips for Your New Disposal
Run cold water before, during, and after using your disposal. Cold water solidifies grease so the disposal can grind it. Hot water melts grease, which then sticks to pipes.Clean your disposal monthly. Grind ice cubes to scrape residue off the blades. Follow with citrus peels for a fresh smell. This simple routine prevents odors and buildup.Never put these items down at your disposal: grease, coffee grounds, eggshells, pasta, rice, bones, fibrous vegetables, or potato peels. These materials cause jams or clogs.
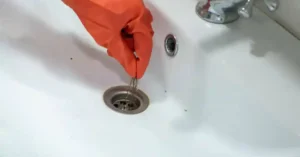
If your disposal jams, turn it off immediately. Never reach inside with your hands. Use the reset button on the bottom of the unit. If that doesn’t work, use the hex wrench that came with your disposal to manually rotate the blades.Listen for changes in sound. A healthy disposal hums smoothly. Grinding or rattling means something is wrong. Address issues quickly to prevent bigger problems.
When to Call a Professional
Some situations require expert help. If you’re not comfortable working with electricity, hire an electrician for that portion. Improper electrical work creates fire hazards.Major plumbing modifications go beyond simple disposal replacement. If you need new drain pipes or significant reconfiguration, call a plumber. They have specialized tools and knowledge.Building codes in some areas require permitted work for disposal installations. Check with your local building department.
Permitted work often requires professional installation.If you try the installation and run into problems you can’t solve, don’t force it. A professional can troubleshoot issues quickly. They’ll spot problems you might miss.
You can read about: How to Unclog a Garbage Disposal
Conclusion
Successfully replacing a garbage disposal is a rewarding project that restores full function to your kitchen. From the initial safety check to the final leak test, this detailed guide provides the expert experience needed for a professional-grade installation.
If you find that the project is more involved than you expected, or if you face complex plumbing or electrical issues, bringing in a seasoned professional is always the best choice. For reliable and efficient Garbage Disposal Installation in Eagle Rock, trust the expertise of Derks Plumbing to ensure your kitchen runs smoothly.
FAQs
Can I install a garbage disposal myself?
Yes, most homeowners can handle how to replace the garbage disposal with basic tools and this guide. You need to feel comfortable working under a sink and following electrical safety procedures. The job doesn’t require special plumbing skills.
Do I need a permit to replace a garbage disposal?
Most areas don’t require permits for direct replacement. If you’re adding a disposal where none existed or making electrical changes, check local codes. Requirements vary by location.
How often should I replace my garbage disposal?
Quality disposals last 10 to 15 years with proper maintenance. Replace yours when it frequently jams, leaks, or makes unusual noises. Age and heavy use shorten lifespan.
What size garbage disposal do I need?
A 1/2 horsepower disposal works for most families. Choose 3/4 HP for families of five or more. Consider 1 HP if you cook frequently or compost little. Motor size affects grinding power and speed.
What if the disposal doesn’t turn on after installation?
First, check the circuit breaker. Press the reset button on the bottom of the disposal. Verify all electrical connections are tight. If it still won’t run, you may have a wiring problem or defective unit.