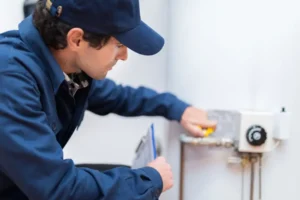
Your tankless water heater is giving you trouble and you know it needs to go. Maybe it keeps throwing error codes. Maybe it stopped heating water the right way. Or maybe it’s just too old to fix. Whatever the reason, the job is doable if you have the right tools and some patience. Most homeowners with plumbing experience can get this done in a few hours.
This guide walks you through exactly how to replace a tankless water heater from start to finish. You will learn what tools you need, how to do it safely, and when to bring in a pro.
Signs You Need to Replace a Tankless Water Heater
Not every problem calls for a full replacement. But some signs are too big to ignore. Here is what to look for:
- Unit is more than 15 to 20 years old
- Repairs keep adding up and cost more than the unit is worth
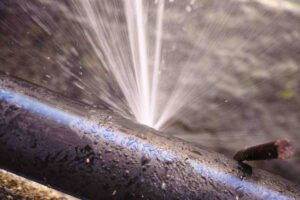
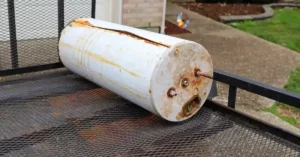
- You see rust or corrosion on the heat exchanger
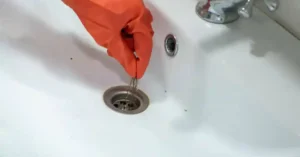
- The unit loses hot water pressure and cleaning the filter does not help
- It trips the circuit breaker or shuts off the gas valve often
- You smell gas and can’t find a small leak (this is urgent)
- Error codes come back after each reset
If your unit checks more than one of those boxes, replacing it is the smarter call. Patching an old tankless heater often just delays the same problems.
Tools and Materials Needed
Gather everything before you start. Stopping mid-job to run to the hardware store wastes time and can leave your water off for hours.
Tools:
- Pipe wrench and adjustable wrench
- Screwdrivers (flat and Phillips)
- Voltage tester (for electric units)
- Pipe cutter or hacksaw
- Teflon tape and pipe joint compound
- Bucket and rags
- Drill with bits
- Level
- Stud finder
Materials:
- New tankless water heater (matched to your fuel type and flow rate needs)
- Mounting hardware or bracket
- Flexible water supply lines
- Pipe fittings and unions
- Venting materials (if replacing a gas unit)
- New gas line fittings or electrical wire (depending on unit type)
- Pressure relief valve (if not included with unit)
Safety Precautions Before Replacement
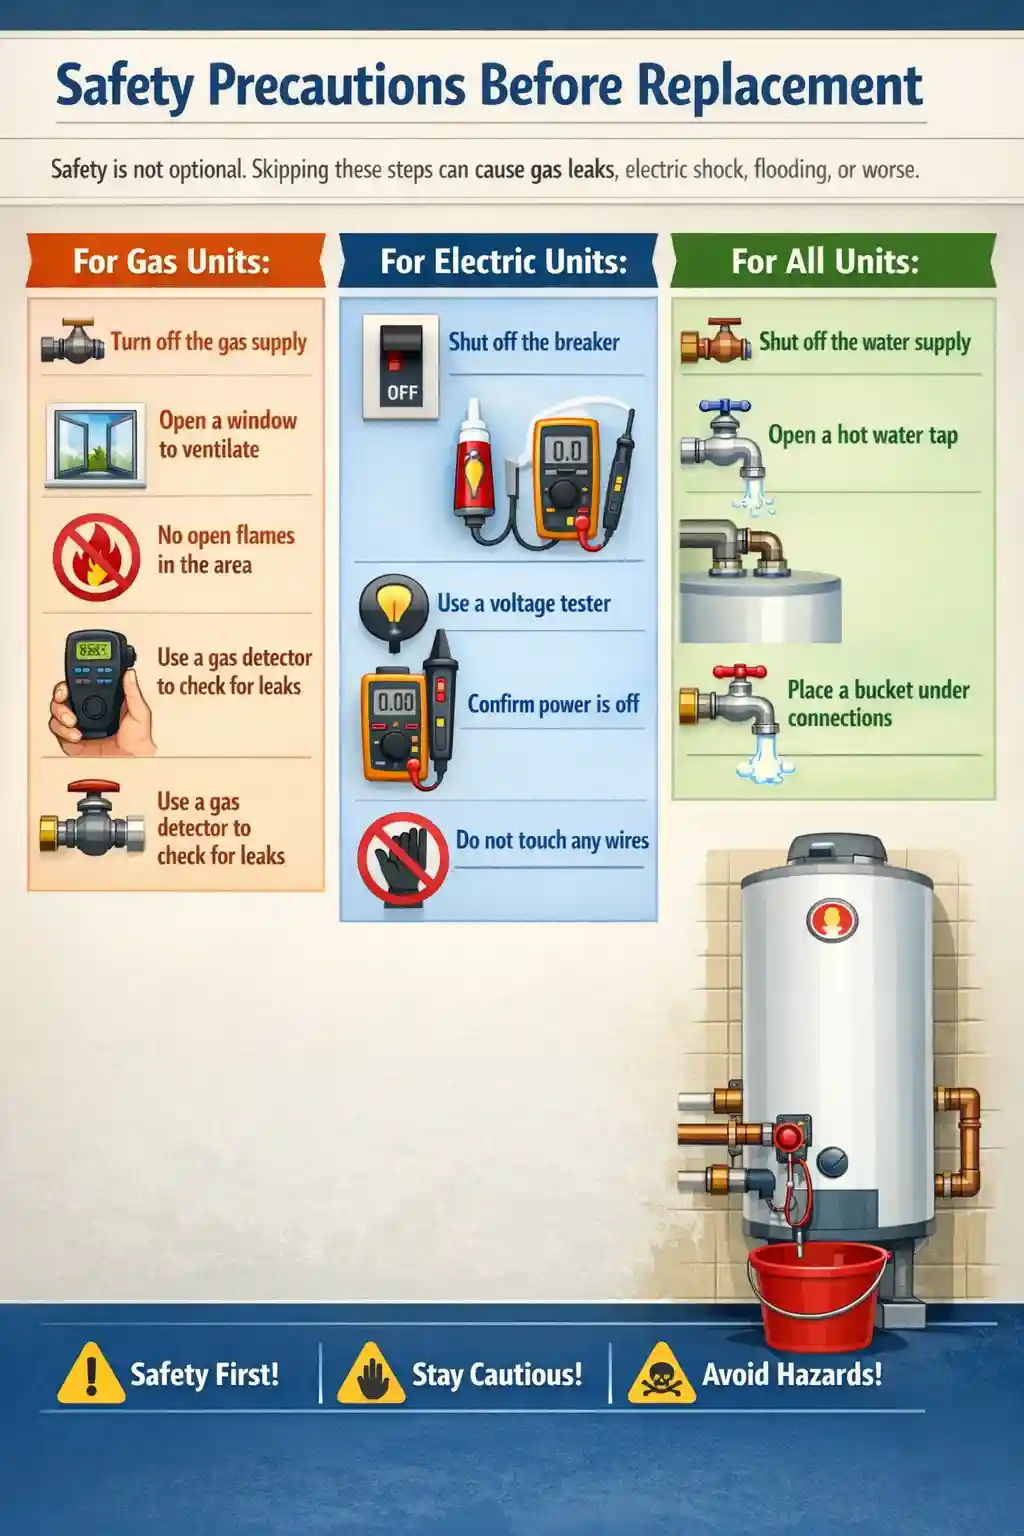
Safety is not optional. Skipping these steps can cause gas leaks, electric shock, flooding, or worse.
For gas units:
- Turn off the gas supply at the main valve or at the dedicated line
- Open a window to ventilate the space
- Do not use any open flame near the work area
- Use a gas detector to confirm there is no leak before starting
For electric units:
- Shut off the breaker that powers the unit
- Use a voltage tester to confirm the power is off
- Do not touch wires until you have confirmed there is no live current
For all units:
- Shut off the cold water supply to the unit
- Open a hot water tap to release pressure and drain remaining water
- Place a bucket under the connections before you loosen anything
Step-by-Step Guide: How to Replace a Tankless Water Heater
Follow these steps in order. Do not skip ahead.
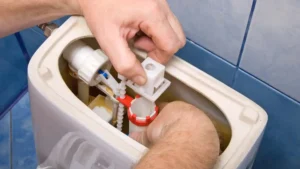
Step 1: Disconnect the Old Unit
- Turn off gas or electricity as described above
- Shut off cold water supply
- Open a hot water faucet to release pressure
- Disconnect the water lines. Use a wrench and have your bucket ready
- For gas units, disconnect the gas line carefully. Cap the line right away
- For electric units, remove the access panel and disconnect the wires. Label them
- Remove the venting pipe if it is a gas model
Step 2: Remove the Old Heater
Tankless units are usually wall-mounted. Unscrew the mounting bracket or lift the unit off the wall hooks. These units can be heavy. Get a helper if yours weighs more than 30 pounds. Set it aside for proper disposal or recycling.
Step 3: Inspect the Installation Area
Before you mount the new unit, look at what is left on the wall. Check for corrosion on pipes, signs of water damage, or any issues with the gas line or wiring. Fix those problems now. It is much easier than dealing with them after the new heater is in place.
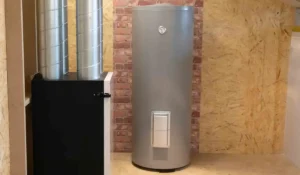
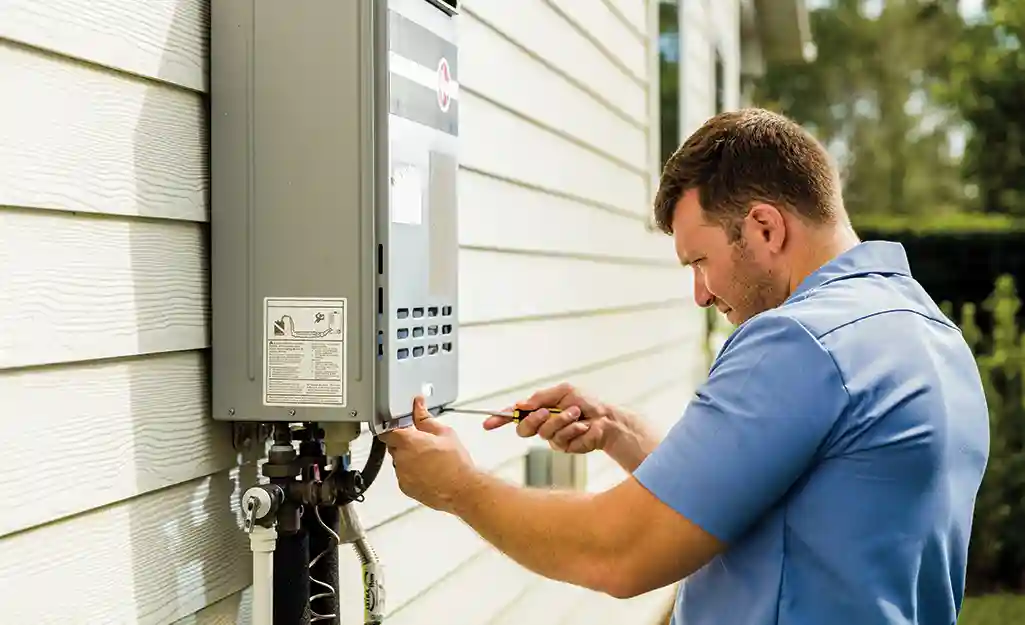
Step 4: Mount the New Tankless Heater
Use a stud finder to locate wall studs. Attach the mounting bracket to studs for a solid hold. Use a level so the unit sits straight. Hang the new heater on the bracket and confirm it is secure before connecting anything.
Step 5: Connect the Water Lines
Attach the cold water inlet and hot water outlet lines. Use new flexible supply lines if the old ones show any wear. Apply Teflon tape to all threaded connections. Hand-tighten first, then snug with a wrench. Do not over-tighten or you risk cracking fittings.
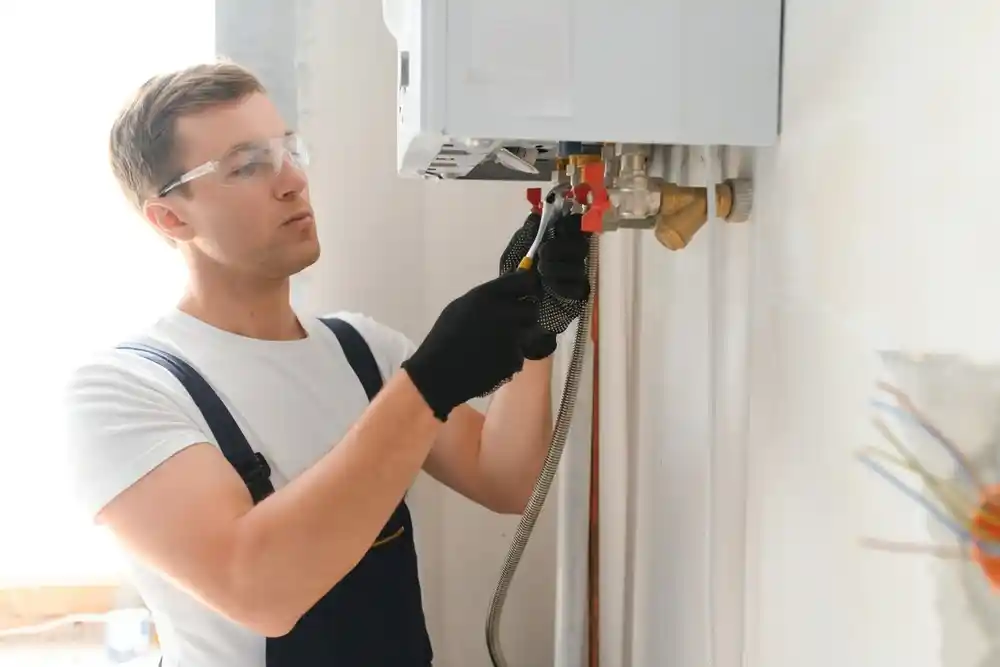
Step 6: Reconnect Gas or Electrical Supply
For gas units:
Connect the gas line using approved fittings. Apply gas-rated pipe joint compound to threaded connections. Do not use regular Teflon tape on gas lines. Once connected, turn the gas on slowly and check every joint with soapy water or a gas detector. Bubbles mean a leak. Fix it before moving on.
For electric units:
Connect the wires to the correct terminals using your labels from Step 1. Secure with wire nuts or terminal screws per the manufacturer instructions. Replace the access panel and turn the breaker back on only after all connections are complete.
Step 7: Install or Reconnect the Venting (Gas Models Only)
Gas tankless heaters require proper venting to remove combustion gases. Reattach the venting pipe according to your local code. Most modern gas units use direct vent or power vent systems. Make sure there are no gaps, and secure every joint. A venting mistake can allow carbon monoxide to enter your home. This step is one reason many homeowners hire a professional.
Step 8: Test the New Unit
- Turn on the cold water supply slowly
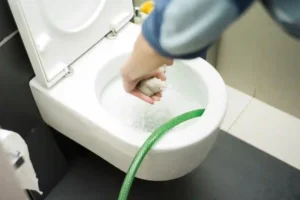
- Open a hot water tap and let air purge from the lines
- Check all water connections for drips
- For gas units: turn on the gas and light the unit per the manual
- For electric units: restore power at the breaker
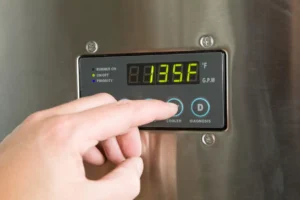
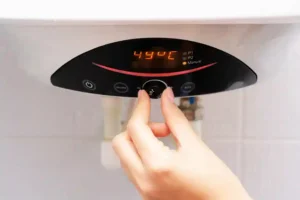
- Run hot water for a few minutes and check the temperature
- Confirm there are no error codes on the display
You can read about: How Much Does a Hot Water Heater Cost
How to Choose the Right Replacement Unit
When replacing a tankless water heater, size matters. A unit that is too small will not keep up with demand. One that is too large wastes money.
Look at your household’s peak demand. How many hot water outlets run at the same time? A family of four using two showers and a dishwasher at once needs a unit rated for at least 8 to 10 gallons per minute. A smaller home might do fine with 5 to 7 GPM.
Also think about fuel type. Replacing a tank water heater with a tankless model or replacing a hot water heater with a tankless system both require that you match the fuel type to your home’s setup, or budget for conversion costs.
Replacing a Tank Water Heater with a Tankless: Key Differences
If you are replacing a tank water heater with a tankless model for the first time, the process is more involved. You are not just swapping one unit for another. Here is what changes:
- Venting: Traditional tank heaters use atmospheric venting. Tankless gas units usually need a dedicated vent system with sealed pipes
- Gas line size: Tankless heaters demand more BTUs. Your existing gas line may need to be upgraded to a larger diameter
- Electrical requirements: Even gas tankless units need electricity for ignition and controls. Make sure there is an outlet nearby
- Water treatment: If you have hard water, you may need a whole-house filter or water softener to protect the new unit
- Permits: Many areas require a permit when replacing a hot water heater with a tankless system. Check with your local building department first
These extra steps make replacing a tank unit with a tankless one a larger project. Budget more time and money for it.
Common Mistakes to Avoid
These are the errors that trip up even experienced DIYers:
- Skipping the permit: Unpermitted work can void warranties, cause insurance issues, and create problems when you sell your home
- Using the wrong Teflon tape on gas lines: Standard Teflon tape is for water only. Gas lines need yellow gas-rated tape or pipe joint compound
- Under-sizing the unit: A unit that is too small will run non-stop and burn out faster
- Not flushing the lines first: Debris in old pipes can clog the new unit’s inlet filter right away
- Ignoring water pressure: Tankless heaters work best between 40 and 80 PSI. Pressure outside that range causes issues
- Not checking the venting clearances: Gas units need specific clearances from walls, windows, and other vents. Check the manual
How Long Does Tankless Water Heater Replacement Take?
Replacing a tankless water heater with a like-for-like model usually takes 2 to 4 hours. If you are replacing a tank water heater with a tankless unit and need to run new gas lines, update the venting, or add electrical outlets, plan for a full day or more.
The cost to replace a tankless water heater varies. Unit prices range from $500 to over $2,000 depending on brand, fuel type, and flow rate. Add installation costs if you hire a plumber, which typically runs $300 to $1,000 or more depending on complexity.
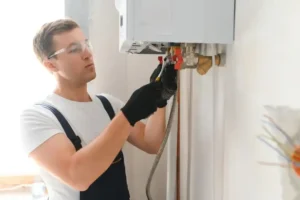
When to Call a Professional Plumber
Some jobs are better left to the pros. Call a licensed plumber or HVAC technician if:
- You need to run a new gas line or upgrade its size
- Your electrical panel needs a new circuit
- You are installing a high-BTU gas unit and need new venting
- Local code requires a licensed installer for the permit
- You are not comfortable with gas connections at any point
- The job involves cutting into walls or relocating the unit
Gas leaks and faulty electrical work can be fatal. There is no shame in calling a licensed professional. It is often the smart, safe choice.
Professional Tankless Water Heater Replacement in Eagle Rock
If you are in the Eagle Rock area and need a licensed plumber to handle this job, Derks Plumbing is ready to help. Our team handles full Tankless Water Heater Installation in Eagle Rock, including gas line work, venting, and code-compliant permits.
We know the local codes, we work fast, and we do not cut corners. Whether you need a simple swap or a full conversion from a tank to a tankless system, Derks Plumbing gets it done right the first time.
Contact us or book online to get a free quote for your tankless water heater replacement.
Conclusion
Knowing how to replace a tankless water heater gives you a real advantage. You can handle a direct swap yourself if you are comfortable with basic plumbing and you are working with an electric unit or a straightforward gas replacement. Just follow the steps, take the safety precautions seriously, and pull any permits your local code requires.
When in doubt, especially with gas lines or complex venting, hire a licensed plumber. The cost of professional installation is much lower than the cost of fixing a mistake. Either way, a new tankless water heater is a solid upgrade that pays for itself in energy savings over time.
FAQs
Can I replace a tankless water heater myself?
Yes, if you are replacing a tankless water heater with the same fuel type and size and you are comfortable with plumbing connections. Gas line work and new venting are better handled by a licensed professional.
How long does it take to replace a tankless water heater?
A like-for-like swap takes 2 to 4 hours. Replacing a tank water heater with a tankless unit for the first time can take a full day or more depending on gas line and venting changes.
Do I need a permit to replace a tankless water heater?
In most areas, yes. Water heater replacement usually requires a permit, especially when replacing a hot water heater with a tankless system or when changes to gas or electrical systems are involved. Check with your local building department before starting.
How much does it cost to replace a tankless water heater?
Unit costs range from $500 to $2,000 or more. Professional installation adds $300 to $1,000 depending on the complexity of the job.
What are the signs a tankless water heater needs to be replaced?
Persistent error codes, rust or corrosion, repeated repair costs, and age over 15 years are the main signs. If the unit stops providing consistent hot water despite troubleshooting, it is time for a replacement.
Is replacing a tankless water heater different from replacing a tank unit?
Yes. Replacing a tank water heater with a tankless model involves changes to gas lines, venting, and possibly electrical service. It is a bigger job and usually requires a permit.