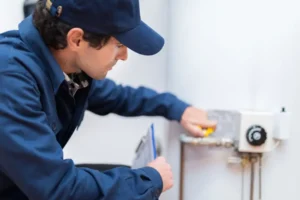
Frozen pipes can do more than clog your water line; they can burst, cause your home to flood, and rack up repair bills in the thousands. That’s why so many people use heat cables as a preventative measure. How to Apply Heat Tape to Pipes Crack, How to Insulate Pipes with Heat Tape, What to Know About Heat Tape for Pipes, Knowing how to insulate your pipes with heat tape is one of the best ways to guard them against cold in winter, and is particularly important if you have exposed or uninsulated pipes (such as those found in a basement or crawl space). It’s simpler than most people think. By following a couple of simple procedures, you can safely load your trailer. Derks Plumbing Company is the source for water heater repair in Eagle Rock, and we are ready to serve you at any time.
Why Heat Tape Matters for Pipe Protection
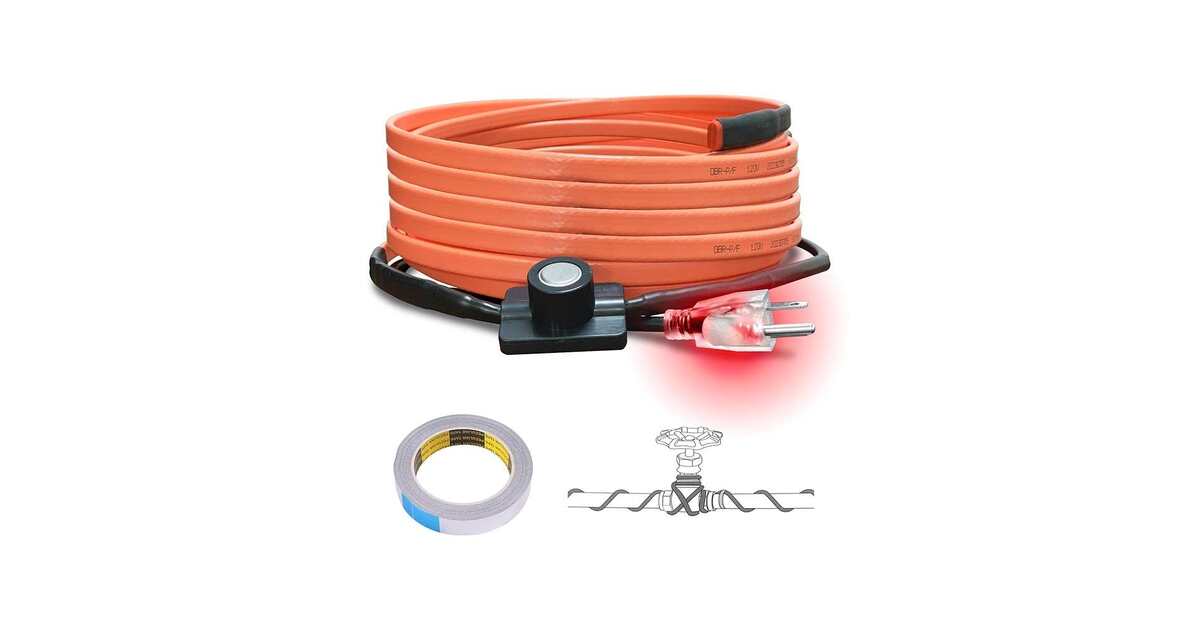
Heat tape or heat cable is a heating element in the form of a heating cable or similar that is applied directly to the surface of a pipe to keep water flowing and prevent it from freezing.
Most homeowners think frozen pipes can only occur in old homes, yet new construction is just as susceptible if a pipe is exposed, in an unheated area, or surrounded by too little insulation. The pipe is wrapped with Heat wrap as a single piece, and it is usually cheaper than major building repairs. Heat tape is recommended for pipes in the attic, crawl space, garage, basement, mobile homes, and outdoors. And it’s also great for vacation homes or day homes because the weather can definitely turn, and no one is there to keep an eye on things.
Types Of Heat Tapes
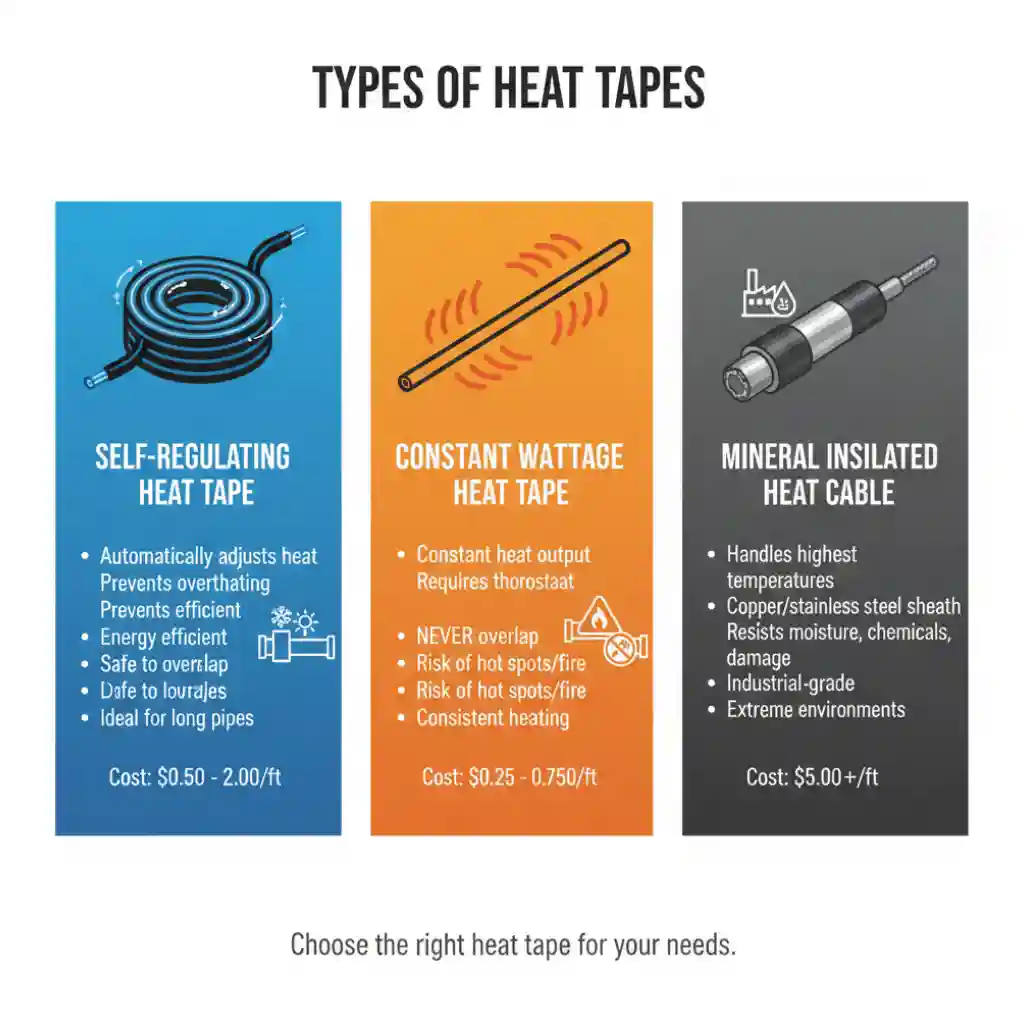
Understanding the different types of heat tape can help you choose the best option for your specific needs. There are three primary varieties available, and each serves a distinct purpose depending on your application and environment.
Self-Regulating Heat Tape
Self-regulating heat tape automatically adjusts its heat output based on the surrounding temperature. Its conductive core increases resistance as temperatures rise and decreases resistance when temperatures drop. This built-in regulation helps prevent overheating while improving energy efficiency.
This option is ideal for long pipe runs or areas with fluctuating temperatures. One major advantage is that it can be overlapped without creating a fire hazard. Although it is more expensive than other options typically costing between $0.50 and $2.00 per foot it offers enhanced safety and lower energy consumption over time.
Constant Wattage Heat Tape
Constant wattage heat tape delivers a steady, fixed amount of heat regardless of temperature changes. Because it does not adjust automatically, it requires a thermostat or controller to prevent overheating. Overlapping this type of tape should always be avoided, as it can cause dangerous hot spots that may damage pipes or create fire risks.
This type works well in applications where consistent, predictable heating is necessary. It is more affordable upfront, usually ranging from $0.25 to $0.75 per foot. However, it may result in higher energy costs over time compared to self-regulating heat tape.
Mineral Insulated Heat Cable
Mineral insulated heat cable is designed for extreme temperatures and harsh environments. It features a durable copper or stainless steel sheath that protects the internal heating element. This industrial-grade solution offers superior resistance to moisture, chemicals, and physical damage.
It is commonly used in commercial or heavy-duty settings where durability is critical. With prices starting at approximately $5 per foot, it is the most expensive option. For most residential pipe freeze protection needs, this heavy-duty cable is typically unnecessary.
Understanding the Basics of Heat Tape Installation
This is everything you need to know about heat tape installation to get you going. You should feel empowered after reading this to get out there and get the job done. Heat tape is a pipe heating method using electrical heating elements to warm pipes. Some are self-regulating in that they modulate their heat output in relation to the environmental temperature; others have a fixed heat output.
Is the manufacturer legitimate to allow the layman to use the heat tape? Your installation success will be determined by how well you measure, which is how well you choose the right tape and follow the safety instructions.
Electric heating. According to them, Tang works with electric heating product but people are frightened that they will get shocked, or you burn their house down. Heat tape is effective, reliable, and safe when used with the proper pipe size. And, or Siemens can come out and look at your system or put one in for you so you can sleep at night Derks Plumbing Co and the like are located in Eagle Rock and will argue with your setup.
Step-by-Step Guide: How to Install Heat Tape on Pipes
Now we will get into the details of how to install heat tape on pipes, from getting everything to putting on insulation.
Step 1: Measure and Inspect the Pipes
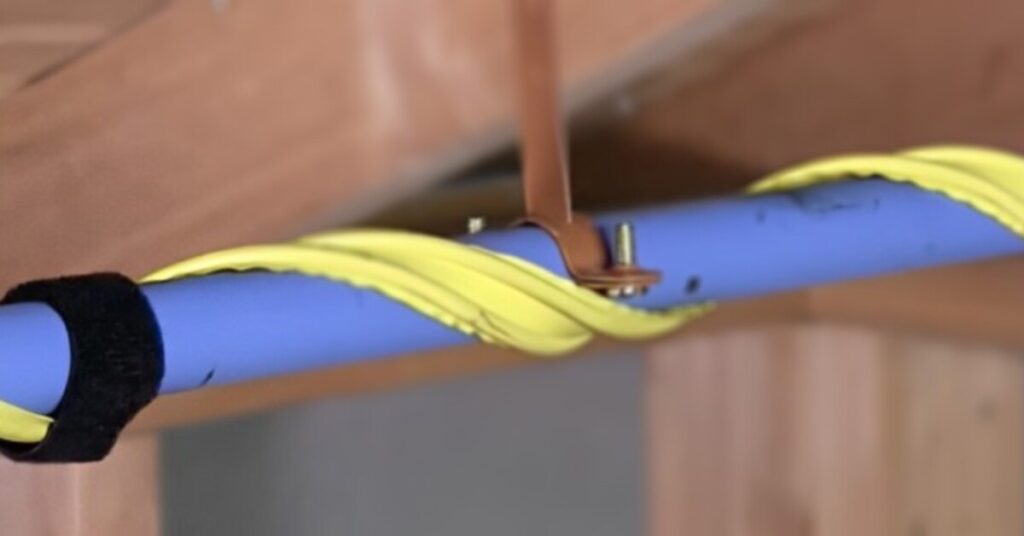
Before application, measure the pipe to be heated. Heat tape should be wrapped around the pipe, and then straightened out for best contact with the pipe. Some manufacturers recommend extending the heat tape beyond pipe valves and joints. You need to check the pipe surface for any fractures or leaks. The pipe should also be checked for armoring. After you fix the problem(s), install securely.
Step 2: Select the appropriate Type of Heat Tape
There is a bias towards certain types of heat tape. Some are for plastic pipes, and some are for metal. Some people can control themselves. Some people cannot.
Step 3: Secure the heat tape to the pipe
Take a part of the heat tape. Straighten it out. Then you can start sticking the heat tape to the pipe. You can put the heat tape on the pipe in lines, or you can make spirals with the heat tape. The way you put the heat tape on the pipe can be different depending on what the product’s supposed to look like. A number of manufacturers recommend that heat tape be wrapped in a spiral around the pipe and not run along its length in a straight line.
Make sure the wire element touches the surface of the pipe. Never turn back tape tails (this advice is true for any tape versus cat protocols) since you can overheat.
Step 4: Install the Thermostat or Sensor if you need
Some heat tape models have a thermostat or sensor. This sensor measures the temperature. It turns on the heat tape by itself. If your heat tape has one, you need to attach it to the pipe. Follow the instructions to attach it.
You should put the thermostat in a spot. It should read the temperature correctly.
Step 5: Add Pipe Insulation.
This insulation helps the heat tape keep the temperature steady.
It also helps the heat tape use power.
Do not pack the insulation tightly around the heat tape or it will restrict the air flow around the heat tape and cause moisture to build up around the heat tape.
Be sure your sequences of insulation are adequate to insulate all of your pipe – or at least, all of the portions you heat-taped.
With their good insulation, it is possible to keep dry cold in the winter and even outdoor water pipes.
Step 6: Connect and Test the System
Turn on and test the heat trace. Some models come equipped with those adorable little light indicators to inform you when the power is on. Warm up the tape, and then with a light touch, you can press on it to see if it is actually on if your heat tape has no light. A frayed cord can be heated with the heat tape, which may provide a temporary fix. When that happens or if the candle doesn’t get hot enough calls a pro like Derks Plumbing to have it installed strictly.
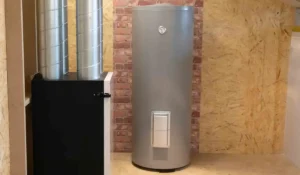
You can read about: How to Install a Heat Pump Water Heater
Top Tips for Heat Tape Safety on Pipes
It is safe to install heat tape on pipes. Just remember that heat tape is a thing, so you need to be careful when using it.
When you are using heat tape, you should use products that have been listed by UL. This is very important.
You must never overlap the heating cable because that can cause a problem.
Conclusion
When it comes to safeguarding your home from cold-weather damage, nothing is more sensible than learning how to install heat tape on water pipes. I don’t see any good reasons why all of us with the equipment and knowledge are not out there doing it ourselves, just be careful. Heat tape is a convenience item; it helps prevent the pipes from freezing, and you’ll have fewer plumbing repairs, and your plumbing will work all the time. Need peace of mind? Derks Plumbing provides an expert solution of Plumbing Services in Los Angeles.
FAQs
Heat tape on PVC pipe?
Yes, but only some types are safe for plastic. Always check the package for compatibility.
Do I put insulation over the heat tape?
Insulation is key to efficiency and productivity. It also enables the heat tape to be warm consistently.
Is it OK to leave heat tape on all winter?
Yes, especially if it has a thermostat. Self-regulating types are not so much heating cables as power cables that automatically adjust the heat output.
Is heat tape safe outdoors?
Many are made specifically to be used outdoors. Get heat tape that’s been labeled weather-resistant.
Would I call a plumber to install this?
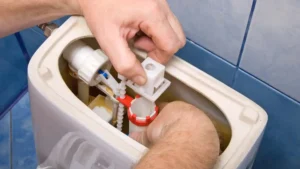
If you need to couple or uncouple your toilet pipes and the job is within your skills, do it yourself, but if your pipes are difficult to access or you don’t feel comfortable working with electrical parts, call a pro. such as Derks Plumbing Company, and we will be happy to assist.