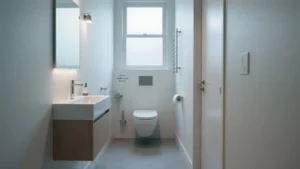
To install a toilet wax ring, you must remove the toilet, scrape away the old wax, and set a new ring onto the floor flange. This creates a permanent, airtight seal that prevents water leaks and keeps sewer gases out of your home.
Dealing with a leaking bathroom can be stressful, but learning how to install a toilet wax ring is a manageable DIY project. A proper seal is the only thing standing between your bathroom floor and a major water damage repair bill.
What Is a Toilet Wax Ring?
A toilet wax ring is a circular seal made from molded wax and sometimes includes a plastic horn or sleeve. It sits between the toilet base and the closet flange on your bathroom floor. When you tighten the toilet bolts, the wax compresses and creates a watertight seal.
This simple part does a big job. It keeps water from leaking out when you flush. It also blocks sewer gases from entering your home. Without a good seal, you’d smell those gases and see water damage on your floor.
Most wax rings are standard size, but you can find extra-thick versions for toilets that sit higher than normal. Some come with a plastic funnel that guides waste into the drain pipe. These cost a bit more but make installation easier for beginners.
The wax stays soft and pliable for years. It molds small imperfections in the flange and toilet base. This flexibility makes it reliable, but it also means the ring can wear out over time.
Signs You Need to Replace a Toilet Wax Ring
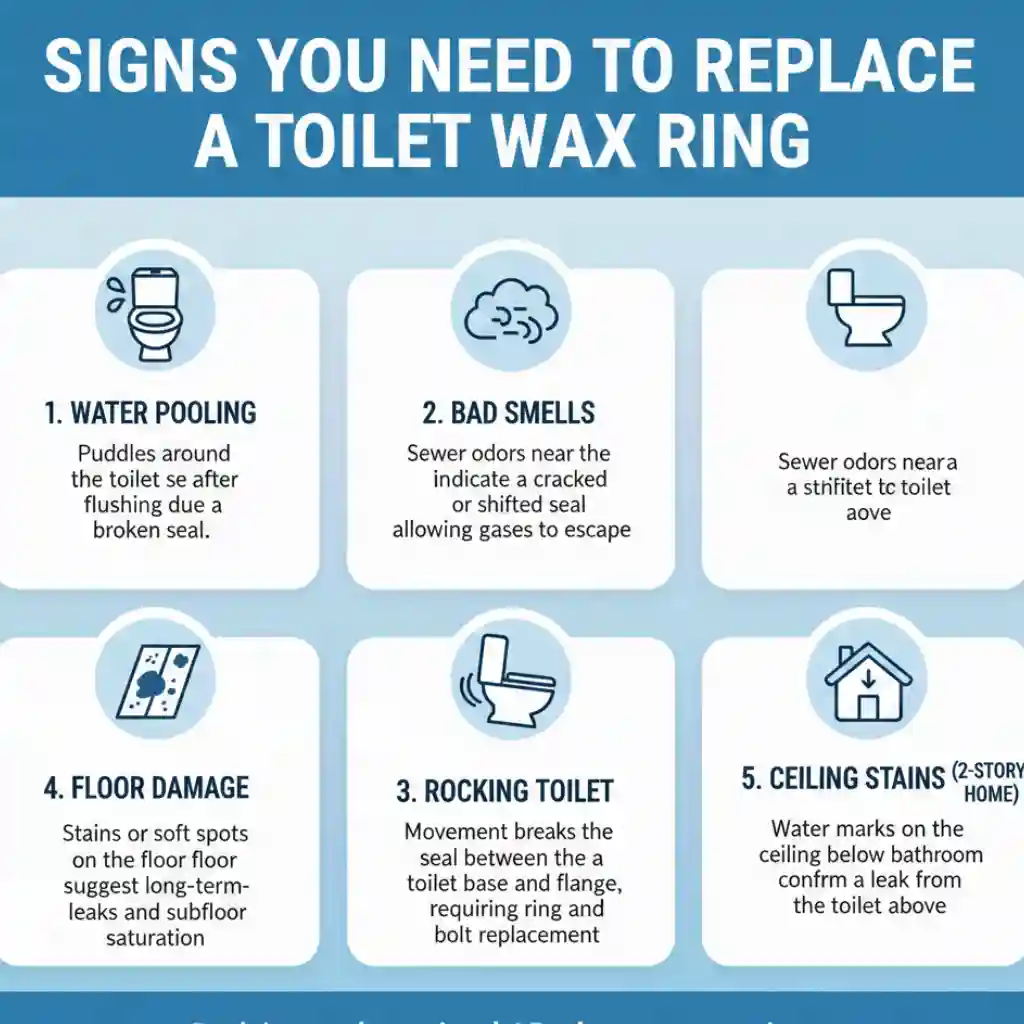
Your toilet will give you clear signals when the wax ring fails. Water pooling around the base after flushing is the most obvious sign. This happens because the seal no longer blocks water from escaping.
Bad smells are another red flag. If you notice sewer odors near your toilet, the wax ring might have cracked or shifted. The seal should block all gases, so any smell means something’s wrong.
A rocking toilet often damages the wax ring. When the toilet moves, it breaks the seal between the base and flange. You might need to replace both the ring and tighten or replace the flange bolts.
Stains or soft spots on the floor near the toilet indicate long-term leaking. The water has soaked into the subfloor, causing damage you can’t ignore. In these cases, toilet wax ring replacement becomes urgent to prevent costly repairs.
Check the ceiling below your bathroom if you have a two-story home. Water stains there confirm a leak from above. The wax ring is a common source.
How to Replace Wax Ring on Toilet
When people search how to replace wax ring on toilet, they usually want a full process, not just one step. It means removing the toilet, cleaning the flange, placing a new seal, and resetting the toilet correctly.
Replacing the ring is not just about swapping parts. It is about restoring a proper seal, leveling the toilet, and preventing future leaks.
Tools and Materials You'll Need
Gathering everything before you start makes the job go smoothly. Here’s your shopping list:
Materials:
- New wax ring (with or without plastic horn)
- Toilet flange bolts (if old ones are corroded)
- Toilet shims (if floor is uneven)
- Bucket and sponge
- Old towels or rags
Tools:
- Adjustable wrench
- Putty knife or scraper
- Plunger
- Shop vacuum or wet/dry vac
- Rubber gloves
- Level
Buy a wax ring that matches your toilet setup. Standard rings work for most toilets. Get an extra-thick ring if your toilet sits more than a quarter-inch above the flange. The plastic horn version helps guide waste and prevents installation mistakes.
Don’t reuse old bolts. They rust and break easily. Fresh bolts cost less than a dollar and give you peace of mind.
Step-by-Step Guide: How to Install a Toilet Wax Ring
Installing wax ring on toilet takes about an hour for most people. Follow these steps carefully:
Step 1: Turn Off the Water Supply
Find the shut-off valve behind or near your toilet. Turn it clockwise until it stops. Flush the toilet to drain the tank. Hold the handle down to remove as much water as possible.
Use a sponge or cup to remove water from the bowl. Get it as dry as you can. A shop vacuum works great for this step.
Step 2: Disconnect the Water Supply Line
Use an adjustable wrench to loosen the nut connecting the supply line to the tank. Keep a bucket handy to catch any remaining water. Once loose, unscrew it by hand and set the line aside.
Step 3: Remove the Toilet Bolts
Pry off the plastic caps covering the bolts at the toilet base. Use your wrench to remove the nuts. If they’re rusted or stuck, apply penetrating oil and wait ten minutes. You might need to cut them with a hacksaw if they won’t budge.
Step 4: Lift the Toilet Off
Rock the toilet gently to break the wax seal. Lift straight up using your legs, not your back. Toilets weigh 60 to 100 pounds. Get help if you need it.
Carry the toilet to a nearby area. Lay it on its side on old towels. Stuff a rag in the drain hole to block sewer gases.
Step 5: Clean the Flange and Toilet Base
Scrape off all old wax from the flange using a putty knife. Get every bit off so the new ring seals properly. Clean the bottom of the toilet the same way.
Inspect the flange for cracks or damage. Replace it if you see problems. A broken flange will cause leaks even with a new wax ring.
Check that the flange sits level with or slightly above the floor. If it’s below the floor surface, you’ll need an extra-thick wax ring or flange spacers.
Step 6: Install New Flange Bolts
Insert new bolts into the flange slots. Position them on opposite sides, aligned with the center. Some people use plumber’s putty to hold them upright during installation.
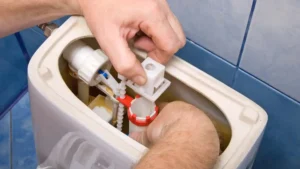
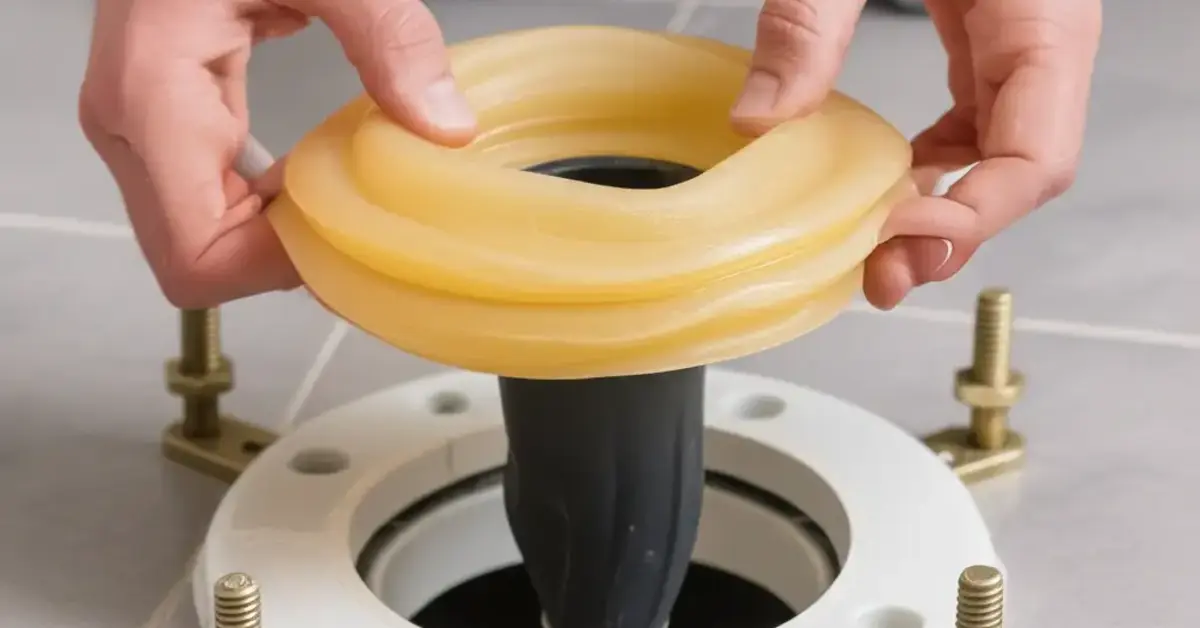
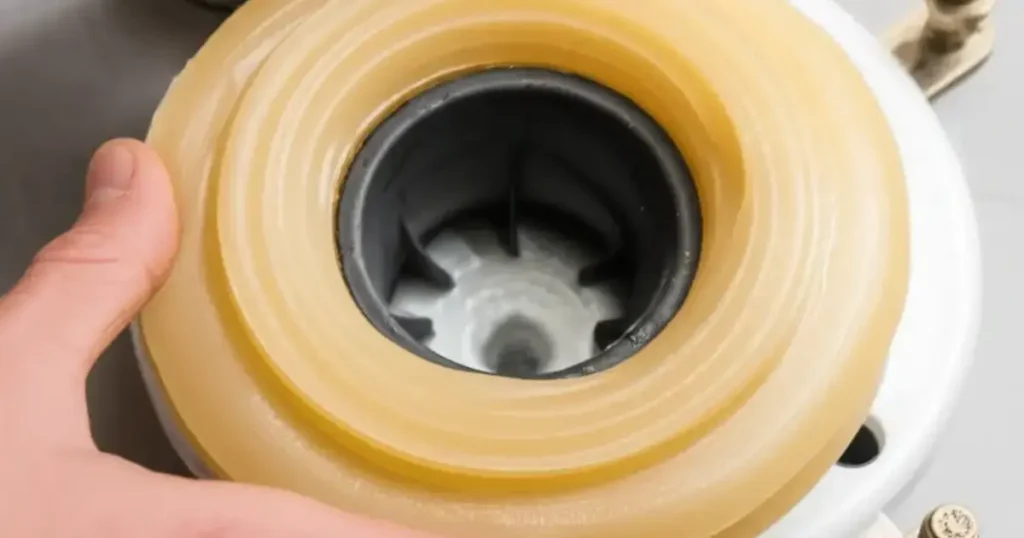
Step 7: Place the New Wax Ring
This is the key step in how to replace wax ring on toilet. Center the wax ring on the flange. The tapered side faces up toward the toilet.
If your ring has a plastic horn, make sure it points down into the drain opening. Press gently to make it stick to the flange. Don’t press too hard or you’ll flatten it.
Some plumbers prefer placing the ring on the toilet base instead of the flange. Both methods work. Just don’t use two rings unless absolutely necessary.
Step 8: Set the Toilet
Remove the rag from the toilet drain. Lift the toilet and position it over the flange. Align the bolt holes with the bolts. This takes patience.
Lower the toilet straight down. Don’t twist or rock it. The wax needs to compress evenly. Press down firmly on the bowl rim with your body weight. You should feel it settle.
Step 9: Secure the Toilet
Thread the washers and nuts onto the bolts. Tighten them by hand first. Then use your wrench to snug them down. Alternate between bolts, tightening a little at a time.
Don’t overtighten. You can crack the porcelain base. The toilet should feel solid but the bolts shouldn’t be forced. Stop when the toilet doesn’t rock.
Use a level to check that the toilet sits evenly. If it rocks, place plastic shims under the low side. Trim the shims flush with a utility knife.
Step 10: Reconnect and Test
Attach the water supply line to the tank. Hand-tighten first, then snug with your wrench. Turn the water back on slowly. Let the tank fill.
Check for leaks around the base and supply connection. Flush several times. Watch the base carefully for any water seepage. Wipe the area dry and wait 30 minutes. Check again for moisture.
If everything stays dry, snap the bolt caps into place. Your toilet wax ring install is complete.
You can read about: How to Install a Toilet
Common Mistakes to Avoid
Don’t reuse the old wax ring. Once compressed, it won’t seal properly again. Always use a fresh ring.
Avoid using two wax rings unless your toilet sits very high above the flange. Double rings often cause leaks because they don’t compress evenly.
Don’t rock or twist the toilet after setting it. This breaks the seal you just created. If you need to reposition, lift it completely off and start over with a new ring.
Never overtighten the bolts. Porcelain cracks easily. Tighten just enough to stop rocking.
Don’t skip cleaning the old wax completely. Even small bits prevent the new ring from sealing properly.
Make sure the flange is in good shape before installing. A cracked flange will leak no matter how perfect your wax ring installation is.
How Long Does a Toilet Wax Ring Last?
A properly installed wax ring lasts 20 to 30 years under normal conditions. Some last even longer. The wax doesn’t dry out or deteriorate on its own.
What kills wax rings is movement. If your toilet rocks or shifts, the seal breaks down faster. A toilet that sits firmly in place protects the ring.
Water quality doesn’t affect wax rings much. Chemical cleaners won’t damage them either. The physical compression and stability matter most.
If you replace your toilet, you must replace the wax ring. Never try to reuse one. The cost is minimal compared to potential water damage.
When to Call a Professional
Some situations need expert help. Call a plumber if your flange is broken or sits too low. These repairs require special parts and skills.
A toilet that continues leaking after you replace the ring signals deeper problems. The drain pipe might be damaged or the floor could be uneven beyond simple shimming.
If you have physical limitations that prevent heavy lifting, hire help. Dropping a toilet causes serious damage and injury.
Major water damage to your subfloor needs professional assessment. You might need floor repairs before reinstalling the toilet.
Professional Toilet Installation and Repair in Eagle Rock
If you are uncomfortable lifting a 60-pound toilet or discover a broken flange, Derks Plumbing is here to help. We specialize in high-quality Toilet Installation in Eagle Rock and the surrounding areas. Our team ensures your bathroom remains leak-free by using professional-grade seals and checking the integrity of your entire drainage system.

Conclusion
How to install a toilet wax ring is a manageable DIY project that saves money and solves common bathroom problems. The key steps include turning off the water, removing the toilet, cleaning thoroughly, placing the new ring, and setting the toilet carefully.
Take your time with each step. Rushing leads to mistakes that cause leaks. A proper installation lasts decades and keeps your bathroom dry and odor-free.
Remember to inspect your flange and floor before starting. Address any damage before installing the new ring. This prevents future problems and wasted effort.
With the right tools and patience, you can complete this repair in an afternoon. Your toilet will work like new and you’ll have the satisfaction of fixing it yourself.
FAQs
How much does a toilet wax ring cost?
Wax rings cost between $2 and $10 at hardware stores. Extra-thick rings with plastic horns are more expensive. This is one of the cheapest plumbing repairs you can make.
Can I install a wax ring without removing the toilet?
No, you must remove the toilet completely. The ring needs to compress evenly when you set the toilet down. You can’t access or clean the flange properly with the toilet in place.
Do I need a wax ring with a horn?
The horn helps guide waste into the drain and makes alignment easier. Standard rings work fine if installed carefully. The horn version is worth the extra cost for beginners.
What if my toilet still leaks after replacing the wax ring?
Check the flange for cracks or damage. Make sure the toilet bolts are tight but not overtightened. The leak might come from the tank bolts or supply line instead of the wax ring.
How do I know which size wax ring to buy?
Measure the gap between your toilet base and the flange. For gaps less than a quarter inch, use a standard ring. For larger gaps, buy an extra-thick ring. Most toilets use standard size.
Can I use a rubber gasket instead of a wax ring?
Yes, rubber gasket seals are available and reusable. They work well but cost more than wax rings. Some plumbers prefer them for ease of installation and future repairs.