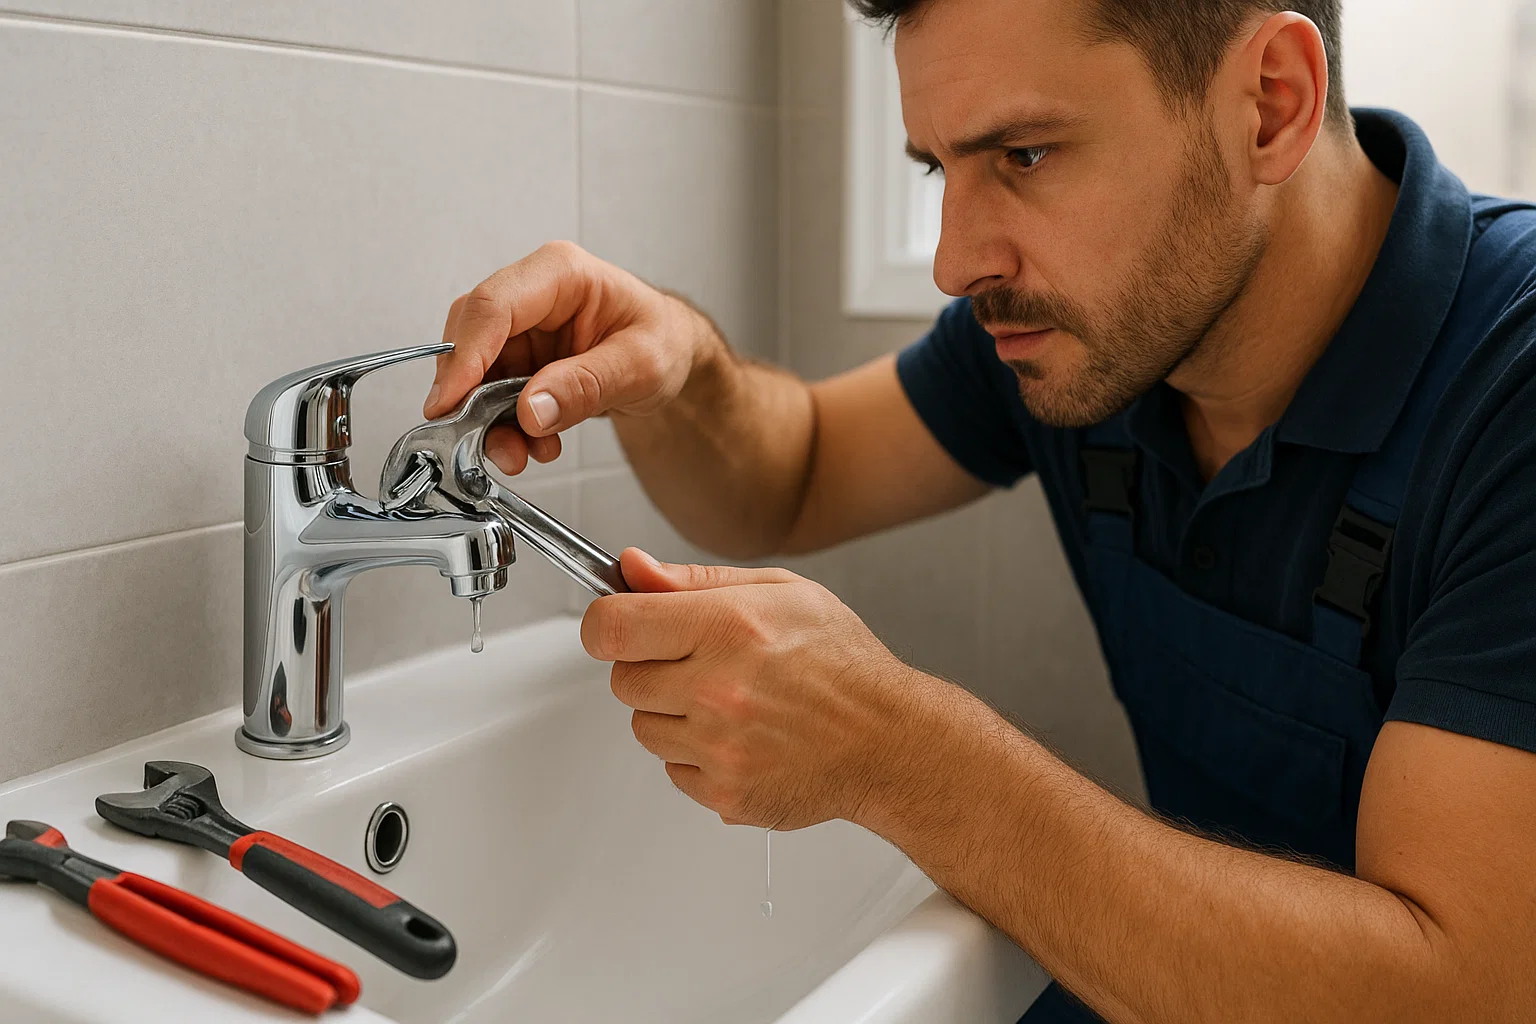
It can be annoying and expensive to deal with a dripping bath tap or any other dripping taps in the bathroom. A simple part like an O-ring or nut often needs to be replaced when a bathroom sink tap starts to leak. I have fixed many bathroom faucets that leak and the first thing I do is figure out where the water is coming from. Watch for drips of water at the base or tip of the tap. Let me explain in depth how to fix a leaking bath tap.
If the base of your bathroom faucet leaks, it’s likely because the seal or O-rings are worn out. Most of the time, a worn washer or cartridge inside the tap will cause water to drip when it’s not turned on. In my experience, it’s usually easy to fix a leak once you know where it is. In fact, one guide says that fixing a tap that drips is often easy to do yourself as long as you have the right parts and tools on hand.
Tools to fix a leaking tap
Get the right tools together before you start fixing a leaky tap. An adjustable wrench or spanner, flat-head and Phillips screwdrivers, new washers, O-rings, or cartridges, and plumber’s grease or silicone sealant are some of the most important tools. And in one do-it-yourself guide, it says to have an adjustable wrench, scissors, a set of screwdrivers, and new tap cartridges or washers with O-rings. These are the tools you need to fix a tap that is leaking. When you have everything you need on hand, you can get work done quickly and without having to stop. In real life, you can do the fix slowly if you have the right tools on hand.
Replacing a tap washer
A usual first step is to change the washer on the tap. There is a small rubber washer at the base of the stem of many traditional faucets that stops water flow. These faucets have different knobs for hot and cold water. If this nut is broken or worn out, the tap will drip when it is closed. It’s easy to fix: turn off the water, take off the handle, loosen the nut that holds it in place, and then pull out the stem. Take out the old washer and put in a new one that is the same size. To test, put the tap back together and turn the water back on. I’ve found that changing the washer stops most drips right away. It’s a quick and cheap fix.
Replacing a faucet cartridge
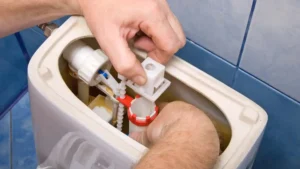
There are a lot of mixer-style bath faucets on the market today that use a ceramic cylinder instead of a rubber washer. Before you change the filter in the faucet, turn off the water and open the tap to release any pressure. Take off the cosmetic cover and the tap handle to get to the retaining nut. With a wrench, loosen this nut and take out the old cartridge. Leaks usually happen when a ceramic disc in the cartridge breaks.
To fix this, you will have to change the whole cartridge. Get a new cartridge by taking the old one (or its part number) to a hardware shop. Put the new cartridge in, tighten the nut again, and put the tap back together. The leak should be fixed when you turn the water back on.
O-ring replacement for tap
A new O-ring for the tap might be needed if the leak is around the spout or base of a mixing faucet. The small rubber seals that go between tap parts are called O-rings. First, take off the tap spout or neck (many of them just pop off or unscrew). At the bottom of the spout, you’ll see an old O-ring. Remove the old ring by prying it out or cutting it out, then slide on a new one that is the same size. Put a little plumber’s grease on the new O-ring to make sure it seals well. After that, put the spout back on. Changing this one small part stops the leak most of the time. Once the O-ring is back in place, turn on the water and test the faucet to make sure the leak is gone.
Valve seat reseating
Sometimes a tap leaks even after the O-rings and screws are changed. Maybe the valve seat is to blame. The valve seat is the metal area that the washer presses against. Water can get around the washer if the seat is rusted or has holes in it. This can be fixed by reseating the valve seat. Put the valve seat tool or cutter into the faucet body and turn it a few times to make the seat smooth. Get rid of any metal bits, and then put the tap back together. From what I’ve seen, this usually fixes a leaky seal without having to repair the whole faucet.
Resealing around the tap base
If water is leaking around the outside base of the tap, like on the bath deck, you might need to seal the bath around the tap again. First, wipe away any old putty or glue and let the area dry. Then, put a thin line of waterproof silicone glue between the sink or tub and the base of the faucet. Make it smooth, and then let it dry completely. This keeps water from getting into the wall or floor from under the faucet. If nothing else works, replacing the old, cracked sealer around the base of the tap is often enough to fix the leak. Run the tap after resealing to make sure no water is leaking out at the base.
Repairing a leaking mixer tap
A leaking mixer tap (one button mixes hot and cold water) is fixed in the same way, but you need to look at the inside of the mixer. Most of the time, leaks are caused by the cartridge or the covers. To fix a mixer tap that is leaking, start by changing the cartridge or O-rings as shown above. If your mixer only drips when the lever is only partly open, it’s probably because the ceramic disc is worn out.
Most of the time, changing the ammo stops it. Also, make sure that the lines that bring in the hot and cold water are tight and not leaking under the sink. Many old mixers can be fixed without having to buy a new one if you take the time and have the right parts.
Fixing a 1/4-turn tap leaking
A quarter-turn ceramic cartridge form is used in a lot of modern faucets. The same steps will work to fix a 1/4-turn tap that is leaking: change the cartridge and seals inside the tap. As before, take off the handle and retainer nut. Then, take out the cartridge and look it over. If an O-ring is broken, you should replace it or the whole cartridge with the right quarter-turn model. Place the new seals in place and then put the whole thing back together. It stops the leak most of the time and doesn’t cost nearly as much as a new tap.
Final tips
Fixing a bath faucet that leaks is usually easy once you figure out what’s wrong. Turn off the water at the beginning every time, and be careful to keep track of the small pieces. Always have extra screws and O-rings on hand so you can fix a leaky faucet without having to go to the store again. To make sure the new O-rings and washers close well, use plumber’s grease on them. To avoid size problems, make sure that the replacement parts you buy are a perfect fit for your tap type. With time and the right tools, you can fix anything on your own, from a bath tap that leaks to a mixing tap that leaks.
Leaking Bath Tap? We Can Fix It Fast!
Professional tap repair services to stop drips, save water, and keep your bathroom trouble-free.