How Much Does an Emergency Plumber Cost? Find Out Now
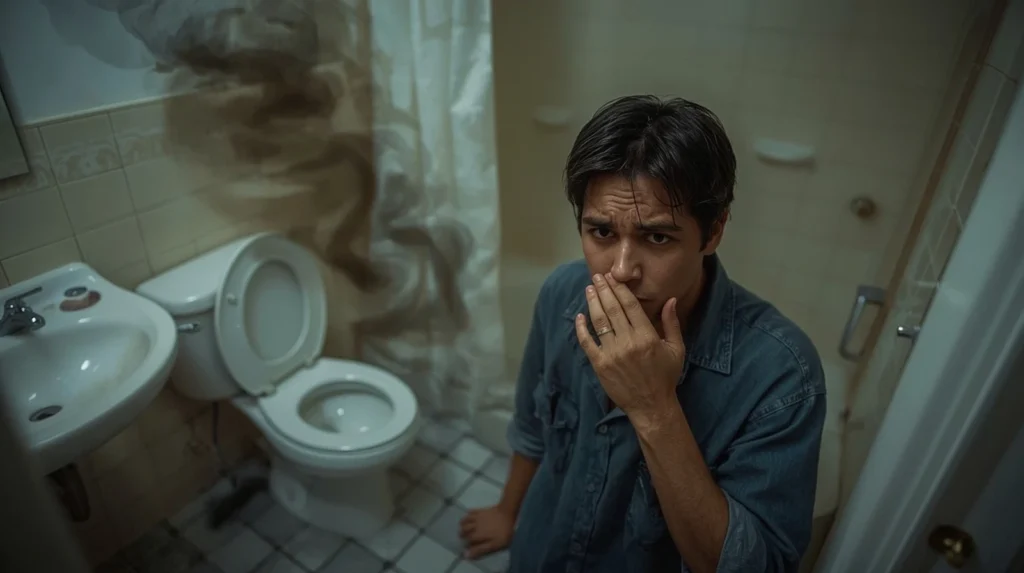
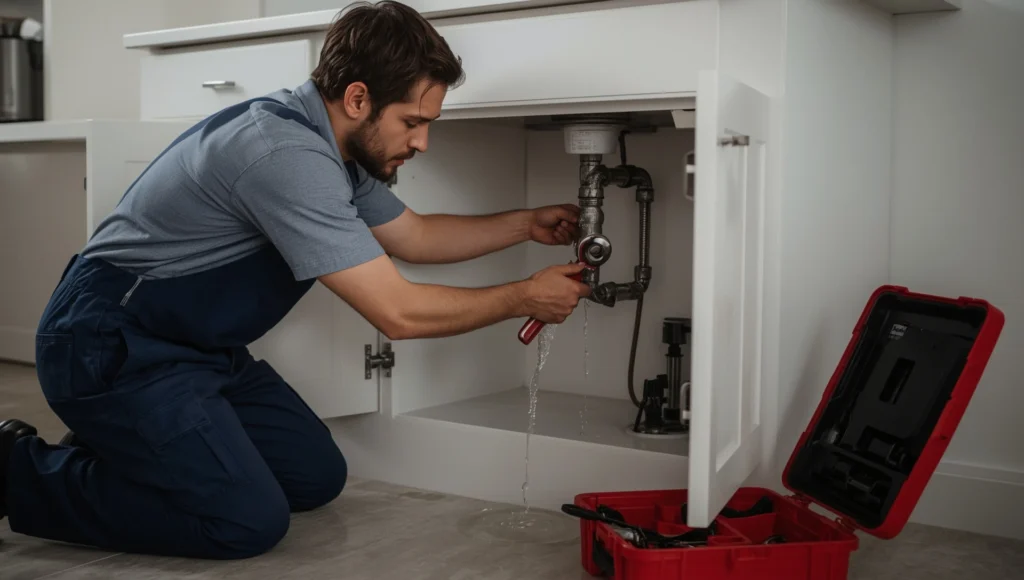
When there is a pipe burst or a toilet is overflowing in the evening, you think about money first. How much does an emergency plumber cost? Emergency plumber rates typically range from $150 – $500 per hour nationally, with an average of about $170 per hour. After-hours, weekends, or holidays can increase costs anywhere from 1.5 – 3 times the cost of standard rates. The cost will vary depending on where you live, the nature of the plumbing need, and the complexity of the fix. Knowing the cost of a plumber per hour before you call will help you make a smart decision without much surprise. What Is a Plumbing Emergency? Not every plumbing issue will require you to call someone out right away; knowing the difference may save you the hefty bill for after-hour plumbing services. A plumbing emergency is any unforeseen, dangerous event which creates an immediate hazard to your health, safety, or property structure. If the problem can safely wait for 12-24 hours without causing extensive damage and you can use water, it is a regular service call. If you cannot, then it is a 24/7 emergency specialist. You need to call an emergency plumber immediately for: Total Water Loss: If you have no water supply. Burst Pipes: Pipes that are actively gushing water. Sewage Backups: Waste water flowing back up into sinks, tubs, or toilets. This is a major health hazard. Gas Leaks: If you smell rotten eggs and suspect a gas leak, evacuate immediately and then call the gas company and a plumber. Water Heater Failure: A failure that is causing a massive leak or flooding in your home. How Much Does Emergency Plumbing Service Cost? (The Concise Answer) Understanding how a plumbing company charges for its work is the best way to estimate the cost for emergency plumber service. Most emergency companies will combine at least two of these three billing methods to come to your final bill. Pricing Model Cost Range What it Covers When it’s Used Hourly Rate $150 to $500+ per hour Labor, expertise, and time spent diagnosing and fixing the issue. Unpredictable or complex repairs like locating a leak or severe sewer clog. Flat-Rate Fee $100 to $1,500+ A single, set price for a common, defined job. Simple, predictable fixes like drain snaking or water heater element replacement. Service Call Fee (Trip Fee) $50 to $150 The cost for the plumber to drive to your location and diagnose the problem. Charged for the initial visit; often waived if you hire them for the full repair. The Critical Difference: Daytime vs. After-Hours Rates A significant portion of a 24 hour plumber’s cost is determined by the time of day. Emergency rates generally have a multiplier of 1.5 to 3 percent or more than standard business hours (typically Monday to Friday, 9 AM to 5 PM). Time of Service Typical Hourly Rate Range Cost Multiplier Standard Hours (Mon–Fri, 9 AM – 5 PM) $100 – $200 per hour 1.0x (Regular plumbing average cost) Evenings/Nights (After 5 PM) $150 – $300 per hour 1.5x – 2.0x Weekends (Saturday and Sunday) $200 – $400 per hour 2.0x – 2.5x Holidays (Christmas, New Year’s, etc.) $250 – $600+ per hour 2.5x – 3.0x+ Emergency Plumbing Cost Breakdown by Repair Type The total expense for emergency plumbers can vary greatly based on the complexity and the severity of the plumbing problem. Below is a closer look at cost estimates for common plumbing emergencies: Emergency Type Typical Cost Range Factors Affecting Price Clogged Drains / Toilets $100 – $800 Simple snaking vs. hydro-jetting needed for deep clogs. Burst Pipe Repair $250 – $1,500 Location (exposed vs. behind a wall), type of pipe material, and extent of water damage. Water Heater Repair/Leak $200 – $1,200 Age of unit, part replacement (e.g., thermostat, heating element), or if a full replacement is necessary. Sewer Line Backup/Clog $500 – $3,800+ Tree root intrusion, whether excavation is needed, or if a full pipe replacement is required. Gas Line Repair $120 – $1,350 Size of the leak, location of the pipe, and need for new pipe material. Sump Pump Failure $300 – $750 Simple repair vs. full pump replacement and severity of flooding. Key Factors That Skyrocket the Price Understanding the “why” behind the higher emergency plumber rates helps manage expectations. Several factors affect the final price of a plumber per hour: The 24-Hour Surcharge (Time of Service) As mentioned, this is the largest factor. When you call a 24 hour plumber, costs are higher because service providers are taking them away from off-hours time. That surcharge covers higher labor costs, availability to respond immediately, and disruption to the personal schedule. Location and Accessibility Plumbers operating in major metro areas such as Los Angeles typically incur higher operating costs, leading to higher rates. Other factors can impact cost in rural areas as the plumber may add a travel fee or bill for extra time spent driving to your home. Furthermore, repairs involving wall opening, flooring removal or digging up of yard increases its complexity (and therefore price). Severity and Complexity A simple repair that takes under an hour will be near the low end of the plumbing average cost. Conversely, a major sewer line failure or a hidden slab leak that requires hours of diagnostic time and specialized equipment will quickly push the total bill toward the thousands. Parts and Materials The cost includes not just labor but the parts themselves. Copper pipes, specific fixture brands, or specialized sewer line materials can be expensive. In a true emergency, a plumber may need to use parts from a specialty supplier who also charges a premium for after-hours availability. Common Causes of Plumbing Emergencies Knowing why you have a plumbing issue can help prevent a future emergency. Freezing Temperatures: Water expands when frozen, causing extreme pressure that bursts pipes. This is the single biggest cause of winter emergency plumbing costs. Tree Root Intrusion: Tree roots seek out moisture and can infiltrate or crush sewer