How to Detect Water Leak Under Concrete Slab
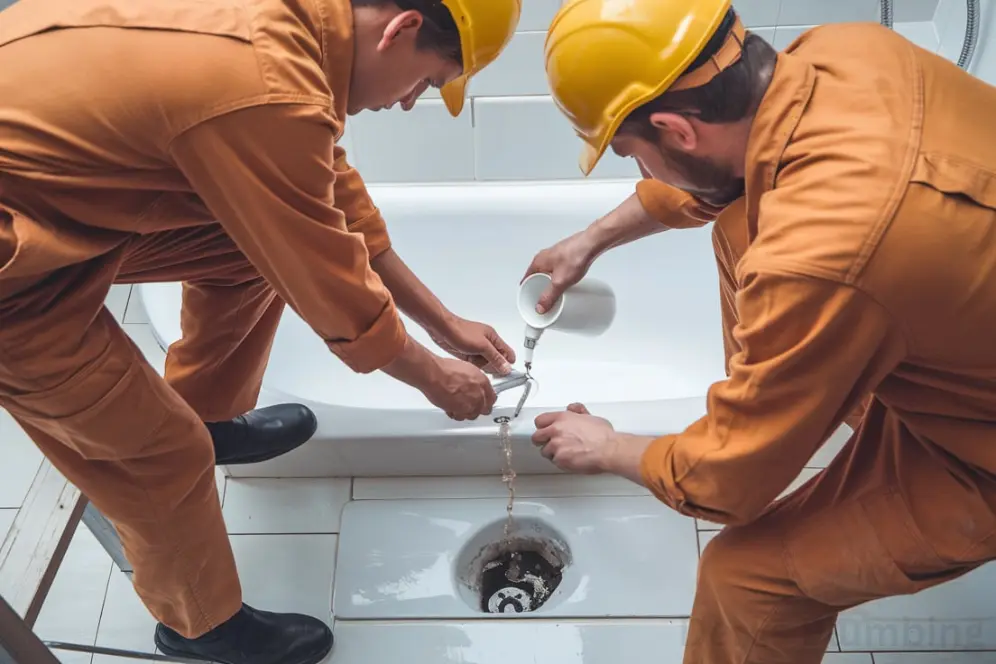
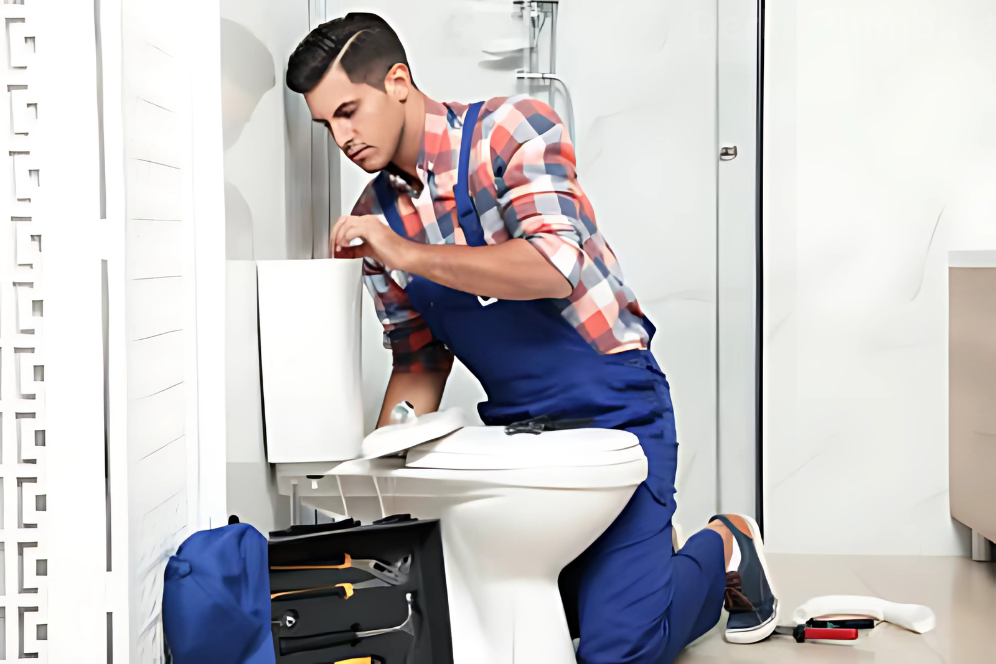
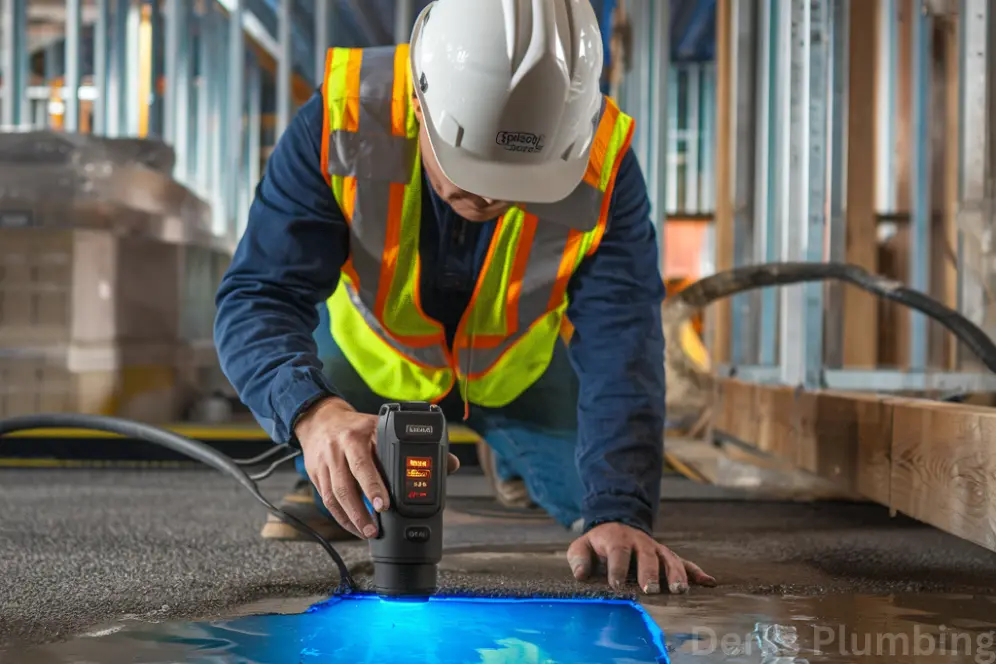
If you don’t find and fix water leaks under concrete slabs right away, they can do a lot of damage to your home’s base. Finding these leaks is important to keep your property’s structure safe and avoid having to pay for expensive fixes. So, how can you find a water leak under a slab of concrete? People often don’t know that there is water under the concrete slab for a long time, but there are signs that they can look for. Whether you see wet spots, high water bills, or a quick rise in humidity, it’s important to know what could be causing it and how to find it. What you need to do to find a leak under a concrete slab and how to fix it are both covered in this guide. Additionally, we will talk about ways to fix slab leaks, including how professional plumbers do it. Signs of a Water Leak Under Concrete Slab The first step in detecting a water leak under a concrete slab is noticing the warning signs. Homeowners should be vigilant for the following: Unexpected Wetness: Damp areas or puddles on your floor, particularly in low-traffic areas, might indicate water under the concrete slab. Water Bills: A sudden increase in your water bill without any change in usage could point to a leak. Sound of Running Water: Hearing the sound of water running, even when all faucets are off, may suggest a hidden leak. Cracks in the Concrete: If your concrete floor is showing signs of cracking or shifting, it could be the result of a water leak undermining the slab. Humidity or Mold: A rise in humidity levels or the presence of mold on walls or floors can also be associated with leaks under the slab. How to Detect Water Leak Under Concrete Slab Now that you know the common signs, let’s dive into the methods of detection. There are several techniques for finding water under concrete slab, ranging from simple observation to professional equipment. Visual Inspection First, look at the concrete that you can see for cracks or other clear signs of water buildup. There may be a leak under the concrete floor if you see wet spots or dampness. Also, check the walls around the area for mould growth or wet spots. Listening for Water Sounds If you’re unsure, another method is listening closely. Turn off all water sources in your home and listen for any sounds of water running underneath the slab. This can be a clear indication of a leak that needs attention. Moisture Meter With a wetness meter, you can find a leak more accurately than any other method. With these tools, you can find secret water under concrete floors, which helps you find the source of a leak without damaging the floor. At your local hardware shop, you can either rent or buy a moisture meter. Pressure Testing A lot of the time, plumbers use pressure tests to find water leaks under a concrete slab. A expert will cut off the water supply lines and lower the pressure to see if it drops, which means there is a leak. This method works well for finding leaks in water systems that run below the slab. Thermal Imaging Thermal cameras can detect temperature variations in the concrete, highlighting areas where water is present. Since water tends to be cooler than the surrounding concrete, thermal imaging can help locate the leak without causing any damage to the floor. Listening Devices Plumbers often use special hearing tools to find leaks because they can hear the sound of water leaking under the slab. These sensitive tools can pick up even the faintest sounds of water moving through pipes, which helps techs find the leak’s exact location. The Risks of Delaying Water Leak Detection Ignoring a water leak under concrete can lead to significant damage. Over time, water can weaken the foundation of your home, leading to cracks, structural instability, and even costly repairs. Mold growth is another concern, which can lead to health problems for your family. Additionally, water leaks under concrete slabs can lead to higher utility bills, as the water is constantly running through the pipes even when not in use. Addressing the leak quickly will not only save you money in the long run but also protect your home from further damage. How to Repair a Water Leak Under Concrete Slab As soon as you find a water leak under your concrete slab, you need to fix it. Small leaks can sometimes be fixed by making a few small changes, but big leaks usually need to be fixed by a professional. In general, this is how slab leak fix works: Step 1: Identify the Source of the Leak It’s important to find the exact position and source of the leak before any repairs can be made. These are the times when pressure tests, thermal images, and listening devices are very useful. A plumber can figure out how bad the damage is once they find the leak. Step 2: Excavation and Access For big leaks, you might need to dig up the area. In this method, the broken pipe is found by breaking through the concrete slab. Depending on where the leak is, this could take a lot of drilling and breaking of the concrete floor. Step 3: Pipe Replacement or Repair Once the pipe is accessible, the plumber will either repair or replace the damaged section of the pipe. In some cases, relining the pipes is an option, where a new lining is inserted into the existing pipe to prevent further leaks. Step 4: Restoration The area is fixed up or replaced, and then it is recovered. The concrete slab is resealed, and the floor is brought back to how it was before. Some homes may choose to just patch the area with concrete if the damage isn’t too bad. Step 5: Preventive Measures Installing pressure regulators, doing regular maintenance checks, and making sure your plumbing is