A worn-out kitchen sink can turn daily tasks into frustrating chores. Leaks, stains, and outdated styles are clear signs it’s time for a change. The good news? You can save hundreds of dollars by doing it yourself.
Learning how to replace and install a kitchen sink takes just a weekend and basic tools. This guide walks you through every step, from picking the right sink to completing a leak-free installation. You’ll gain confidence to tackle this project on your own.
When Should You Replace a Kitchen Sink?
A sink is the heart of your kitchen. You use it every day for cooking and cleaning. Over time, even the best sinks start to show their age. You might notice deep scratches or stains that will not go away. These small issues often lead to bigger problems later.
If you see water under your cabinet, you may have a leak. Some leaks come from the pipes, but others come from a cracked sink bowl. A cracked sink can cause mold and rot in your cabinets. Replacing the sink early can save your kitchen from water damage.
Style is another reason to change things. If you are painting your cabinets, an old sink can look out of place. Upgrading to a modern style adds value to your home. It also makes your daily chores feel much easier.
Choosing the Right Kitchen Sink

The sink you pick affects both function and style. Consider these key factors before buying.
Material options
include stainless steel, cast iron, composite granite, and fireclay. Stainless steel offers durability at a good price. Cast iron provides classic looks but weighs more. Composite granite resists scratches and heat. Fireclay gives a farmhouse feel with excellent durability.
Size and configuration
must match your cabinet dimensions. Measure your current sink cutout before shopping. Single bowl sinks work well for large pots. Double bowl models let you multitask. Consider a 60/40 split for the best of both worlds.
Mounting style
affects installation difficulty. Top-mount sinks (also called drop-in sinks) sit on the counter and are easiest to install. Undermount sinks attach below the counter for a seamless look but require more skill. Farmhouse sinks need special cabinet modifications.
Gauge thickness
matters for stainless steel sinks. Lower numbers mean thicker steel. Look for 16 or 18 gauge for residential use. Thicker steel resists dents and reduces noise.
Sound dampening
features reduce the noise of running water and dropped dishes. Quality sinks include rubber padding or coating on the underside.
Drain position
should align with your existing plumbing when possible. This saves time and money on pipe modifications.
Budget between $150 and $800 for most kitchen sink replacement projects. Quality materials cost more upfront but last longer and perform better.
Tools and Materials Needed
Gather everything before starting your kitchen sink installation. This prevents mid-project trips to the hardware store.
Essential tools:
- Adjustable wrench
- Basin wrench
- Channel-lock pliers
- Screwdriver set (flathead and Phillips)
- Putty knife
- Hacksaw
- Bucket
- Towels and rags
- Safety glasses
- Flashlight
Materials required:
- New kitchen sink
- Faucet and drain assembly
- Plumber’s putty
- Silicone caulk
- Teflon tape
- P-trap and drain pipes
- Mounting clips (for drop-in sinks)
- Sink brackets (for undermount sinks)
Optional but helpful:
- Power drill
- Jigsaw (if cutting new countertop opening)
- Knee pads
- Work light
- Pipe wrench
Having a helper makes the job easier, especially when lifting heavy sinks. Cast iron and farmhouse sinks can weigh over 100 pounds.
Steps for Installing a New Kitchen Sink
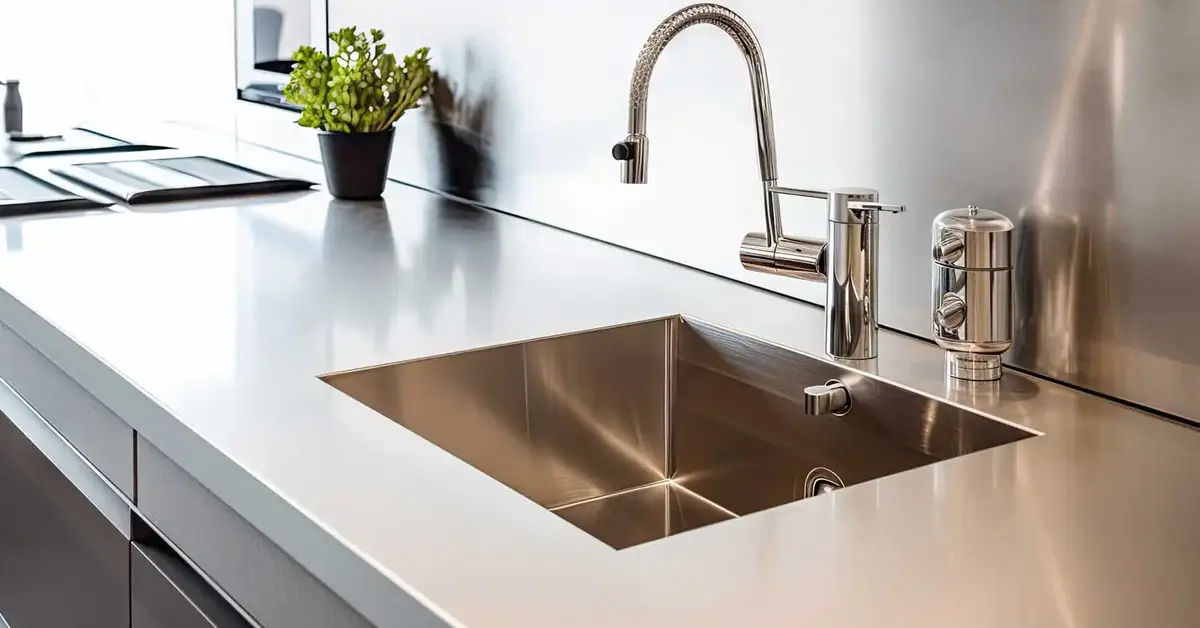
Follow these steps carefully for a successful sink replacement. Take your time and check your work as you go.
Step 1: Turn Off Water Supply
Locate the shut-off valves under your sink. Turn both hot and cold water valves clockwise until tight. Open the faucet to release remaining water pressure. Keep a bucket handy to catch any drips.
Step 2: Disconnect Plumbing
Use your adjustable wrench to disconnect the water supply lines from the faucet. Place a bucket under the P-trap to catch water. Loosen the slip nuts on both ends of the P-trap and remove it. Disconnect the garbage disposal if you have one.
Step 3: Remove Old Sink
For drop-in sinks, cut the caulk seal around the rim with a utility knife. Unscrew any mounting clips underneath. Lift the sink up and out. For undermount sinks, remove the brackets holding the sink to the countertop. You may need a helper for this step as sinks can be heavy.
Step 4: Clean the Area
Scrape off the old caulk and putty with a putty knife. Clean the countertop surface thoroughly. Remove any debris from the cabinet below. This ensures a good seal for your new sink.
Step 5: Prepare the New Sink
Install the faucet and drain assembly before placing the sink. This is much easier than working underneath after installation. Apply plumber’s putty around the drain opening. Thread the drain through and tighten from below. Follow manufacturer instructions for your specific faucet model.
Step 6: Install the Sink
For drop-in sinks, apply a bead of silicone caulk around the underside of the rim. Lower the sink into the cutout carefully. Press down firmly to create a seal. Install mounting clips underneath to secure the sink. Wipe away excess caulk.
For undermount sinks, apply caulk to the rim. Position the sink against the underside of the counter. Install support brackets and tighten screws. Let the caulk cure for 24 hours before use.
Step 7: Connect Water Lines
Attach supply lines to the faucet tailpieces. Use Teflon tape on threaded connections. Hand-tighten first, then use a wrench for an extra quarter turn. Don’t overtighten as this can crack fittings.
Step 8: Install Drain Pipes
Connect the P-trap to the drain tailpiece. Make sure all connections align properly. Tighten slip nuts by hand, then snug with pliers. Check that the trap maintains proper water seal depth.
Step 9: Test for Leaks
Turn water supply valves back on slowly. Check all connections for leaks. Run water at full pressure for several minutes. Look under the sink with a flashlight. Tighten any connections that drip. Fill the sink completely and release the drain to test the drain assembly.
Step 10: Apply Final Caulk
Once you confirm no leaks, apply a neat bead of caulk around the sink rim where it meets the counter. Smooth with a wet finger. This prevents water from seeping under the sink.
The entire process of replacing kitchen sink typically takes 3 to 5 hours for a basic installation. More complex setups may take longer.
You can read about: How to Install a Garbage Disposal Unit
Sink Replacement Cost
The cost to replace kitchen sink units depends on your choices. A DIY project is much cheaper than hiring a pro. You can save $300 to $800 on labor by doing it yourself.
A new sink usually costs between $150 and $500. High-end materials like fireclay can cost over $1,000. Supplies like putty and caulk cost less than $30. If you need new tools, add another $50 to your budget.
If you hire a plumber, expect to pay for two to four hours of work. Most pros charge $75 to $150 per hour. This is a good choice if you need to move pipes. Simple swaps are usually best for a DIY weekend.
Kitchen Sink Maintenance
Once you finish replacing kitchen sink parts, keep them clean. Regular care makes your sink last for decades. Avoid using harsh chemicals that can ruin the finish.
For stainless steel, use a soft cloth and mild soap. Rinse the sink after every use to prevent water spots. If you have a granite sink, avoid leaving wet sponges in the bowl. This can cause mineral buildup that is hard to remove.
Check under the sink once a month. Look for any signs of moisture on the pipes. Tightening a loose nut early prevents a major leak. Small steps now will keep your kitchen safe and dry for years.
When to Call a Professional
Some situations require expert help. Know when to call in the pros.
Complex plumbing modifications go beyond basic DIY skills. If you need to move water lines or drain pipes significantly, hire a plumber. Mistakes here cause expensive water damage.
Countertop cutting for new sink openings requires precision. One wrong cut ruins expensive granite or quartz. Professional fabricators have the right tools and experience.
Structural concerns like rotted cabinets or water damage need assessment first. A contractor can determine if repairs are needed before installing your new sink.
Local code requirements vary by area. Some jurisdictions require permits and inspections for plumbing work. A licensed plumber ensures compliance.
Undermount sink installation in stone countertops is tricky. The sink must be perfectly level and properly supported. Professionals have specialized brackets and adhesives for secure mounting.
Gas line proximity makes DIY risky. If your sink installation involves work near gas lines, always hire a licensed professional.
Time constraints matter too. If you need your kitchen operational quickly, professional installation takes just a few hours versus a weekend DIY project.
For reliable help with your project, consider Plumbing Services in Los Angeles from Derks Plumbing. Professional plumbers bring expertise, proper tools, and warranties on their work. They can handle unexpected problems that arise during installation.
Conclusion
Replacing your kitchen sink refreshes your space and solves ongoing problems. This project is achievable for most DIYers with patience and the right approach. You now have a complete roadmap from selecting the perfect sink to completing a leak-free installation.
Remember to take your time with each step. Rushing leads to mistakes that cost more to fix later. Check all connections twice before turning water back on. With proper installation and regular maintenance, your new sink will serve you well for decades.
FAQs
How long does it take to replace a kitchen sink?
A basic kitchen sink replacement takes 3 to 5 hours for experienced DIYers. First-timers should plan for a full day. Complex installations with plumbing modifications can take 6 to 8 hours.
Can I replace a kitchen sink without replacing the countertop?
Yes, if the new sink fits the existing cutout. Measure carefully before buying. Drop-in sinks are easiest to swap. Changing from undermount to drop-in or vice versa often requires countertop modifications.
What’s the easiest type of sink to install?
Drop-in (top-mount) sinks are easiest for DIY installation. They require no special brackets and sit directly in the counter cutout. Undermount and farmhouse sinks need more skill and tools.
Do I need a plumber to install a kitchen sink?
Not always. Basic sink replacement with standard plumbing is a manageable DIY project. Call a plumber if you need to move water lines, modify drain pipes, or work with stone countertops.
How much does it cost to replace a kitchen sink?
DIY replacement costs $200 to $900 including the sink and supplies. Professional installation adds $300 to $600 for labor. Total professional replacement runs $500 to $1,500 depending on sink type and complexity.


