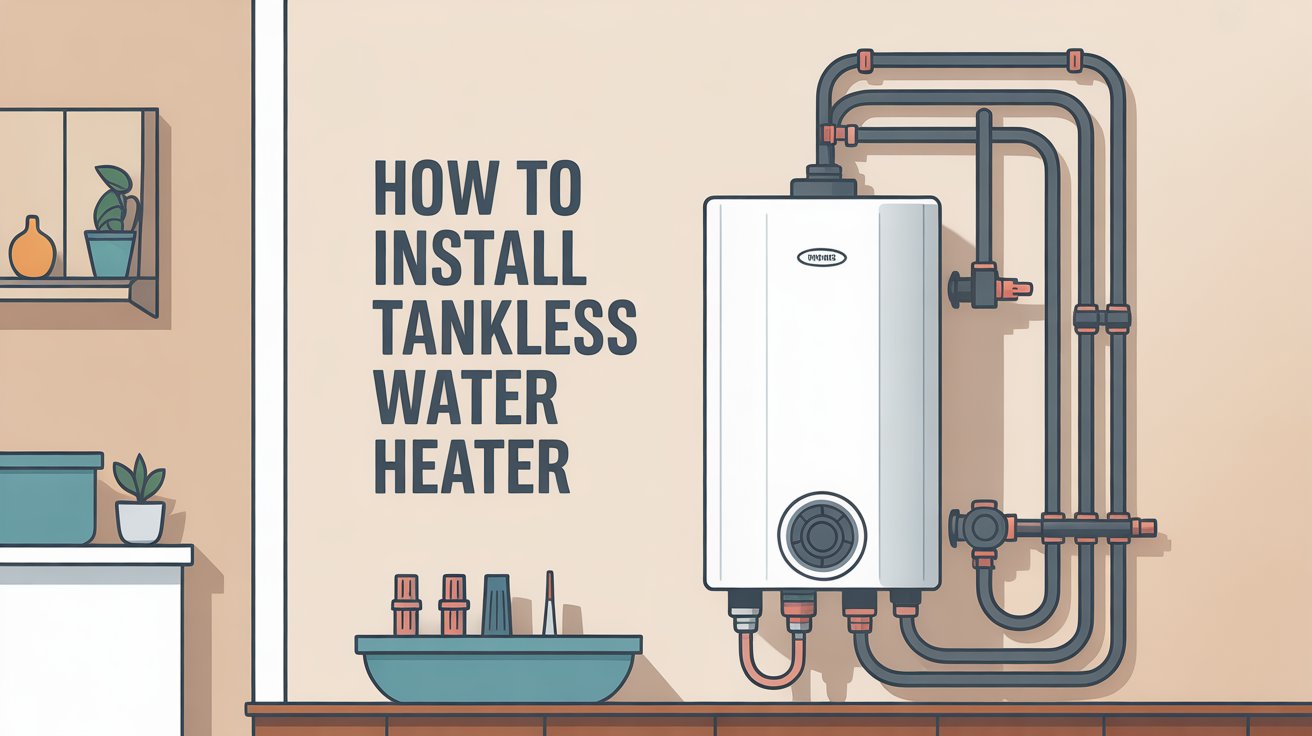
Installing a tankless water heater can cut your energy bills by up to 40% and give you endless hot water. But it’s not a simple weekend project. You’ll need gas line upgrades, proper venting, electrical work, and strict code compliance to do it right.
This guide walks you through the entire installation process. You’ll learn what tools you need, when to call a pro, and how to avoid costly mistakes that void your warranty.
What Is a Tankless Water Heater?
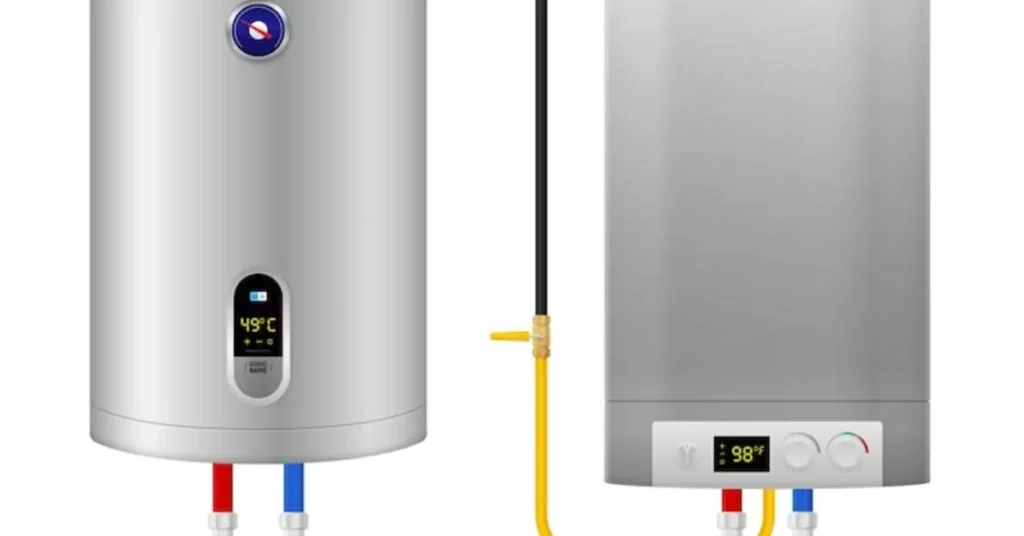
A tankless water heater heats water on demand instead of storing it in a tank. When you turn on a hot water tap, cold water flows through a heat exchanger. Gas burners or electric coils heat the water instantly to your set temperature.
These units are small. Most mount on a wall and take up less space than a suitcase. They heat water only when you need it, which saves energy compared to keeping 40-50 gallons hot all day.
Gas models use 90,000 to 200,000 BTUs per hour. That’s three times more than a standard tank heater. Electric models pull 80-150 amps, much higher than tank versions.
The two main types are gas and electric. Gas units work better for whole-home use but need venting. Electric models are simpler to install but may struggle with high demand in cold climates.
What Should You Consider For The Installation Process?

Before you start any tankless water heater installation, check these critical factors.
Gas Line Capacity
Most homes need to upgrade from 1/2-inch to 1-inch gas lines. Your current line probably can’t handle the BTU demand. A licensed gas fitter should evaluate your system. This upgrade alone costs $500-$1,500 depending on distance from your meter.
Electrical Requirements
Gas units need a standard 120V outlet for controls. Electric tankless water heater installation requires 240V circuits with 60-125 amp breakers. Your panel must have capacity. Upgrading electrical service costs $1,500-$3,000.
Venting Options
Tankless gas water heater installation requires direct venting to outside. You cannot use old chimney vents. The exhaust temperature is too low. Plan for either vertical roof venting or horizontal sidewall venting. Keep vents at least 4 feet from windows, doors, and air intakes.
Water Pressure
Check your incoming water pressure. If it exceeds 80 PSI, install a pressure-reducing valve. High pressure damages the heat exchanger over time.
Location Planning
Pick a spot near your main water use areas. Longer pipe runs mean you wait longer for hot water. Indoor units need proper clearances: 6 inches on sides, 12 inches on top, 6 inches on bottom. Outdoor models need weather-rated enclosures in freezing climates.
Permit Requirements
Most areas require permits for gas, electrical, and plumbing work. Inspections typically cost $100-$300. Skipping permits can void your insurance if something goes wrong. Your local building department has specific rules about BTU limits, venting, and carbon monoxide detectors.
Flow Rate Calculation
Calculate your peak hot water demand. A shower uses 2.5 GPM. A dishwasher uses 1.5 GPM. Running both at once needs 4 GPM minimum. In cold climates, you need higher GPM ratings because incoming water is colder. A 140,000 BTU unit provides about 6.5 GPM in moderate climates but only 4 GPM where groundwater is 40°F.
Tools and Materials Needed
Basic Tools:
- Pipe wrench (two required)
- Adjustable wrench set
- Propane torch for sweating copper
- Tubing cutter
- Drill with spade bits and hole saw
- Reciprocating saw
- Level
- Tape measure
- Voltage tester
- Gas leak detector or soapy water
- Wire strippers
- Screwdrivers
Materials for Gas Installation:
- Black iron pipe and fittings
- Gas shut-off valve
- Sediment trap components
- Gas-rated pipe thread sealant
- Flexible gas connector (if code allows)
- Pressure test gauge
Materials for Water Lines:
- Copper pipe (Type L recommended)
- Solder and flux
- SharkBite fittings (optional)
- Ball valves for isolation
- Pressure relief valve (150 PSI rated)
- Expansion tank (if you have check valves)
- Pipe insulation
- Pipe hangers
Venting Materials:
- Stainless steel vent pipe (manufacturer-specified)
- Vent termination cap
- Vent pipe connectors
- High-temp silicone sealant
- Exterior wall flashing
- Condensate drain kit (for condensing units)
Electrical Supplies:
- Wire (6-gauge minimum for electric units)
- Circuit breakers (sized per unit specs)
- Junction box
- Wire nuts and connectors
- GFCI protection (code dependent)
Step-by-Step Guide: How to Install Tankless Water Heater
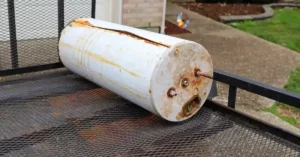
Step 1: Remove Your Old Water Heater
Shut off water at the main valve. Turn off gas at the meter or flip the circuit breaker for electric units. Attach a garden hose to the drain valve. Open it and drain the tank completely. This takes 20-40 minutes for a 40-gallon tank.
Open a hot water faucet upstairs to break the vacuum. Once empty, disconnect the gas line at the union fitting. Disconnect water pipes with your pipe wrench. Use a hand truck to move the old tank outside.
Step 2: Upgrade Your Gas Line (Gas Units Only)
Run a new 1-inch black iron pipe from your gas meter to the heater location. Use two pipe wrenches for all connections. One holds the fitting, one turns the pipe. This prevents stress on joints.
Apply gas-rated thread sealant to male threads only. Never put sealant on female threads. It can break off and clog your gas valve.
Install a tee, sediment trap, and shut-off valve at the heater. The sediment trap catches debris before it reaches your unit. Make it at least 3 inches long with a capped nipple pointing down.
Test for leaks with a pressure gauge. Pressurize to 15 PSI and watch for 15 minutes. Any pressure drop means you have a leak. Find it with soapy water (bubbles form at leaks).
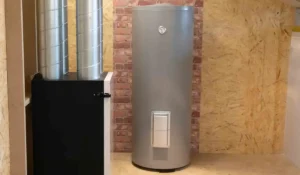
Step 3: Mount the Tankless Unit
Build a sturdy backing with 2x4s and 3/4-inch plywood if mounting to studs. The unit weighs 40-80 pounds when full of water. Use the mounting bracket included with your unit.
Check level in both directions. An unlevel unit can trap air and cause noise. Mark drill holes, drill pilot holes, and secure with appropriate anchors for your wall type.
Leave required clearances on all sides. The manual specifies exact measurements. Too little clearance creates fire risk and voids your warranty.
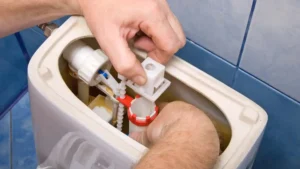
Step 4: Connect Water Lines
Install shut-off valves on both hot and cold lines within 2 feet of the unit. These let you service the heater without shutting off your whole house.
Use copper Type L pipe for durability. Cut pipes with a tubing cutter for clean edges. Deburr inside and outside with a deburring tool. Sand the outside of pipes and inside of fittings with emery cloth until shiny.
Apply flux to both surfaces. Insert the pipe fully into the fitting. Heat the joint with your propane torch until flux sizzles. Touch solder to the joint (not the flame). Capillary action pulls solder into the joint. A good joint shows a complete silver ring around the fitting.
Install the pressure relief valve on the hot outlet. Run the discharge pipe to within 6 inches of the floor or to a drain. Never cap or plug this line.
Add an expansion tank on the cold side if your system has backflow prevention. Without it, thermal expansion has nowhere to go and can damage pipes.
Step 5: Install Venting (Gas Units)
Follow the manufacturer’s vent kit exactly. Generic parts void your warranty. Most units need 3-4 inch stainless steel vent pipe.
For horizontal venting, maintain proper slope (1/4 inch per foot minimum) so condensate drains back to the unit. Cut through the exterior wall with a hole saw. Size it 1/2 inch larger than the vent pipe.
Install the vent termination cap outside. Keep it 4 feet from windows, 12 inches from the ground, and 3 feet from inside corners. Seal around the penetration with high-temp silicone.
Concentric vents combine intake and exhaust in one pipe. They’re easier to install and work better in tight spaces. If using separate pipes, maintain the required spacing between them.
Connect the condensate drain line to a floor drain or condensate pump. Condensing units produce 1-2 gallons of acidic water per day. Never discharge this into septic systems or onto the ground near foundations.
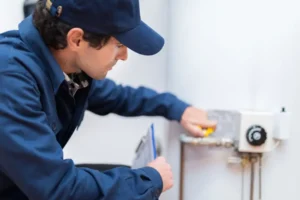
Step 6: Wire the Electrical (Electric Units)
Turn off the main breaker before opening your panel. Test with a voltage tester to confirm power is off.
Install the required breakers. A 27kW unit needs a 125-amp breaker. Check your unit’s manual for exact specifications. Run 6-gauge copper wire (or larger as specified) from the breaker to the unit location.
Secure cable every 4.5 feet with approved staples. Leave 6 inches of wire at the unit for connections. Strip insulation carefully to avoid nicking copper strands.
Connect wires per the diagram in your manual. Black to black, white to white, green or bare copper to ground. Use wire nuts rated for the wire size. Tug each wire to confirm it’s secure.
Install a junction box cover plate. All electrical connections must be accessible and enclosed.
Step 7: Test and Start Up
Open the cold water valve slowly. Check every connection for leaks. Tighten any dripping joints.
Purge air from the system by opening all hot water taps. Run them until water flows steadily without sputtering.
For gas units, turn gas on at the shut-off valve. Check every joint with soapy water. Bubbles indicate leaks. Fix any leaks before proceeding.
Plug in the unit or turn on the breaker. The display should light up. Set your temperature between 110-120°F. Higher temperatures increase scalding risk.
Open a hot water tap. The unit should ignite within seconds. Water temperature should stabilize at your set point within 30 seconds.
You can read about: How to Install a Heat Pump Water Heater
How Much Does It Cost to Install a Tankless Water Heater?
Total costs range from $1,500 to $4,500 for professional installation. Here’s the breakdown:
Equipment Costs:
- Gas tankless unit: $800-$1,500
- Electric tankless unit: $500-$900
- High-efficiency condensing gas unit: $1,200-$2,000
Installation Labor:
- Basic installation: $500-$1,200
- Complex installation with upgrades: $1,500-$2,500
Additional Costs:
- Gas line upgrade: $500-$1,500
- Electrical panel upgrade: $1,500-$3,000
- Venting installation: $300-$800
- Permits and inspections: $100-$400
- Water line modifications: $200-$600
DIY Costs:
If you handle electric tankless water heater installation yourself, expect $800-$1,500 total. You still need an electrician for panel work ($200-$500). Gas installations always need a licensed professional for code compliance.
Long-Term Savings:
Energy savings average $100-$150 per year for gas units. Electric models save $50-$80 annually. Payback period is 8-12 years. Factor in the 20+ year lifespan compared to 10-12 years for tank heaters.
Many utilities offer rebates of $200-$500 for energy-efficient models. Check dsireusa.org for local incentives.
Common Installation Mistakes to Avoid
Undersizing the Unit
Many homeowners buy units too small for their needs. Calculate simultaneous use. If three people shower in the morning while the dishwasher runs, you need 8-10 GPM in moderate climates. Cold regions need even higher capacity. A 140,000 BTU unit won’t cut it. You need 180,000+ BTUs.
Skipping the Gas Line Upgrade
Your existing 1/2-inch line can’t feed a tankless unit properly. The heater will short-cycle, show error codes, and provide inconsistent hot water. This is the most common complaint from DIY installations.
Improper Venting
Using incorrect vent materials voids warranties and creates carbon monoxide risk. Never use PVC, single-wall metal pipe, or old chimney flues. Only use manufacturer-approved vent kits. Maintain proper termination clearances. One installer put a vent 2 feet from a window and filled the house with exhaust fumes.
Forgetting the Expansion Tank
If your system has backflow prevention, thermal expansion needs somewhere to go. Without an expansion tank, pressure spikes can blow out joints and damage the unit. Install a 2-gallon tank on the cold inlet.
No Pressure Relief Valve
This critical safety device must discharge to within 6 inches of the floor. Never run discharge lines upward or cap them. A plugged relief valve creates explosion risk.
Inadequate Water Filtration
Hard water kills tankless heaters. Mineral buildup clogs the heat exchanger. In areas above 120 PPM hardness, install a water softener. Budget $400-$1,200 for a whole-home system. It adds years to your heater’s life.
Poor Location Choice
Installing an unheated attic or garage in freezing climates invites disaster. Frozen pipes burst and flood your home. Use outdoor-rated units or insulate pipes heavily.
Ignoring Minimum Flow Rates
Most units need 0.5 GPM to activate. Low-flow faucets and shower heads might not trigger the heater. You get cold water. Check your fixtures’ flow rates before installation.
When to Call a Professional
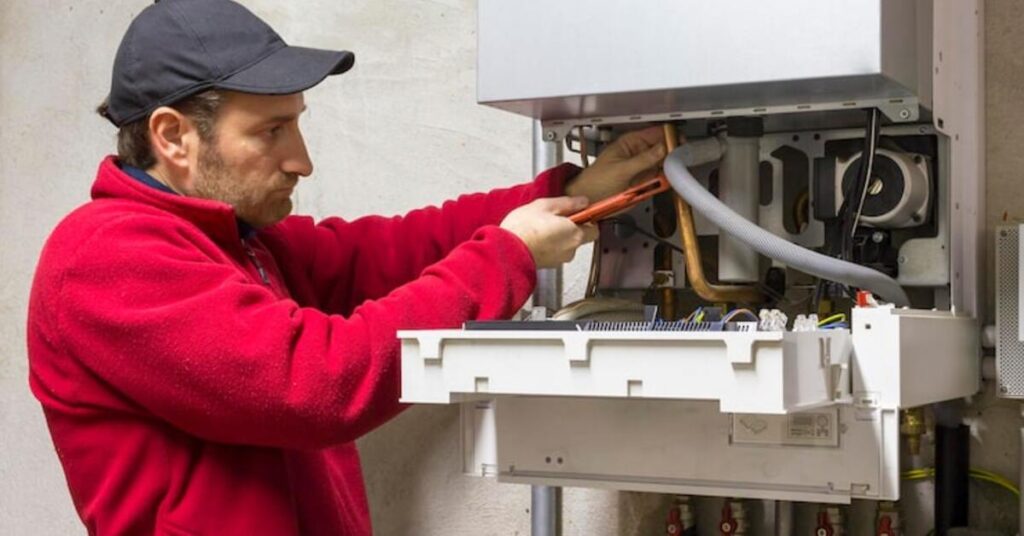
Call a licensed professional for these situations:
Gas Line Work: Always hire a licensed gas fitter for any gas piping. Mistakes cause leaks, fires, and carbon monoxide poisoning. Most jurisdictions require licensed professionals by law. DIY gas work voids your homeowner’s insurance.
Electrical Panel Upgrades: If you need to add circuits or upgrade your main panel, hire a licensed electrician. Working inside your main panel is dangerous. One wrong move can kill you.
Complex Venting: Horizontal vents through brick, stone, or multi-story buildings need professional expertise. You must maintain proper slope, seal penetrations correctly, and meet clearance requirements.
Permit Acquisition: Professionals know local codes and handle inspections. They fix any issues inspectors find. DIY jobs often fail inspection, requiring expensive rework.
No Experience with Soldering: Leaking joints cause thousands in water damage. If you’ve never sweated copper, this isn’t the project to learn on. One leak inside a wall costs more than professional installation.
Time Constraints: Professional tankless hot water heater installation takes 4-8 hours. DIY projects stretch over weekends and often hit unexpected problems. Living without hot water for days is miserable.
Warranty Protection: Many manufacturers require professional installation to honor warranties. Save your receipt and get a certificate of installation from your contractor.
Find A Local Water Heater Professionals
Finding qualified installers makes the difference between a smooth experience and a nightmare. Look for contractors with these credentials:
- Licensed plumber or gas fitter (check your state’s licensing board)
- Manufacturer-certified installer for your specific brand
- Liability insurance ($1 million minimum)
- Workers’ compensation insurance
- Positive reviews on multiple platforms
- Detailed written estimates
- Warranty on labor (1-2 years minimum)
For residents searching for a Tankless Water Heater in Eagle Rock, the team of Derks Plumbing offers certified installation services with experienced technicians who understand local code requirements. We’ve installed hundreds of tankless systems across Los Angeles County.
Get at least three quotes. Compare not just price but scope of work. The cheapest bid often skips necessary steps like gas line upgrades or proper venting.
Ask these questions:
- Will you handle permits and inspections?
- Do you warranty your work?
- How long will installation take?
- What’s included in your price?
- Do you offer financing?
- Can you provide references?
Check the Better Business Bureau and your state’s contractor licensing board for complaints.
Conclusion
Learning how to install tankless water heater reveals that the secret is in the preparation. By sizing your gas lines correctly and choosing the right venting, you can enjoy endless hot water. If the technical steps like gas pressure testing seem daunting, don’t risk it. Contact us to a local expert to handle the heavy lifting.
FAQs
Can I install a tankless water heater myself?
You can handle an electric tankless water heater install if you have electrical skills. But gas installations require licensed professionals in most areas. Gas line work needs permits, pressure testing, and inspections. Mistakes create fire and carbon monoxide hazards that can kill your family.
How long does professional installation take?
Most tankless water heater install projects take 6-10 hours. Simple replacements where gas lines and electrical are adequate take less time. Installations requiring gas line upgrades, electrical panel work, or complex venting take 2-3 days.
Do tankless heaters work in cold climates?
Yes, but you need higher capacity. Cold groundwater requires more BTUs to reach the desired temperature. A unit that provides 8 GPM in Texas might only deliver 5 GPM in Montana. Size accordingly for your climate.
What maintenance do tankless heaters need?
Flush the heat exchanger annually in hard water areas. This costs $100-$150 from a professional. Clean the inlet filter monthly. Check venting for blockages seasonally. Replace batteries in the remote control yearly.
How much can I save on energy bills?
Expect $100-$150 annual savings with gas units and $50-$80 with electric models. Actual savings depend on your usage patterns and local energy costs. Households using lots of hot water save more.