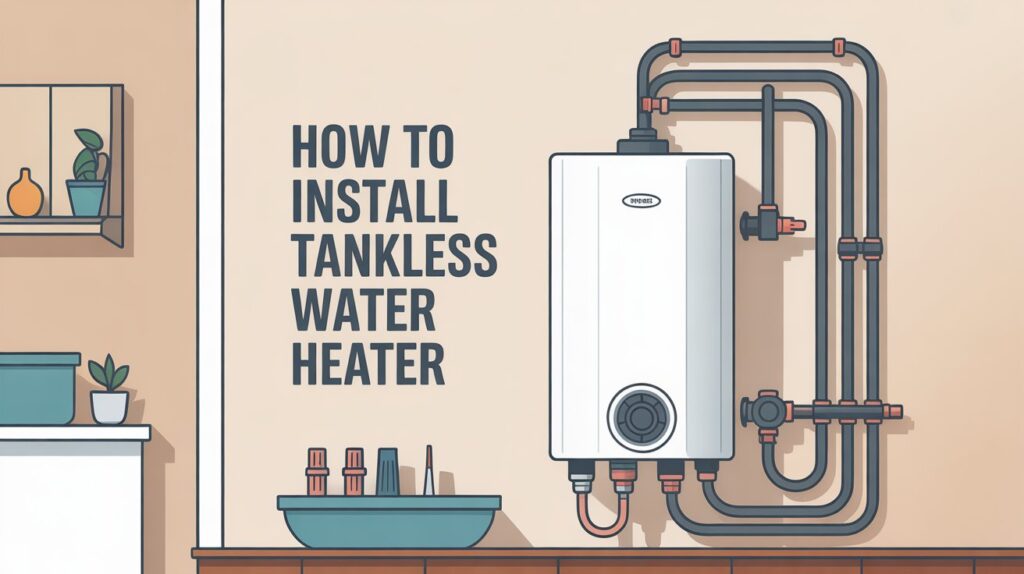
How to Install Tankless Water Heater | Expert Tips
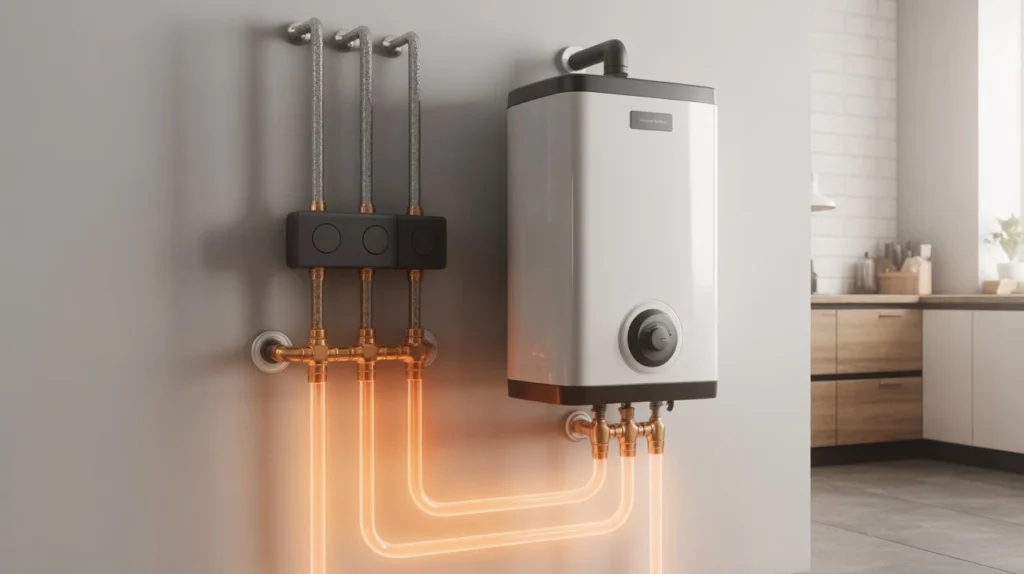
Tired of running out of hot water mid-shower? A tankless water heater gives you endless hot water and cuts your energy bills by up to 30%. Here’s the straight answer: installing a tankless water heater takes 6-8 hours and requires shutting off utilities, removing your old unit, mounting the new heater, connecting gas or electric lines, hooking up water pipes, and installing proper venting. This guide walks you through every step of how to install tankless water heater. You’ll learn what tools you need, common mistakes that cause problems, and when to call a professional. Let’s get your new system running. What Is a Tankless Water Heater? A tankless water heater heats water on demand instead of storing hot water in a tank. When you turn on a hot water tap, cold water flows through a pipe into the unit. A gas burner or electric element heats the water instantly as it passes through.These units are also called on-demand or instant water heaters. They’re compact, about the size of a suitcase, and mount on your wall. Most tankless systems last 20+ years, which is twice as long as traditional tank heaters. The main types are gas-powered and electric. Gas units heat water faster and work better for larger homes. Electric models cost less upfront but may need electrical upgrades to handle the power load. Benefits of a Tankless Water Heater Switching to tankless saves money and space. These systems use 24-34% less energy than tank heaters in homes that use 41 gallons or less of hot water daily. For homes using around 86 gallons per day, the savings drop to 8-14%, but that’s still a win. You’ll never run out of hot water again. Tankless units provide 2-5 gallons per minute continuously. Gas models deliver higher flow rates than electric ones. Space savings matter too. Tank heaters take up 16 square feet of floor space. A tankless unit mounts on the wall and uses less than 2 square feet. That frees up room in your utility closet or basement. The lifespan is another big plus. Tankless water heaters run for 20+ years with proper maintenance. Traditional tanks last only 10-15 years before they rust out and leak. Energy Star certified models qualify for federal tax credits and local rebates. Check the Database of State Incentives for Renewables & Efficiency to find savings in your area. Tools and Materials Needed Get everything ready before you start the tankless water heater installation. Missing a part halfway through turns a one-day job into a weekend nightmare. Basic Tools: Pipe wrench and adjustable wrench Tube cutter or hacksaw Drill with bits Level Screwdrivers (flathead and Phillips) Tape measure Teflon tape Pipe thread compound Materials You’ll Need: Tankless water heater unit Gas line parts (if gas model) or electrical cable (if electric) Water supply lines and fittings Venting materials (for gas units) Pressure relief valve Shut-off valves Wall mounting brackets Sediment filter Safety Gear: Work gloves Safety glasses Dust mask Gas installations need a gas line kit with proper connectors. Never use flexible gas lines not rated for water heater use. Electric models need the right gauge wire based on amperage, usually 8-gauge or larger. Check your local building codes before buying materials. Some areas require specific venting types or earthquake straps. Getting this wrong means failing inspection. Step-by-Step Guide: How to Install a Tankless Water Heater 1. Turn Off Utilities and Drain the Old System Safety comes first. Turn off the gas supply at the main valve if you have a gas heater. Flip the breaker for electric units. Next, shut off the main water supply to your house. Open a hot water faucet on the lowest floor to release pressure. Attach a garden hose to the drain valve on your old tank heater. Run the hose outside or to a floor drain. Open the drain valve and let the tank empty completely. This takes 20-30 minutes for a 40-50 gallon tank. 2. Remove Your Old Water Heater Disconnect the gas line using two pipe wrenches. One holds the pipe steady while the other loosens the connection. For electric heaters, disconnect the wires after confirming power is off with a voltage tester. Cut the water pipes about 6 inches from where they connect to the old heater. This gives you room to work with when connecting the new unit. Remove any mounting straps or brackets, then carefully move the old tank out of the way. 3. Prepare the Installation Location Pick a spot close to existing gas and water lines. The area needs adequate clearance, usually 6 inches on sides and 24 inches in front for maintenance. Gas units need access to outside walls for venting. Mount the wall bracket using the template that comes with your heater. Check it with a level. The unit must sit perfectly straight or it won’t work right. Use lag bolts to secure the bracket to wall studs, not just drywall. 4. Install Gas Lines or Electrical Connections Gas tankless water heater setup requires a licensed plumber or gas fitter in most areas. The gas line must be sized correctly based on BTU requirements and pipe length. Under-sized gas lines starve the heater and cause performance problems. Run black iron pipe or approved flexible gas connector from the gas supply to the heater inlet. Apply pipe thread compound to male threads only. Tighten connections firmly but don’t overtighten and crack the fittings. For electric models, run cable from the breaker panel to the heater location. Most units need a dedicated 40-60 amp circuit. Connect wires according to the wiring diagram in your manual. Cap unused wires with wire nuts and secure everything in the junction box. 5. Connect Water Supply Lines Install shut-off valves on both hot and cold water lines. These let you service the heater without draining your whole house. Use copper, PEX, or CPVC pipe based on local code requirements. Connect the cold water inlet first. Many systems require a sediment filter before the