What Does a Power Flush Do? A Complete Guide to Healthier Heating Systems
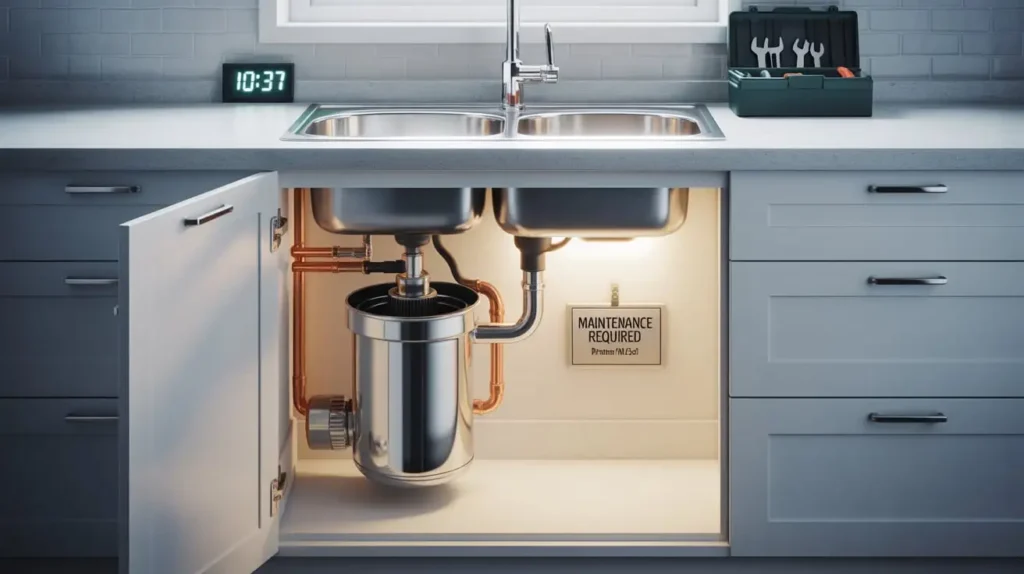
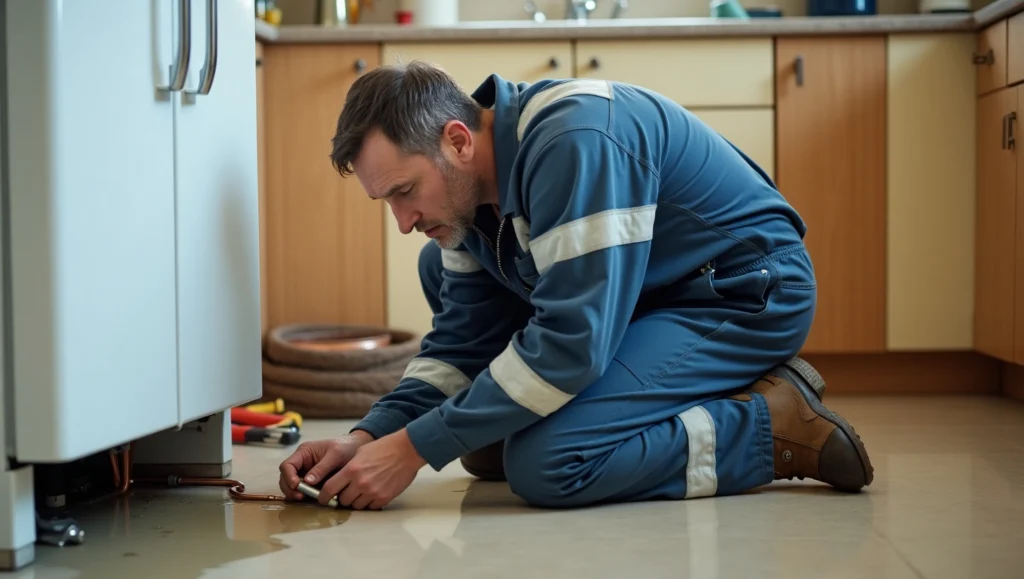
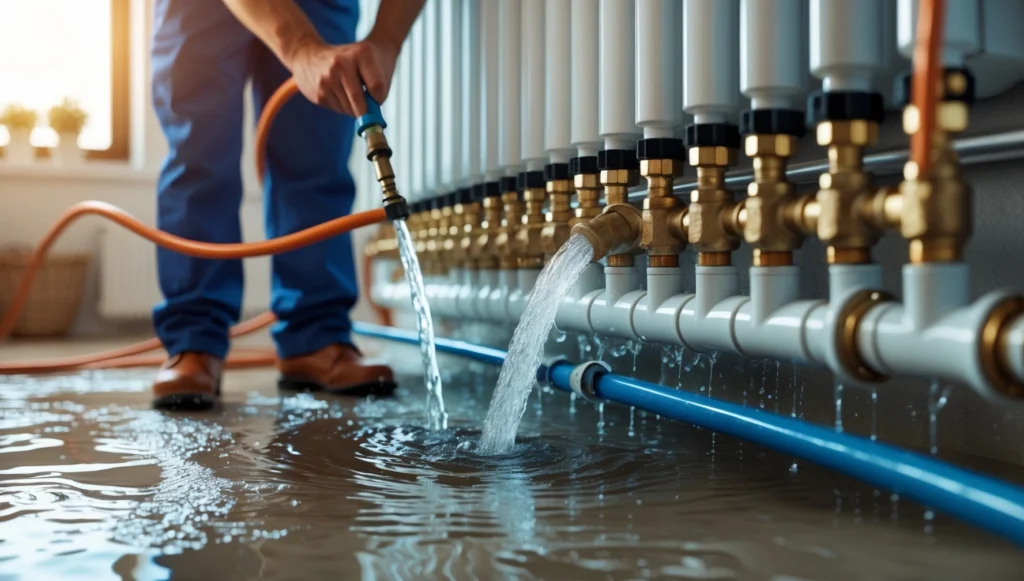
A power flush cleans your home’s central heating system by forcefully removing sludge, rust, and debris from pipes, radiators, and boilers. Think of it like a deep clean for your heating similar to how doctors clear clogged blood vessels to improve circulation. Over time, dirty water circulating through radiators and pipes leaves behind gunk that makes your system work harder, waste energy, and even break down. A power flush solves this by restoring efficiency, preventing costly repairs, and extending your heating system’s lifespan. This guide breaks down what does a power flush do, why it matters, and how it keeps your home warm without breaking the bank. How a Radiator Power Flush Works: The Science of Clean Pipes Step 1: Chemical Treatment to Loosen Sludge Engineers start by adding special chemicals to your central heating system. These cleaners dissolve stubborn sludge and rust that’s stuck to pipe walls and radiator interiors. Imagine pouring dish soap on a greasy pan the chemicals break down the grime so it can be washed away. Step 2: High-Pressure Water Circulation Next, a powerful machine pumps water through the system at high speed. This “power flush drain” step blasts loosened debris out of radiators and pipes. The water flows backward and forward to ensure every corner is cleaned, much like rinsing a muddy garden hose from both ends. Step 3: Magnetic Filtration for Tiny Particles Even after flushing, tiny metal particles can remain. Engineers use magnetic filters to trap these bits, preventing them from settling back into the system. It’s like using a sieve to catch leftover coffee grounds in your mug. Step 4: Adding Protective Chemicals Finally, a corrosion inhibitor is added to the clean water. This chemical coats the pipes and radiators, acting like a shield against future rust and sludge. When Do You Need a Central Heating Power Flush? Your heating system shows clear signs when it’s crying out for a power flush: Cold Radiator Patches: Sludge blocks hot water from reaching all parts of the radiator, leaving cold spots at the bottom. Strange Noises: Gurgling or clanking sounds mean debris is banging around inside pipes. Slow Heating: If your home takes forever to warm up, sludge is likely slowing water flow. Frequent Repairs: Boilers over 8–10 years old with recurring issues often need flushing to avoid breakdowns. Experts recommend a power flush every 5–10 years, or before installing a new boiler. Ignoring maintenance can cut your system’s lifespan in half. Benefits of a Central Heating Power Flush 1. Lower Energy Bills A clean system heats water faster, reducing gas use by up to 15%. For a typical UK household, this could save £100–£200 annually. 2. Warmer Home, Faster Radiators heat evenly after flushing, eliminating cold spots. One user reported their living room reaching 21°C in 10 minutes instead of 30 after a power flush. 3. Fewer Breakdowns Sludge is the #1 cause of boiler failures. Flushing removes this risk, saving £300–£500 on emergency repairs. 4. Longer Lifespan for Boilers Clean systems reduce wear and tear. Regular flushing can extend a boiler’s life by 5–8 years. Power Flush Cost: Is It Worth the Investment? Property Type Hours (Range) Cost (USD) Duration 2-bed flat 4–6 hours $400 – $570 1 day 3-bed house 8–10 hours $600 – $700 1 day 4-bed house 12–15 hours $650 – $1,000 1–2 days While DIY kits cost $150–$200, professionals recommend against them. Incorrect flushing can damage pipes or leave sludge behind, leading to leaks. Restore Your Heating System with Power Flush Services by Derks Plumbing If your radiators have cold spots, your boiler is making odd noises, or your heating bills are creeping up, it’s time to give your central heating a fresh start. At Derks Plumbing, our expert engineers use advanced equipment to deliver a thorough, mess-free power flush that removes stubborn sludge and restores warmth and efficiency to your home. Don’t wait for a breakdown. Book your Power flush services by Derks Plumbing today and enjoy a warmer, more reliable heating system all winter long. Conclusion Just like annual doctor visits keep you healthy, a central heating power flush keeps your radiators and boiler running smoothly. It’s a small investment that prevents sky-high energy bills, chilly rooms, and unexpected repair costs. Whether you’re a new homeowner or maintaining an older property, scheduling a power flush every 5–10 years ensures your heating system works smarter, not harder. FAQs related to What does a Power Flush Do 1. How long does a power flush take? Most jobs take 6–8 hours. Larger homes (4+ bedrooms) may need 2 days. 2. Will a power flush fix noisy radiators? Yes! Gurgling sounds usually disappear after flushing. 3. Can I power flush just one radiator? Partial flushes are possible, but whole-system cleaning is better for long-term health. 4. How messy is a power flush drain? Engineers use sealed hoses to direct dirty water outside. No indoor mess is created. 5. Do new boilers need a power flush? Yes. Installing a new boiler on a dirty system voids warranties and risks damage